I often hear my students sigh during practice and say,
“Watercolor is so hard to control.”
Or when I tell new friends that I paint with watercolor, they usually respond,
“Wow, I’ve heard watercolor is really difficult!”
Even though I’ve been using watercolor for many years, I completely understand why so many people find it challenging. It can feel unpredictable and frustrating at first.
But after lots of practice and experimentation, I’ve learned to understand this medium better — and, more importantly, to work with it rather than against it. That’s when painting started to feel easier, and I began to truly enjoy the process.
Whether you’re still thinking about giving watercolor a try, or you’re a beginner feeling a bit stuck, this post is for you.
I’m going to share some of the most common challenges watercolor beginners face, along with a few simple exercises and mindset shifts that can help you paint with more confidence and joy.
Why Is Watercolor So Hard? 6 Common Struggles Beginners Face (and How to Fix Them)
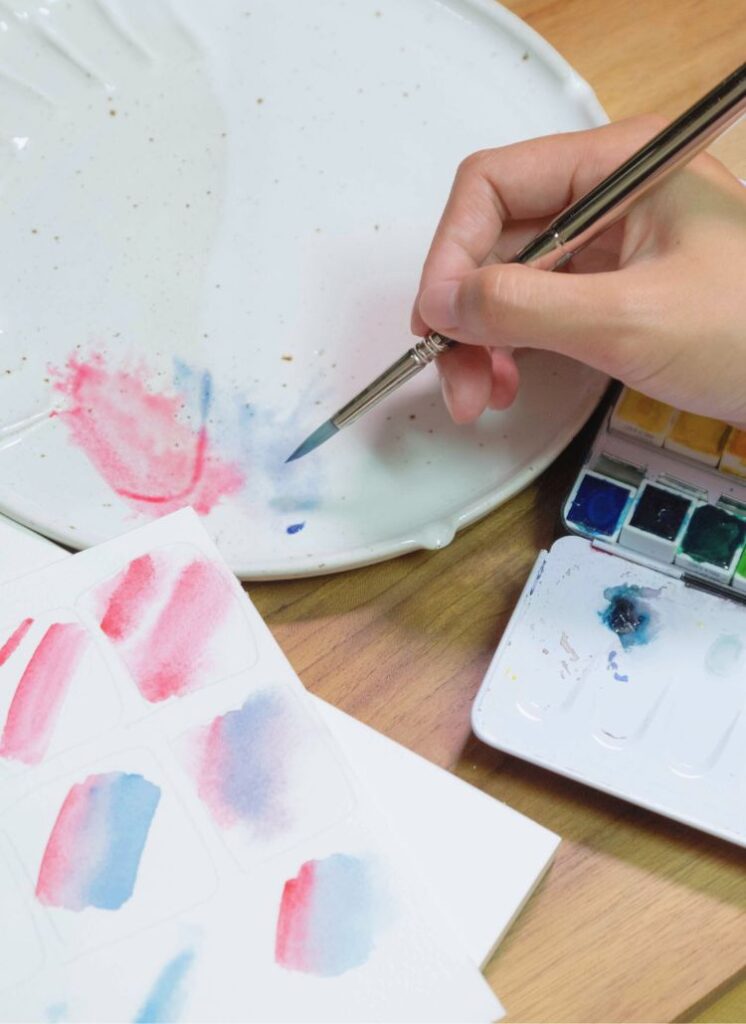
1. Dealing with Uneven Water Marks and Dark Edges
When you first start painting with watercolor, you’ll probably notice things like these…
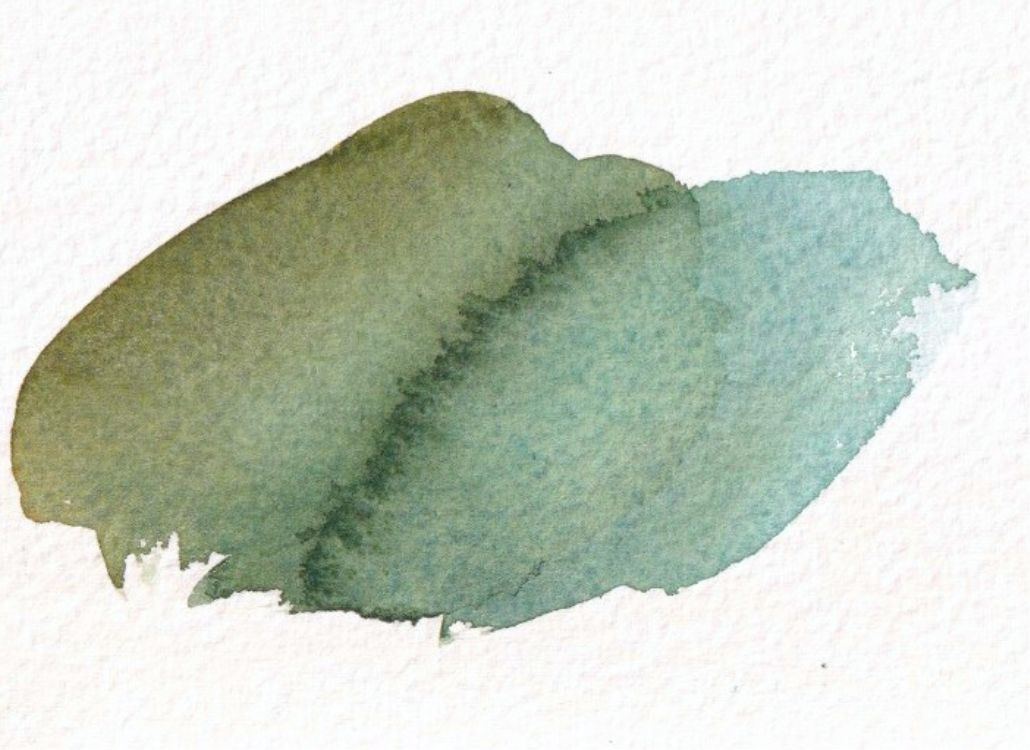
One of the most common challenges watercolor beginners face is getting unexpected dark edges or water marks on their paintings. This usually happens when the water isn’t evenly distributed on the paper, or when a new layer of paint is added before the first one has fully dried.
You might have experienced one (or more) of these situations:
- There’s too much water on the paper, causing the pigment to flow toward the edges. When it dries, it leaves a dark outline and the center looks pale because the color has been diluted.
- You paint over a semi-dry area, and the new pigment pushes away the previous layer, creating unwanted blooms.
- There isn’t enough water on your brush, making it hard to create smooth gradients or soft transitions.
If you’ve run into any of these issues, don’t be discouraged — it’s completely normal!
Watercolor is all about learning to balance water, pigment, and paper.
In the beginning, it’s hard to predict how they’ll interact once your brush touches the paper. You might wonder: When should I add the next layer? Can I blend this color now? Do I need more water?
The good news is that water control is something you can improve with practice. Here are a few tips to help you gain better control:
- Observe the surface shine
Look at your paper from the side — if it’s still glossy, it means it’s very wet. Adding color at this stage will cause it to spread and flow uncontrollably. When the shine starts to fade and the surface looks soft and matte, that’s the ideal time to add more controlled brushstrokes. - Gradually reduce the amount of water
For your first wash (especially large areas), you’ll need a bigger brush and more water to cover the surface evenly. As you move on to smaller sections or details, use less water. After loading your brush with paint, gently blot the excess moisture on a paper towel. - Blot excess water from the paper
If you notice visible puddles on your paper, use a clean, dry brush or tissue to gently lift the extra water. This helps prevent hard edges and backruns. - Be patient with drying time
Avoid layering on top of areas that are half-dry. If needed, use a hairdryer to speed up the drying process.
But don’t worry — those marks aren’t necessarily bad! In fact, they’re part of what makes watercolor so special.
Many artists intentionally create these flowing water patterns to add beautiful textures and organic depth to their work. Once you become more familiar with how water and pigment behave, you’ll be able to choose when to avoid them — or when to embrace these happy accidents and let them become part of your painting’s charm. That’s the true joy and freedom of watercolor.
2. Understanding Watercolor Drying Time
Did you know? Before your watercolor fully dries, there’s so much you can do with it!
For example:
- Continue blending brushstrokes to create smooth gradients or color transitions
- Drop in more pigment to deepen certain areas
- Create soft edges or delicate textures
- Lift out paint for highlights
- Add splatters or textures
- …..
All of these techniques depend on understanding how wet your paper is at any given moment. The key to achieving the effects you want is learning to judge when to paint and how wet the surface is.
Keep in mind that drying time is affected by things like humidity, pigment type, and how much water you use. With practice and observation, you’ll start to recognize the perfect timing for each effect — like when paint lifts cleanly, or when adding salt creates the most beautiful patterns.
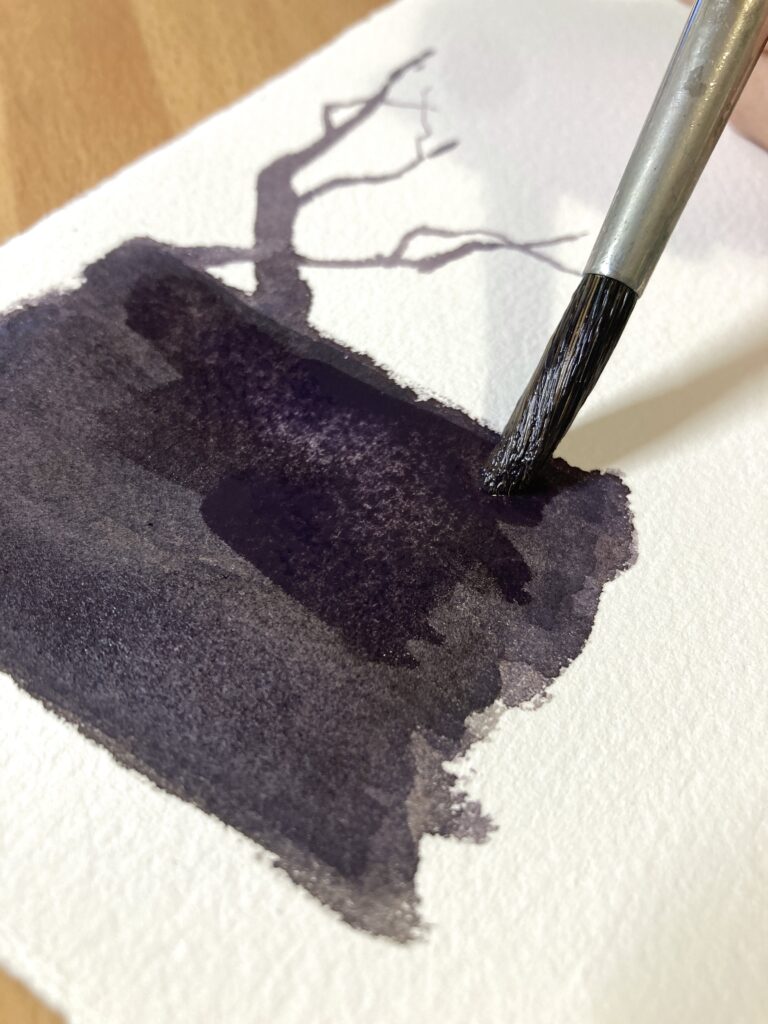
Here’s a quick look at how different moisture levels appear on watercolor paper:
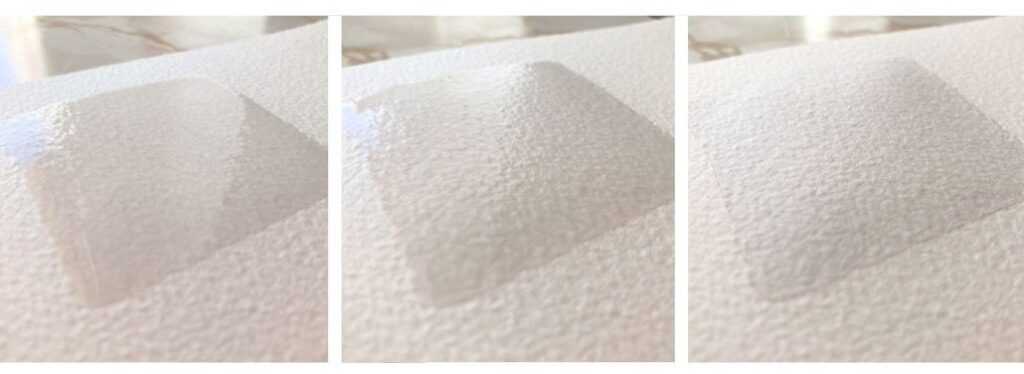
Left: Very wet — the paper looks glossy, surface texture is blurred, and you might see puddles if you tilt the paper.
Middle: Slightly drier — after a few minutes, the surface still has a sheen but the paper texture starts to show.
Right: Almost dry — the surface looks matte but still feels a little damp to the touch.
Each stage is ideal for different techniques. Try experimenting with gradients, color layering, lifting, splattering, and salting at different levels of wetness — you’ll quickly discover which timing works best for each effect.
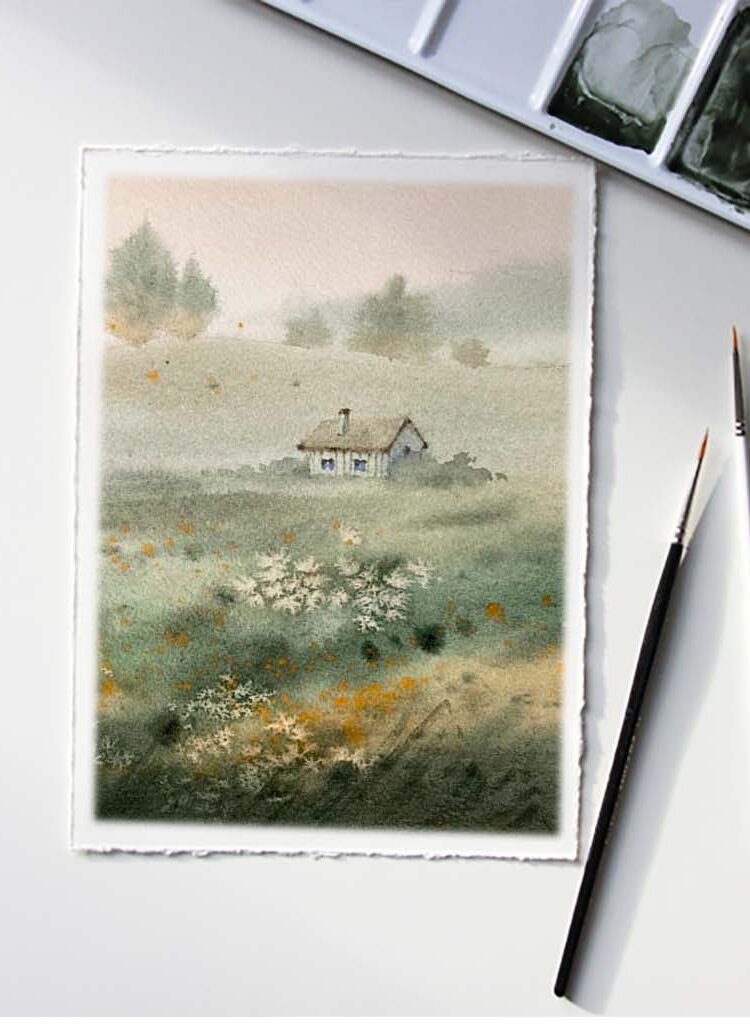
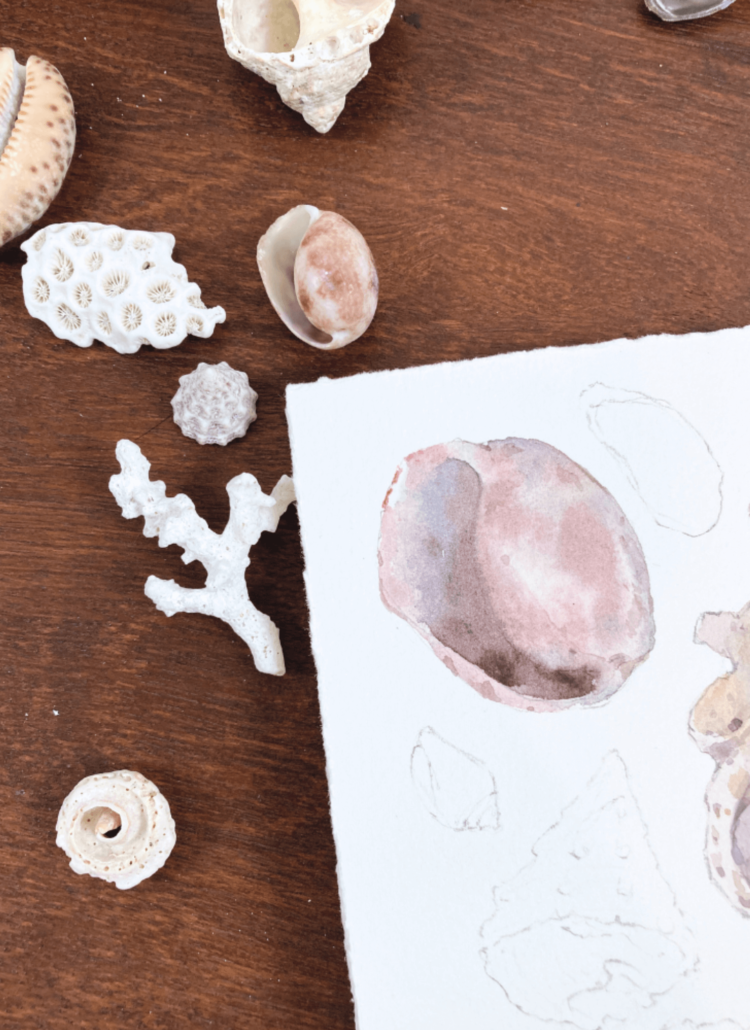
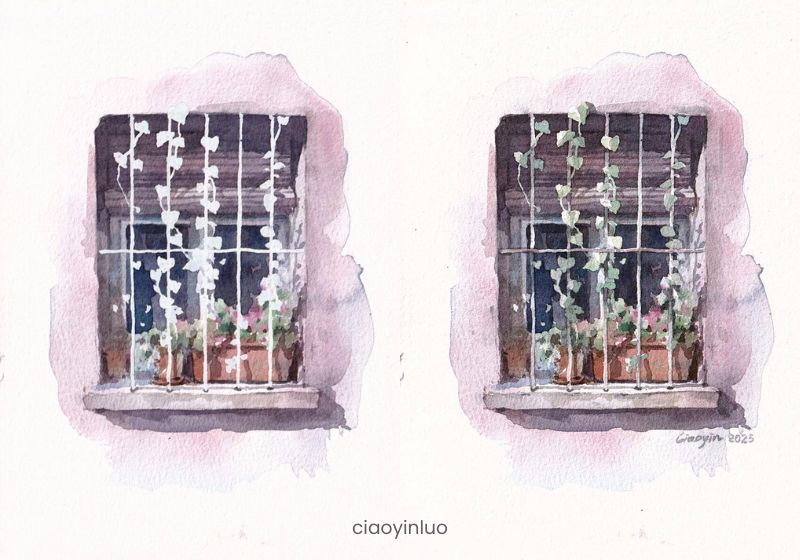
3. Planning Your Highlights and White Areas
Keeping your watercolor paintings bright often depends on how well you plan your highlights — those untouched white areas of the paper.
To preserve the brightest spots, you can use masking fluid or carefully paint around them. The best method depends on the size and shape of the area you want to keep white.
Here are a few examples:
- Small white flowers in grass: Use masking fluid to create tiny dots.
- Clouds in the sky: Simply paint around the cloud shapes when doing your wash.
- Intricate patterns: Mask the design with masking fluid so you can paint the background freely.
- Light veins on monstera leaves: Either mask the veins or carefully avoid them while painting.
Of course, you can also use opaque white paint for small highlights, but for larger areas it may reduce the natural transparency of watercolor.
Planning your highlights will make layering easier and your final piece more harmonious. Before you start painting, take a moment to think about:
1. Which areas need to stay white or bright?
2. At what stage will you reserve them — from the very start or after the first light wash?
3. Which technique will you use to preserve them?
Adding this extra step of planning gives your artwork more depth and refinement.
If you’d like to learn how to use masking fluid step by step, check out this post!
Watercolor Masking Fluid: A Step-by-Step Guide
4. Finding the Right Balance Between Water and Pigment
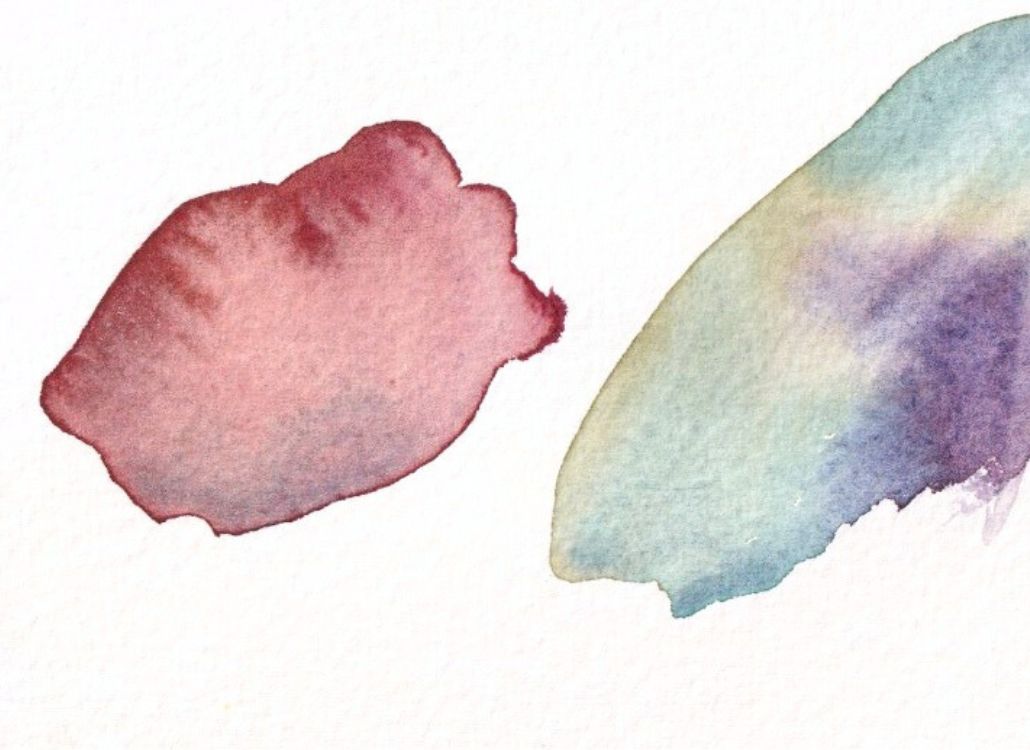
Watercolors often dry lighter than they appear when wet.
It’s something every artist learns with time — especially watercolor beginners, who may find it tricky to predict how each color will look once dry. You might end up adding more layers than expected to reach the depth you want.
However, we usually want to avoid too many layers, since that can make colors look dull or muddy. The best approach is to observe how your paints change from wet to dry.
You can even take photos to record the difference. Over time, you’ll develop a better sense for how each color behaves, and mixing to achieve the right tone will start to feel more natural and intuitive.
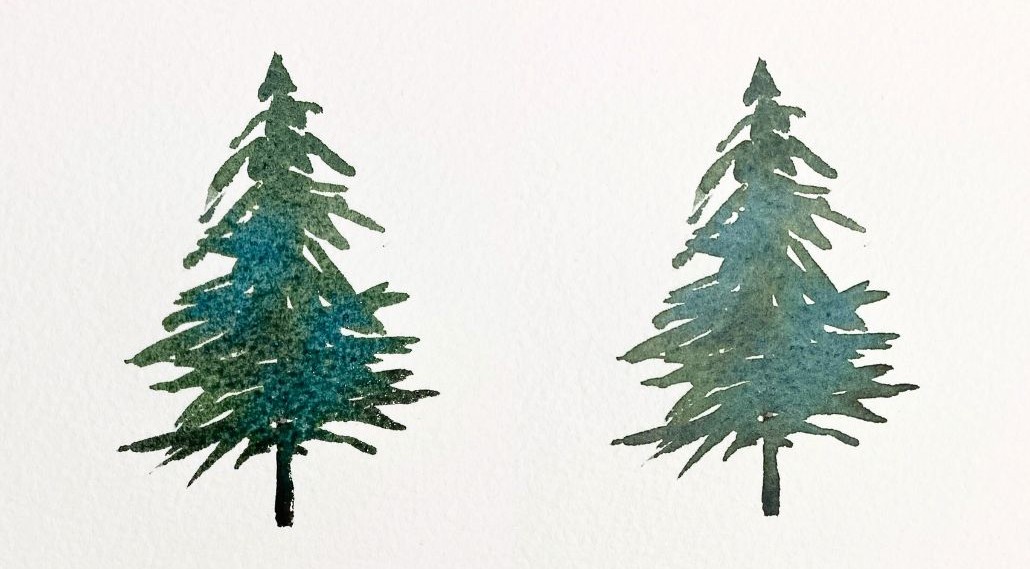
Left: while wet | Right: after drying
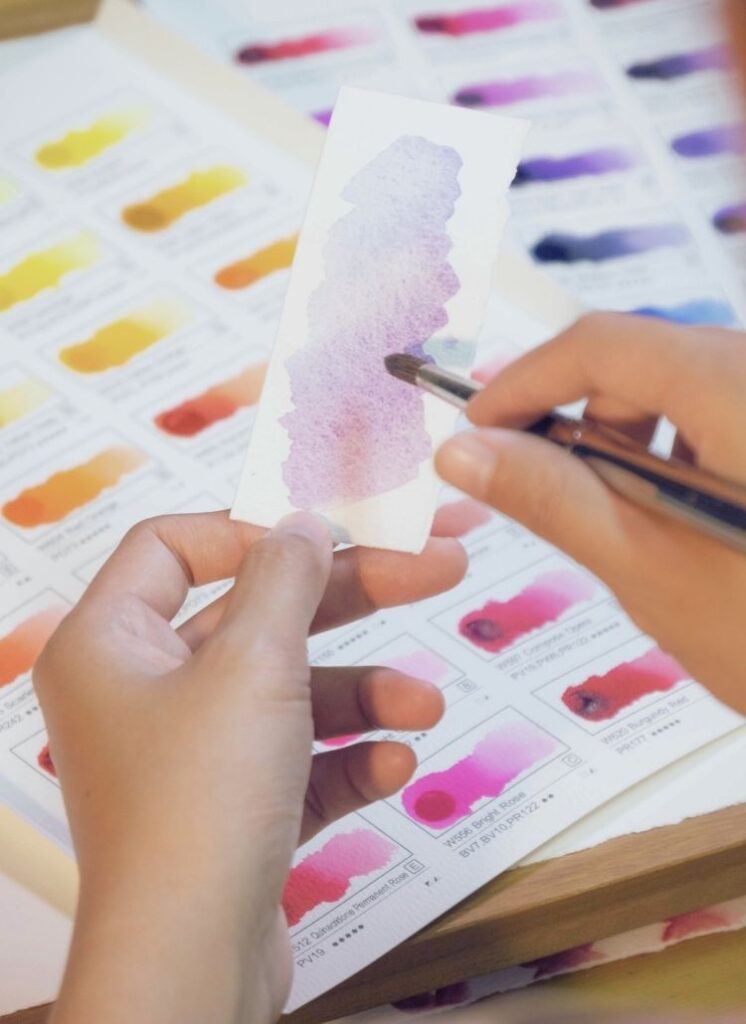
5. Discovering Your Own Way to Mix Colors
Not knowing which colors to mix can be one of the biggest struggles for watercolor beginners — especially because watercolor dries quickly, and you often need to choose your next color before the previous layer has fully dried.
Many people also worry about accidentally creating muddy or unwanted colors. It can feel frustrating when you have to constantly rinse your brush and start over.
If this sounds familiar, don’t worry — let’s take a look at your palette (let’s assume you have a 12- or 24-color set)
and think through a few questions:
1. Which colors do I use most often?
2. When I want to darken a color, which pigments can I add?
3. To soften or neutralize a color, add just a touch of its complementary color to reduce its saturation.
There’s no single right answer — it depends on your preferences and palette.
Here’s an example using the Schmincke 24-color half-pan set:
If I’m painting grass with May Green and want a deeper shade, I might mix it with other greens, or add a touch of Indigo or Sepia Brown. To make it appear softer and more muted, I’ll mix in a little Permanent Carmine. This creates richer, more natural-looking greens in my landscape.
Or, if I’m painting flower petals with Magenta, I might use Manganese Violet, Indigo, or Sepia to darken it. To tone down, I can mix in a bit of Cobalt Green Dark. This helps each petal show subtle variations of pink and purple.
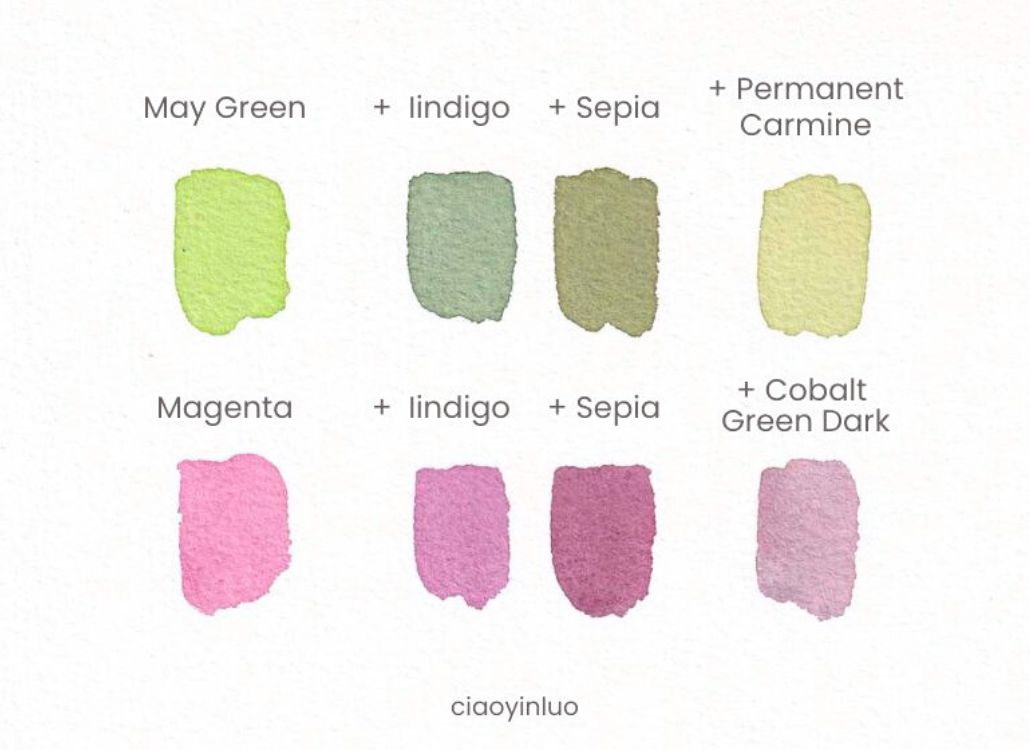
Personally, Indigo and Sepia are my go-to pigments for darkening colors — I reach for them almost instinctively.
What’s interesting is that everyone — from watercolor beginners to experienced artists — develops their own favorite color combinations over time.
The colors you choose depend on your personal taste — for instance, I tend to prefer cooler tones, so I often use cool browns rather than warm browns when mixing.
By thinking through those three questions, you can identify the color combinations you’ll use most often. This makes your future painting sessions smoother and more intuitive — you’ll spend less time hesitating and more time creating.
6. Learning to Work Within Watercolor’s Limits
Compared to oil painting, watercolor dries much faster — which means there isn’t much time for repeated corrections. You can build depth by layering, but once the paint dries, it’s challenging to lighten the color without losing its natural look. Often, trying to fix something only makes it worse, leaving unwanted marks or uneven patches.
Let me share my experience:
After about three or four layers, you might notice that new paint doesn’t blend as smoothly with the base layer anymore. The original color may start lifting off the paper, becoming lighter or even revealing the paper surface underneath.
Adding too many layers can cause the base color to lift off the paper.
Sometimes, beautiful spontaneous brushstrokes from the early stages lose their freshness after several layers.
Although watercolor’s “irreversible” nature can feel limiting at first, with practice you’ll start to anticipate what each step needs — the right amount of pigment, water, and drying time.
Once that becomes second nature, you’ll find yourself needing far fewer corrections.
Ways to Improve as a Watercolor Beginner
Practice is the key to progress!
If you’d like to develop a consistent painting habit, check out my post: How to Build a Daily Painting Habit: Unlock Your Creativity
In addition, I’d like to add a few more points:
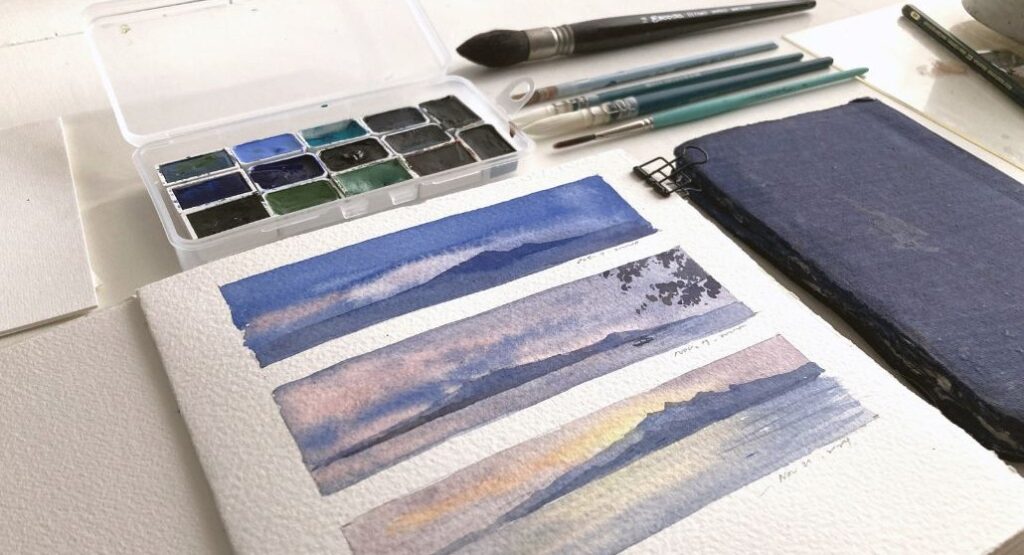
1. Get to Know Your Tools
The easiest way to start improving is to really understand your materials.
Sometimes we’ve used the same tools for a while, but we don’t truly know how they behave.
Start by organizing your paints and creating a color chart. Label each swatch with the brand and color name.
For example, many brands now offer granulating pigments — you might need some time to test and compare them before deciding how to incorporate them into your work.
Next, get familiar with your brushes — which ones hold more water, which have more spring or softness, and whether you might need a larger or smaller size for certain techniques.
Don’t forget your paper, sketchbooks, masking fluid, and palettes — they’re all part of your creative process. The more you understand them, the better you can bring out their full potential.
You can also read: Watercolor Pans or Tubes-Which One is Right for You?
2. Be Patient
I know the frustration of feeling stuck after a while — it’s something we all go through.
Most of us want to achieve too much too quickly.
Last year, I tried to learn Swedish on Duolingo, but I gave up after two months.
A few years ago, I even created two coloring books, but I stopped before really promoting them.
Maybe you’ve had similar experiences too.
Looking back, those moments taught me an important lesson — this year, I decided to focus on fewer things and stick with them longer.
So if one of your goals this year is to start painting with watercolor, let’s keep going together.
3. Document Your Journey
I’ve noticed more and more people sharing their learning journeys online — like “Day 1 of learning Japanese,” “Day 1 of starting my business,” or “My first day building a blog.”
I think that’s such a wonderful idea. By sharing your process, you might connect with others who are on the same path, receive encouragement, and even inspire someone else to start.
Best of all, you’ll be able to look back later and see how far you’ve come. Watching your own progress grow over time is incredibly motivating.
Every Beginner Faces These Watercolor Challenges
Watercolor is such a fun and expressive medium — but like any art form, it takes time to get comfortable with it.
By understanding the most common challenges watercolor beginners face, you’ll realize that frustration is completely normal. Each mistake or struggle is simply part of the learning curve.
And once you recognize what’s happening, you can focus your practice on the right areas — experimenting and learning — instead of feeling lost or discouraged.
I hope this post helps you overcome those early struggles one by one, so you can paint with watercolor more confidently and enjoy every step of the journey!