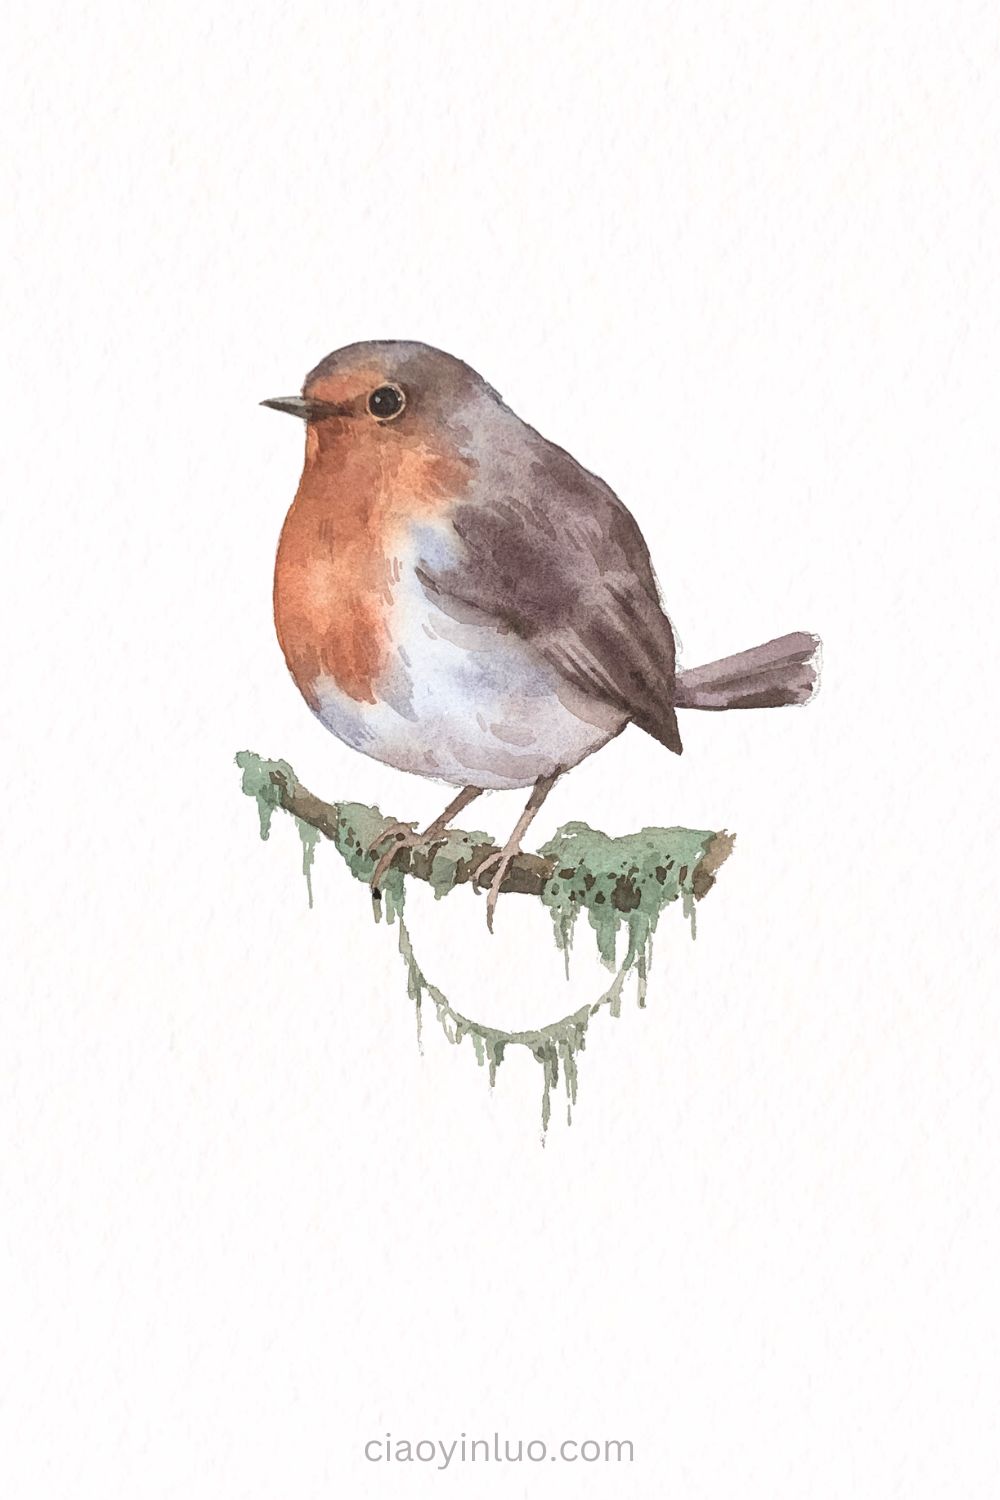
In my Spanish city of Segovia, I can almost always spot robins in the nearby woodlands every day. They seem less easily startled than other birds, making them easier to approach. Their orange-red breast feathers and bright songs often make them easy to find.
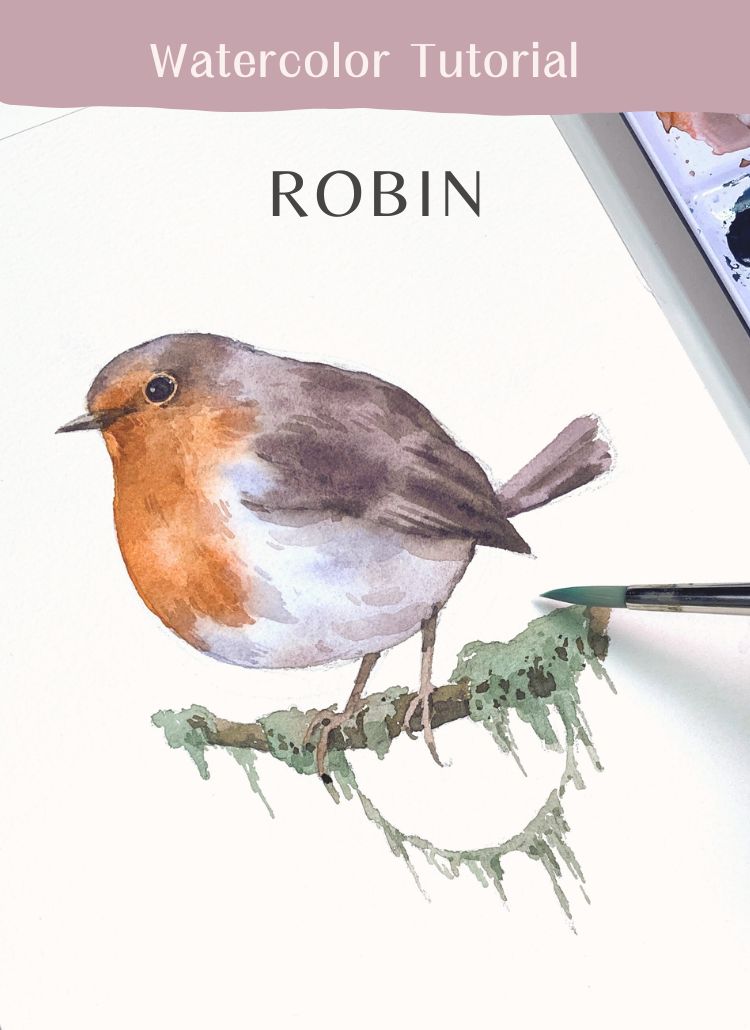
Robins are also one of the most beautiful subjects for watercolor painting. Their vibrant orange-red chest and soft feather textures allow us to explore both bold and delicate brushstrokes. This step-by-step tutorial will guide you in creating a charming robin with ease. Grab your paints, brushes, and paper, and let’s bring this little bird to life!
Hope you have fun!
Supplies list
Watercolor Paper: Arches Cold-Pressed Watercolor Paper
Brushes: Escoda Perla #8 / Escoda Versatil #10
Watercolors: For this beginner step-by-step watercolor tutorial series, I use Schmincke Horadam 24 Half-Pan Set. You can choose any brand and find similar colors.
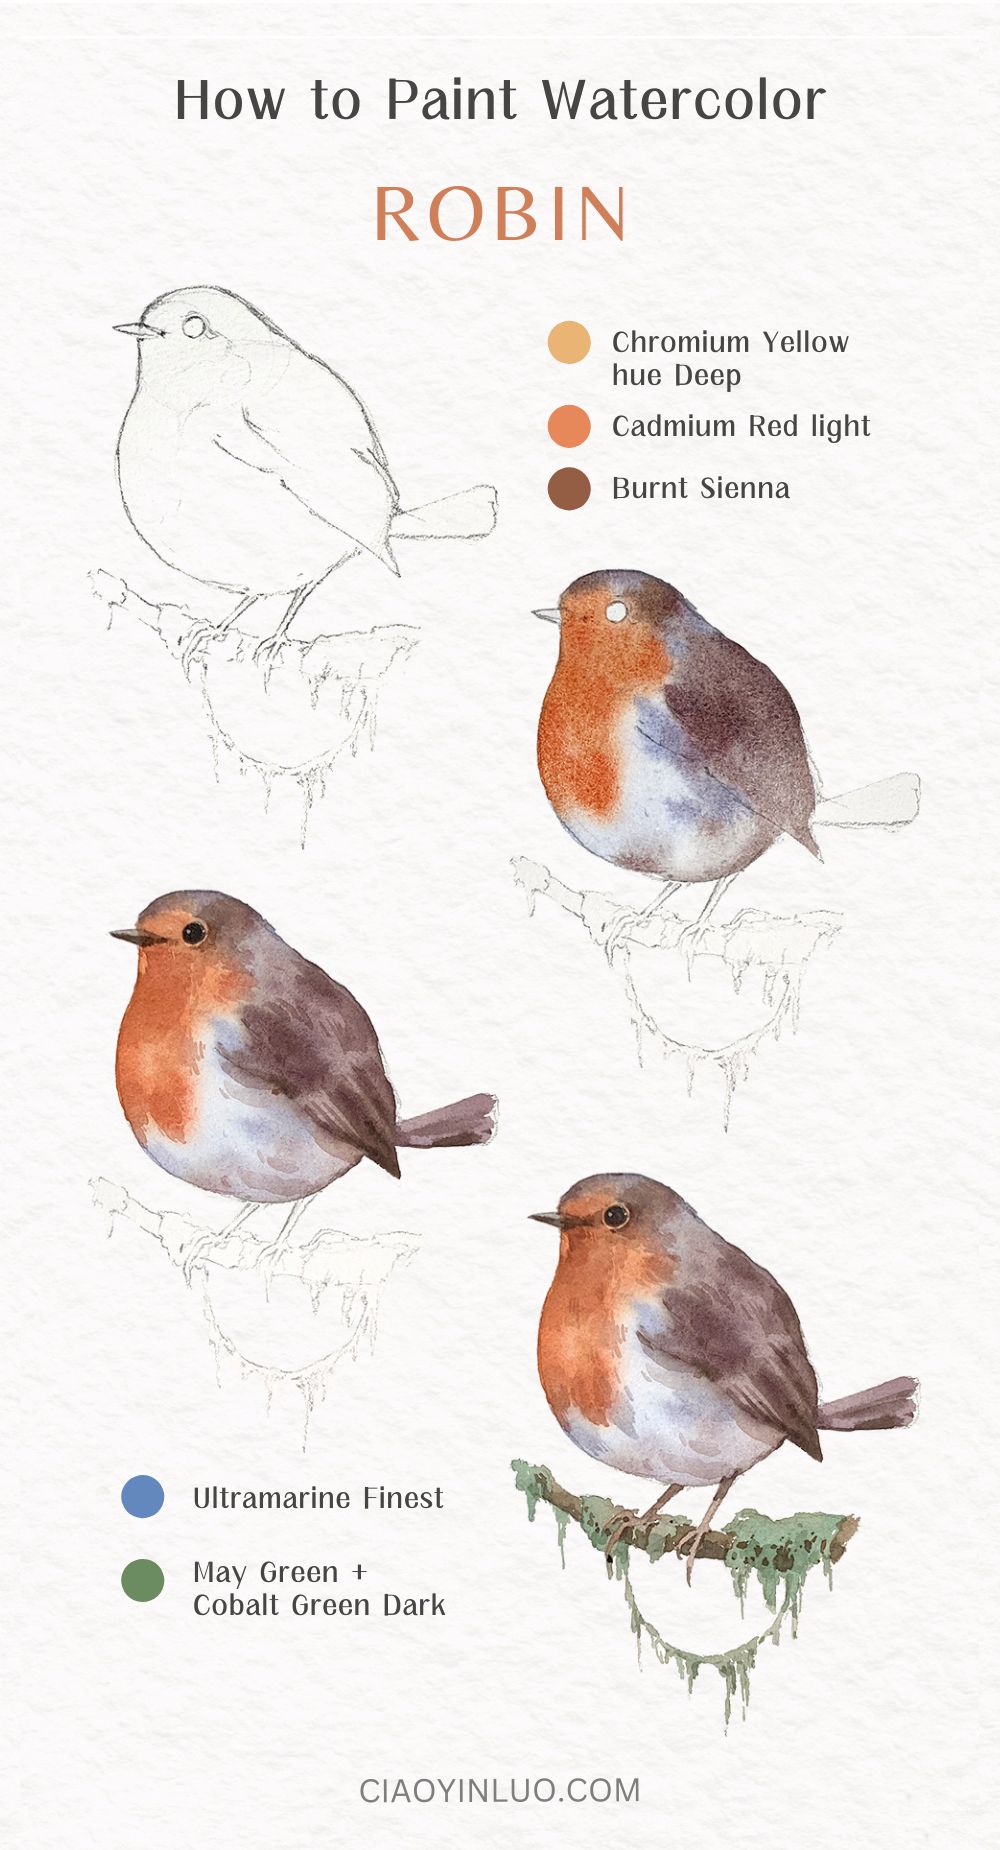
Colors:
Chromium Yellow hue Deep
Cadmium Red light
Burnt Sienna
Ultramarine Finest
May Green
Cobalt Green Dark
Sketch
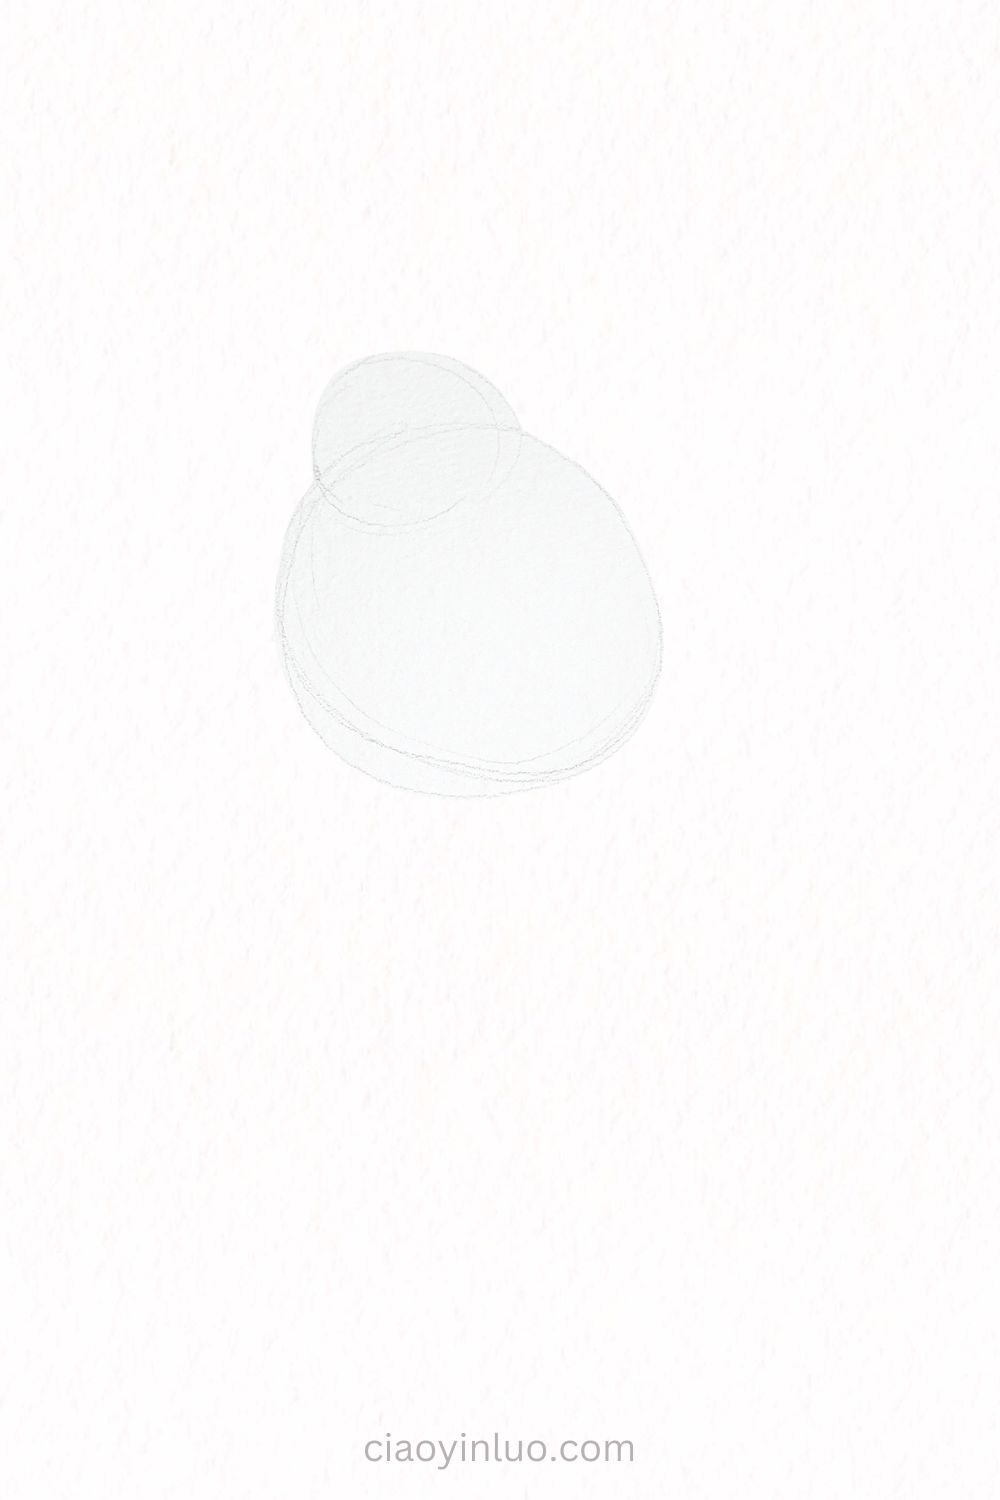
Let’s capture the robin’s adorable posture on paper!
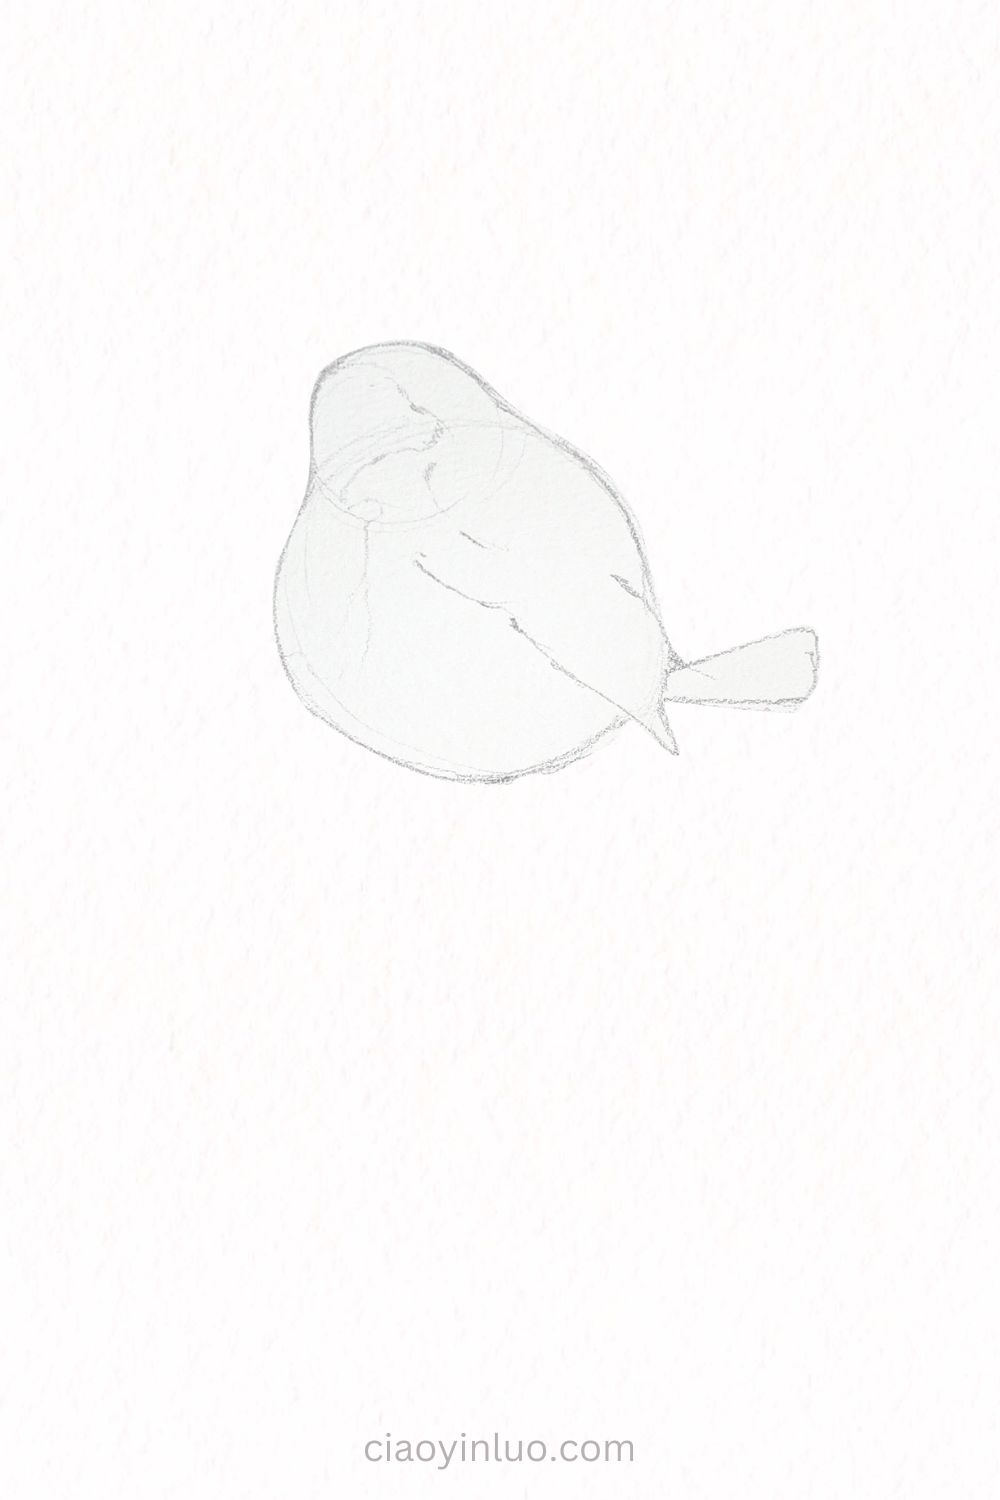
Start by sketching two overlapping circles—one for the head and the other for the body. I personally enjoy drawing round and chubby birds, haha!
Next, connect the outlines of the two circles and add the wings and tail.
A robin’s head and wings are brown, so I lightly use lines to mark the areas where the darker feathers will go.
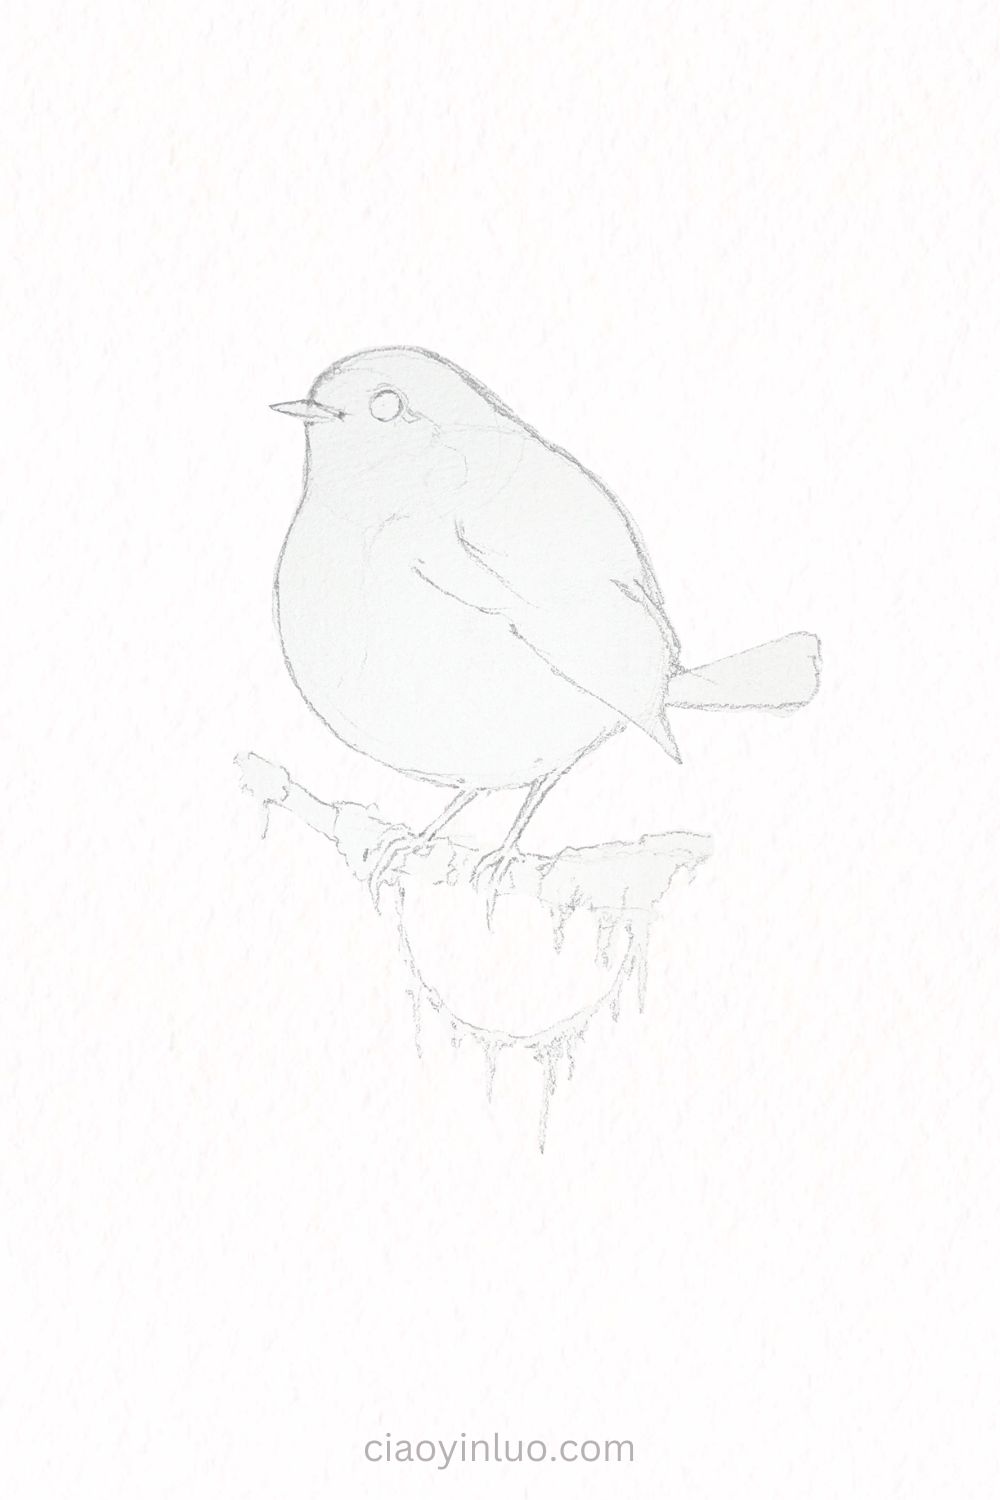
Let’s continue adding details. For the robin, draw its eyes, beak, and legs.
Then, to complement the bird, add an interesting element like a moss-covered branch. Now we’re ready to paint with watercolors!
Robin Base Colors
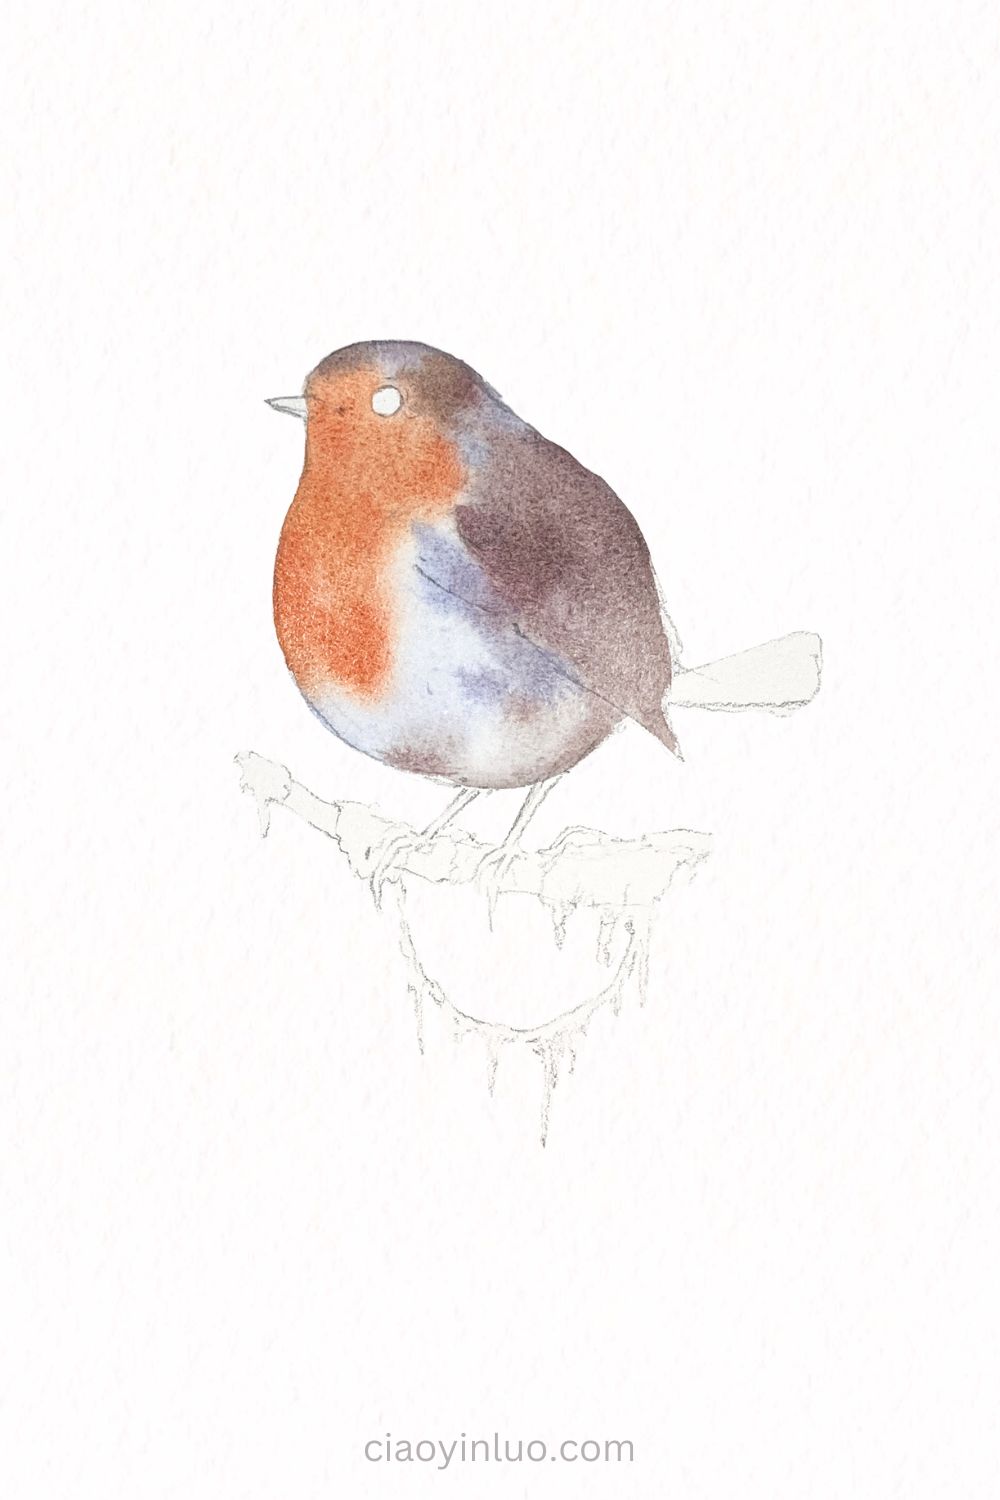
In this step, we’ll start with the lighter areas of the belly.
Mix Ultramarine with a little Burnt Sienna and dilute it to create a light gray color. Use this shade to paint from the head to the belly.
Before it dries, mix Chromium Yellow Hue Deep with Cadmium Red Light, and use this vibrant orange color to paint the head and belly feathers.
Finally, take more Ultramarine + Burnt Sienna to create a deeper brown, and paint the top of the head and wings. Let this layer dry completely.
Feather Layers
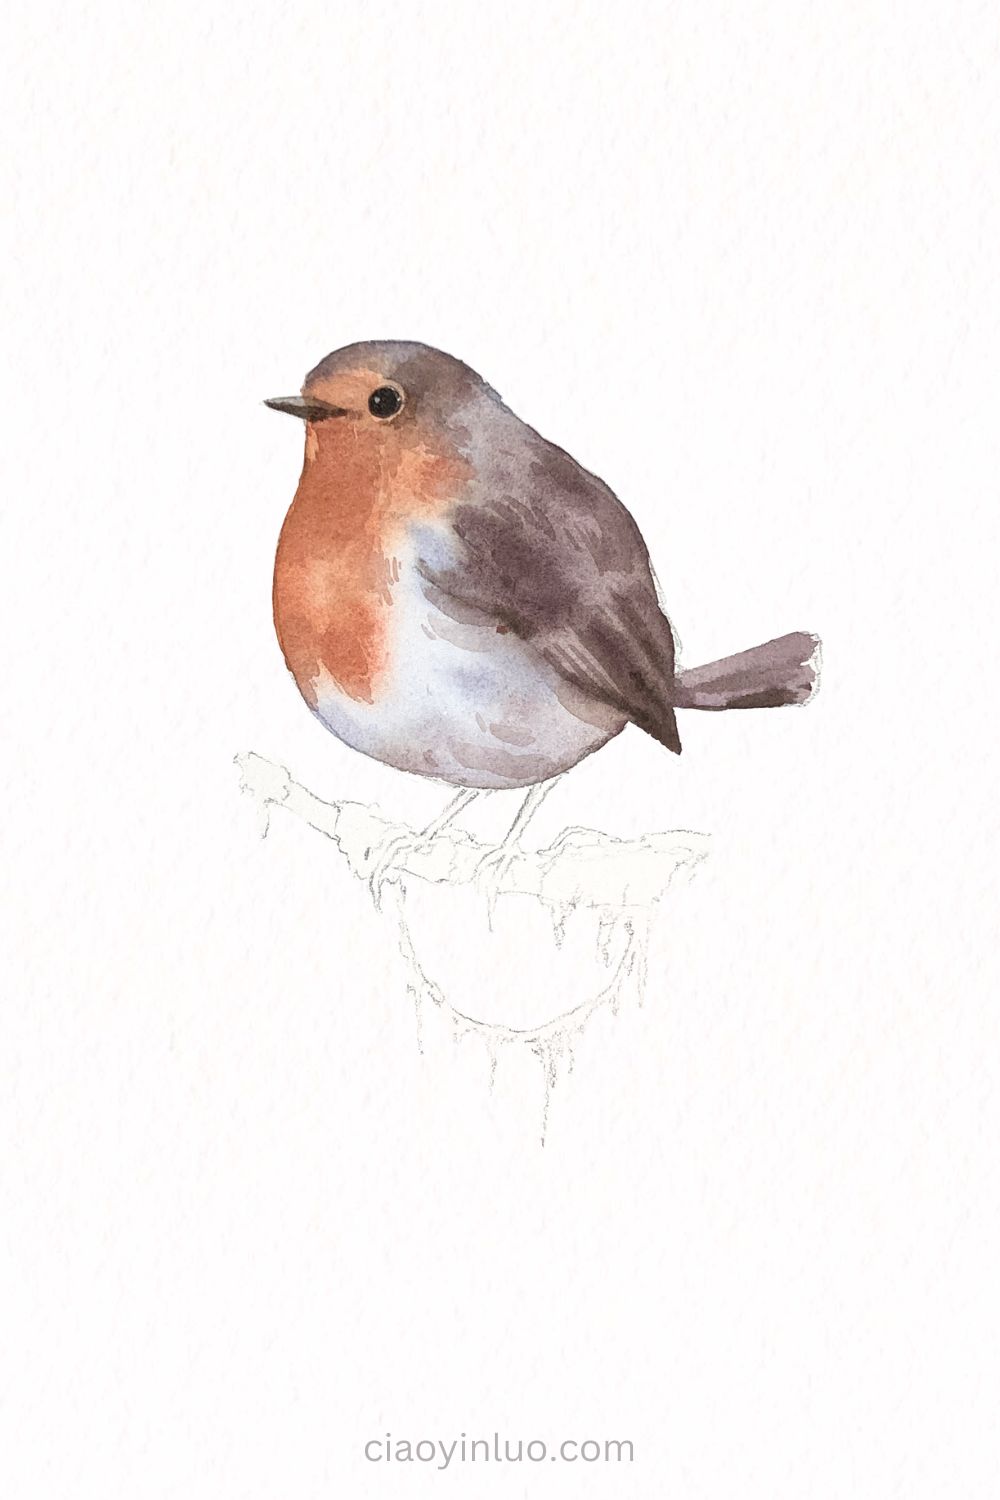
First, let’s add the eyes and beak.
Next, use the dry brush technique to create strokes that mimic the texture of the bird’s feathers.
Follow the curves of the head, belly, and wings to add fluffiness and depth to the feathers. Focus on key areas like the bottom of the belly and the wings. You can also add some strokes under the beak and around the eyes to make the head look more three-dimensional.
Moss and Branch
First, use a light brown color to paint the bird’s claws. Then move on to the moss and branch.
I usually paint the mossy parts of the branch first and then layer the darker tones for the branch itself.
Mix May Green with Cobalt Green Dark for the moss, and use a deeper brown for the branch.
Add small dots in some areas of the moss to represent parts of the branch not covered by it.
And with that, we’ve finished painting this robin!
I think I’ve painted around 30 robins by now, but I still feel incredibly excited each time, especially when I start adding the orange-red chest. I hope this practice brings you the same joy. Let’s continue to practice and paint more beautiful birds together in the future!
If you have any suggestions or requests for future tutorials, feel free to let me know.
Want to remember this? Save this Tutorial to your favorite Pinterest Board!
Related Blog Posts:
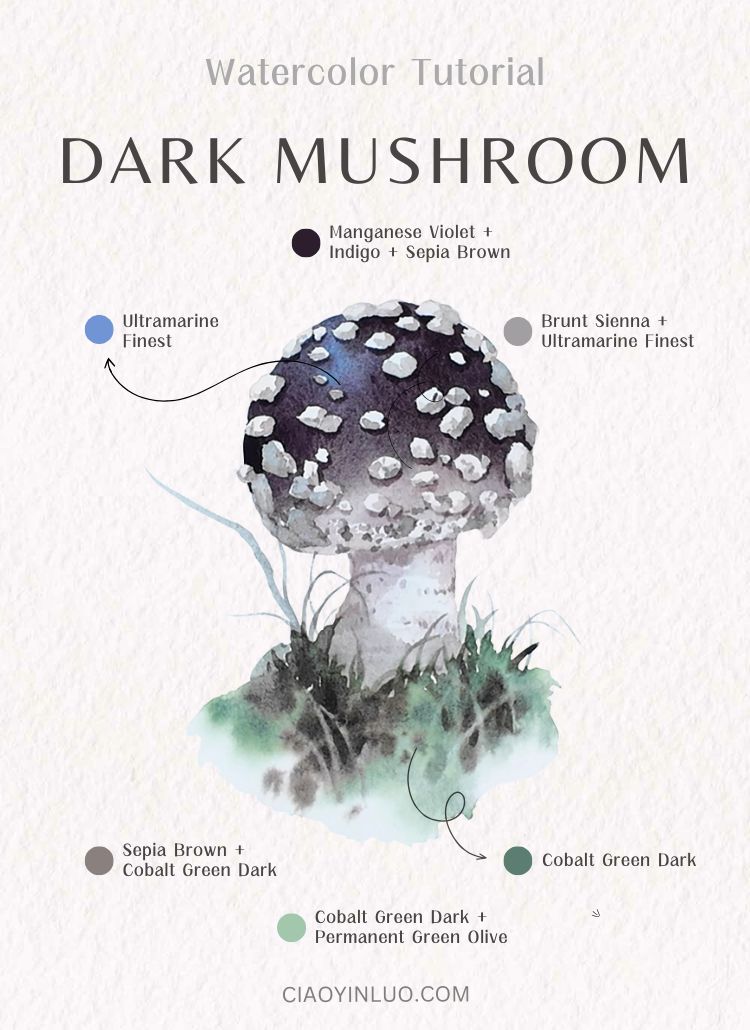
【Watercolor Illustration】Mushrooms and Little Mice
How to paint Tree: Step-by-Step Easy watercolor Tutorial
How to paint Forget-me-not flower: Step-by-Step Easy watercolor Tutorial