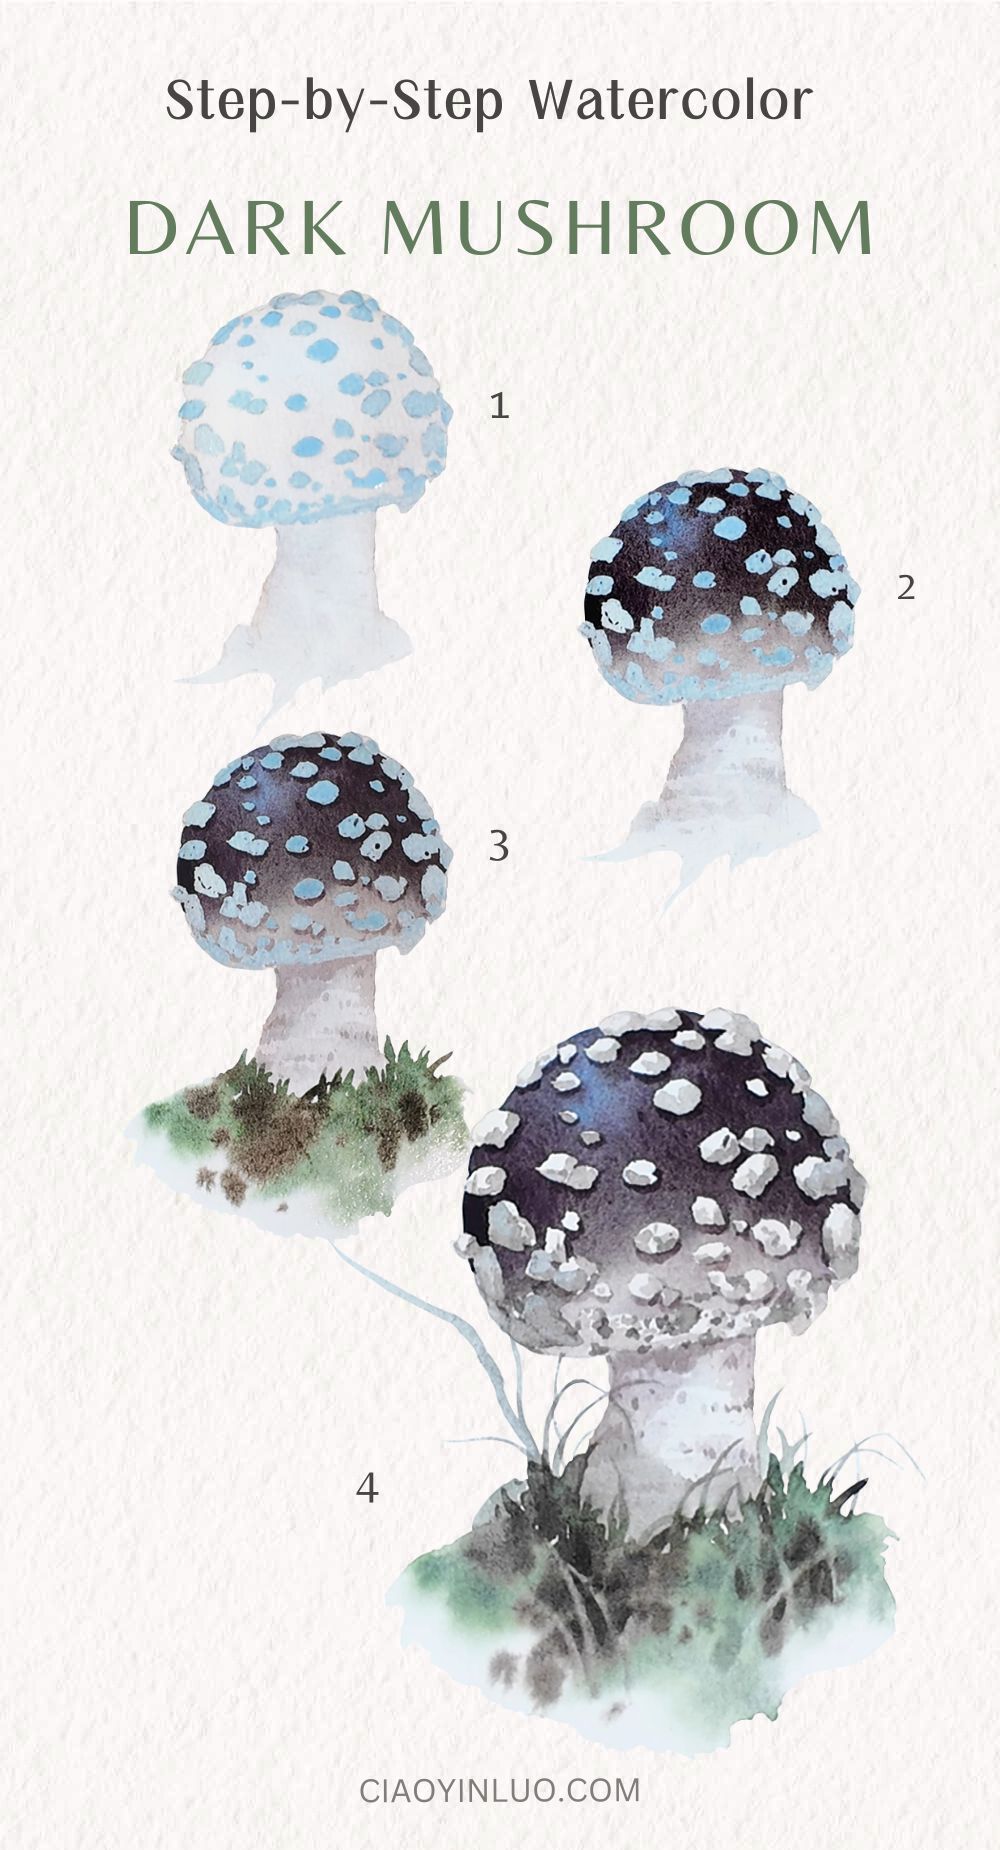
Fungi that grow in the forest have a subtle kind of magic. While this dark mushroom may not be as cheerful or inviting as the bright red ones, I am still very drawn to its calm, quiet look.
In this step-by-step watercolor tutorial, I’ll show you how to capture its mysterious feel. You’ll learn how to add texture to the cap and stem, and how to paint the deep grass around it to make the mushroom stand out. Get ready to create an art piece that brings the forest to life on your paper!
Painting Tools
- Watercolor Paper: Arches Cold-Pressed Watercolor Paper
- Brushes: Escoda Perla #8 / Escoda Versatil #10
- Watercolors: For this beginner step-by-step watercolor tutorial series, I use Schmincke Horadam 24 Half-Pan Set. You can choose any brand and find similar colors.
- Masking Fluid: Schimincke
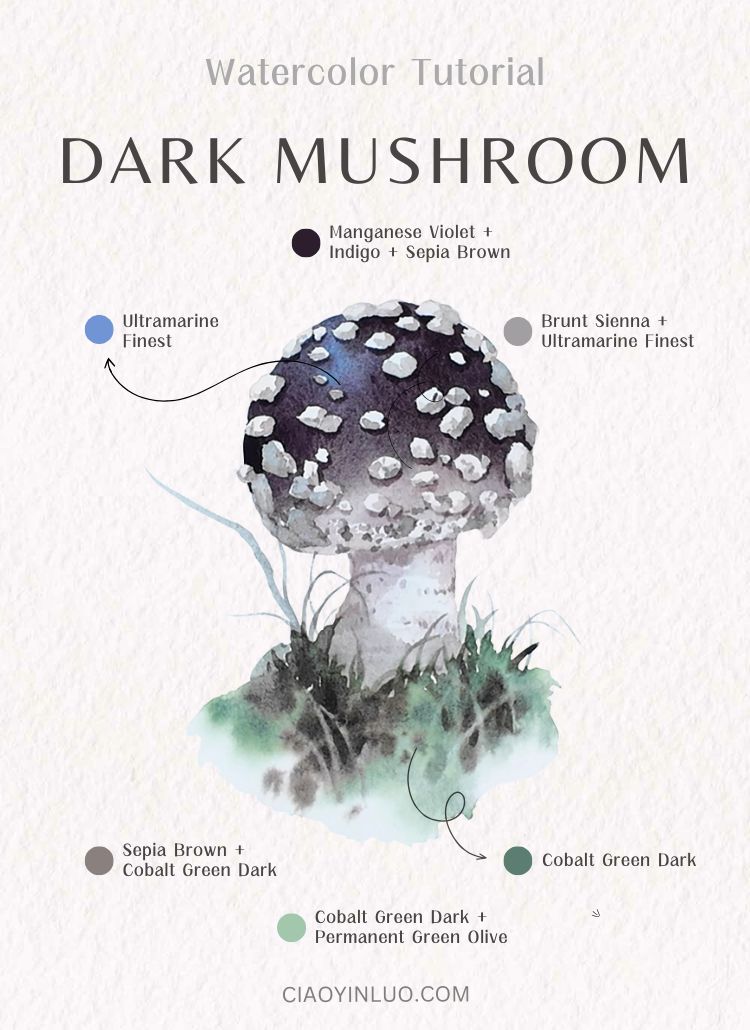
Colors:
Burnt Sienna
Ultramarine Finest
Manganese Violet
Indigo
Sepia Brown
Cobalt Green Dark
Permanent Green Olive
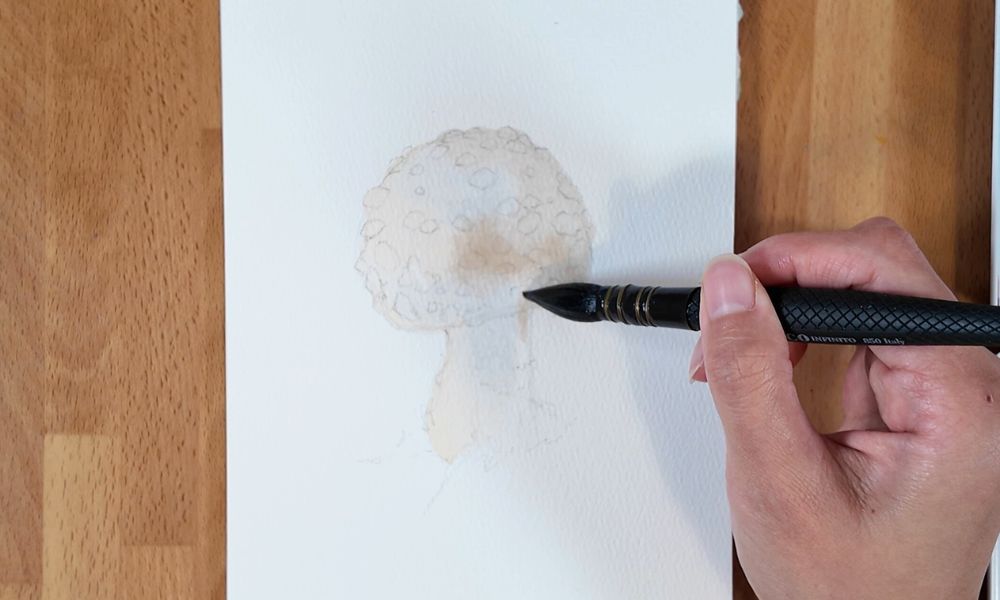
1. Base Layer
Both the scales (warts) on the mushroom cap and the stem are light in color, so let’s begin by applying a light wash over the entire mushroom area. For this, I used a diluted mix of Ultramarine and Burnt Sienna.
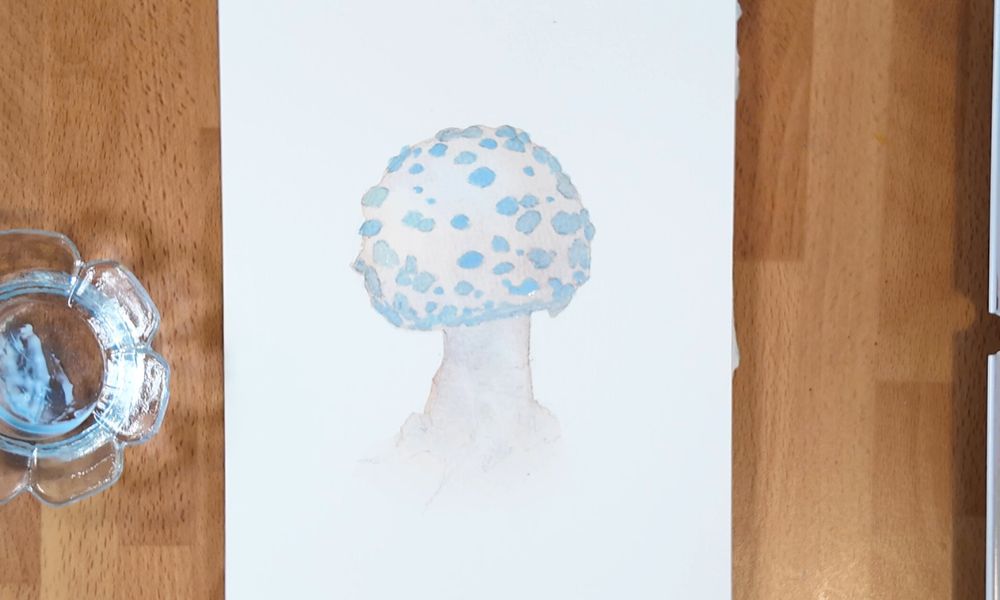
2. Masking Fluid
To save time and effort before painting the dark cap, we can use masking fluid to cover the areas of the white scales. This makes painting the cap much easier, but it’s not strictly necessary; sometimes, I paint the cap directly, just requiring more focus to carefully avoid the scales
For a guide on how to use masking fluid, you can check this article: Watercolor Masking Fluid: A Step-by-Step Guide

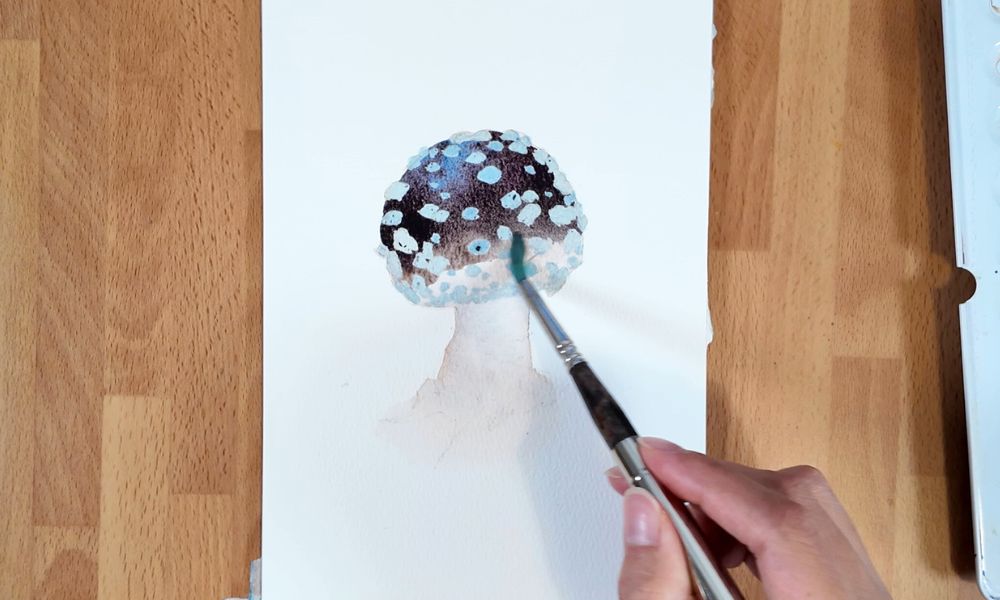
3. Painting the Dark Cap
Next, ensure the masking fluid is completely dry before you start applying watercolor.
The mushroom cap has some reflective tones on its upper surface.
I first applied Ultramarine, then mixed in Manganese Violet, Indigo, and Sepia Brown to create a deep brownish-purple.
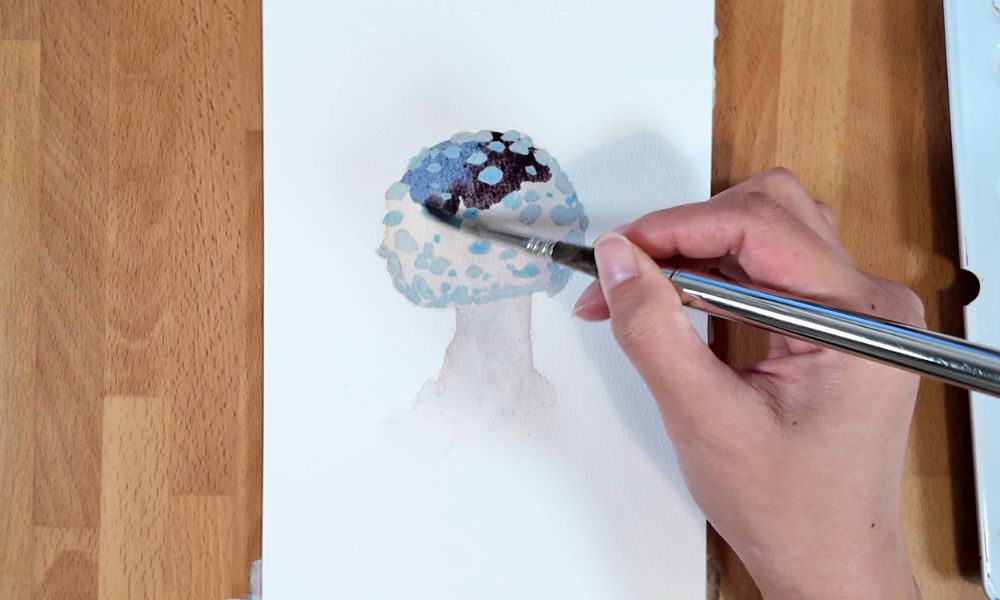
Continue downwards until about two-thirds of the cap, then gradually lighten the color. Wash some of the pigment off your brush to create a fading gradient all the way to the bottom edge of the cap.
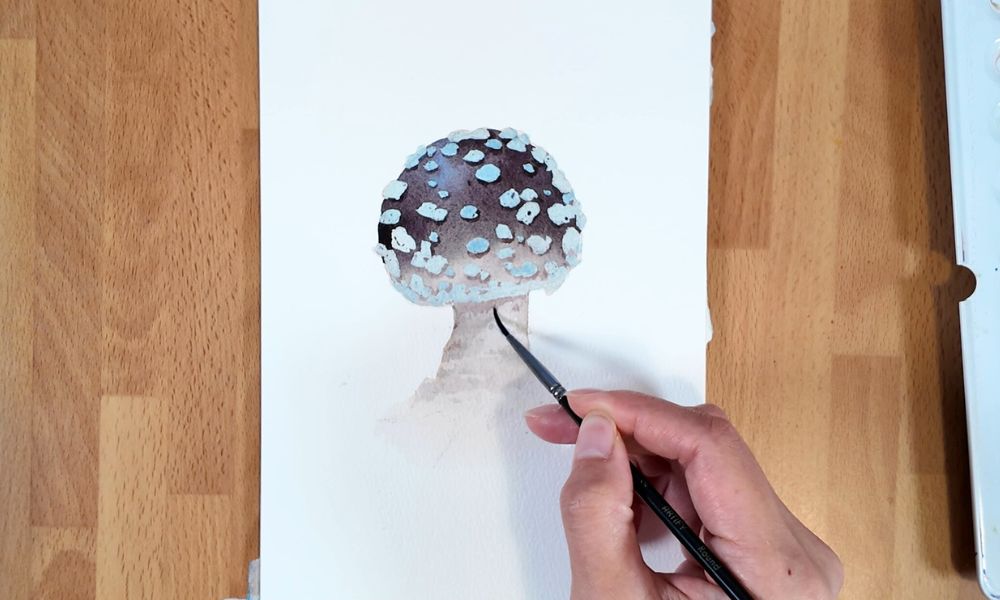
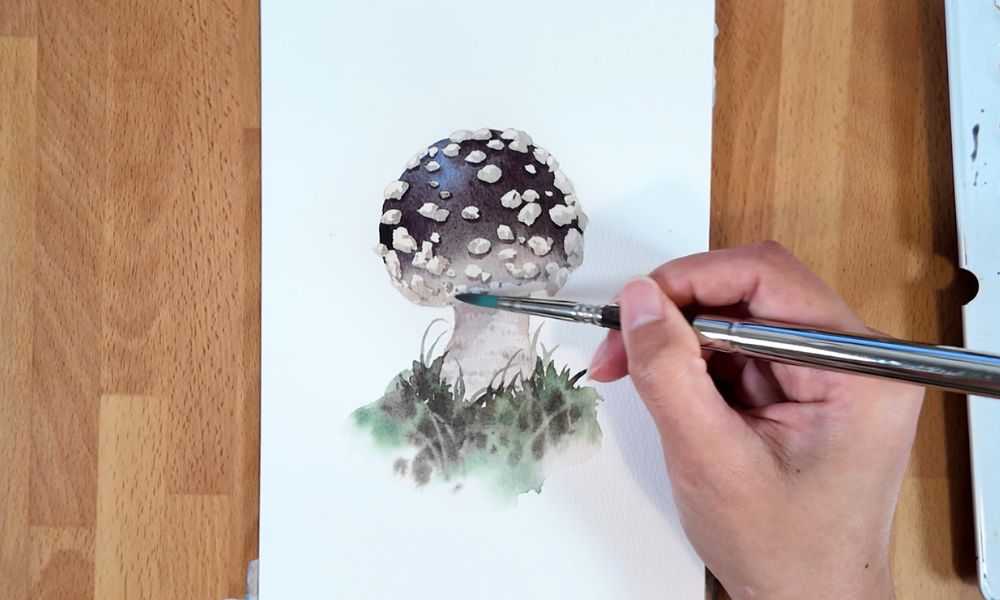
4. The Stem
Now, let’s paint the shadows and rough texture on the stem using light brown tones. Use the tip of a small brush to create fine, short strokes.
Let this layer dry completely.
5. The Grass
Let’s make our artwork richer and more complete. I start by applying clear water to the base of the mushroom, extending the wet area slightly beyond where the grass will be painted.
Next, use Cobalt Green Dark and Permanent Green Olive to paint the grass strokes.
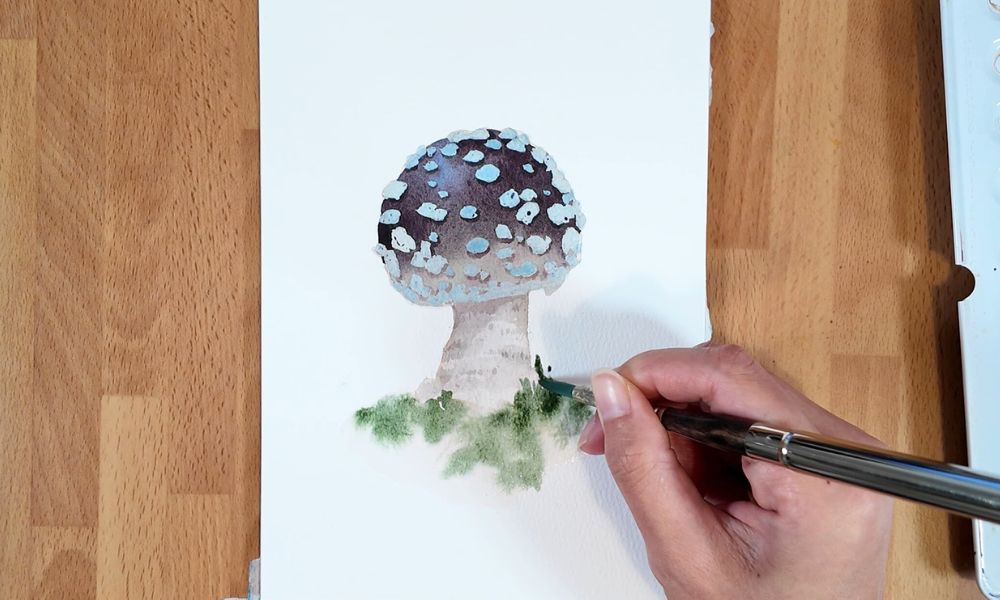
Before the green dries, I mix in some brown (Burnt Sienna, Sepia) with the green, adding it into the grassy area to suggest the soil peeking through the blades.

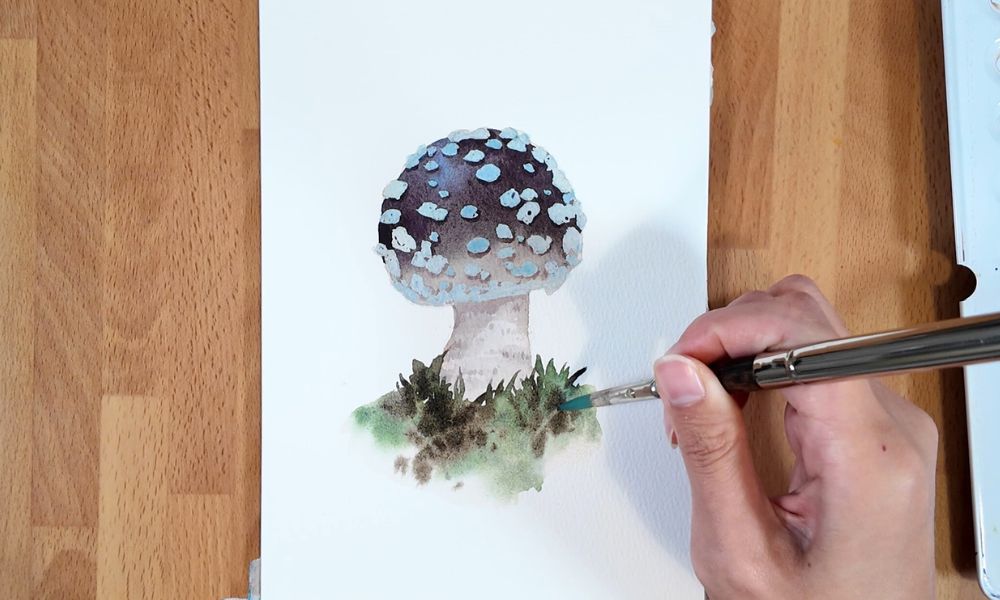
Then, as the paper is nearly dry, use your brush to lift some pigment, creating fine lines for individual blades of grass. This adds more depth and layers to the grass.
6. Mushroom Warts (Scales)
Now, it’s time to remove the masking fluid. Once removed, you’ll see the scale shapes with only their faint base color.
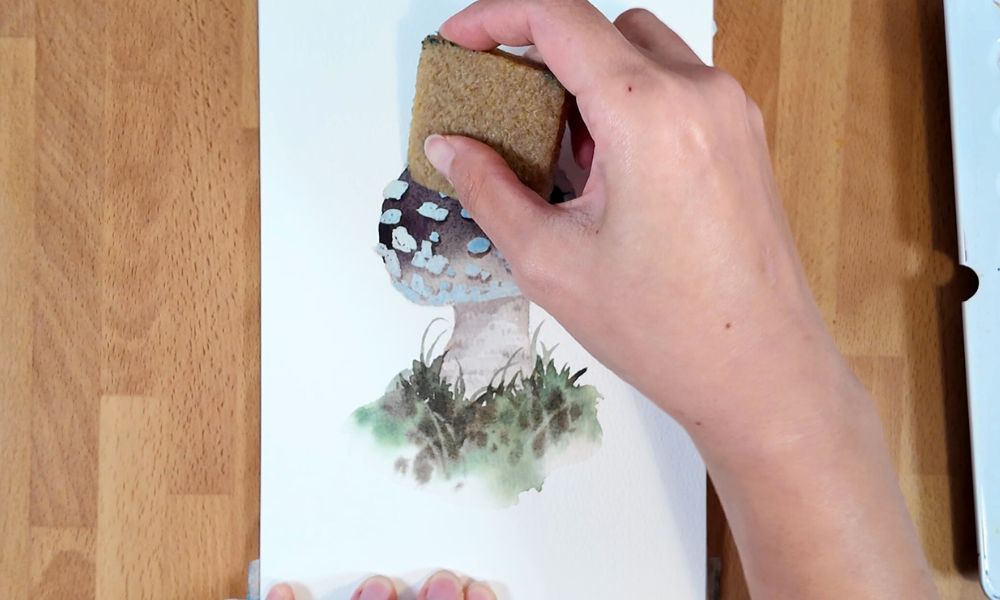
However, we can’t leave them like this, as they would appear flat. So, we’ll use a light brown to add shadows and define their undersides, creating a rougher surface, especially making the lower warts slightly darker for dimension.
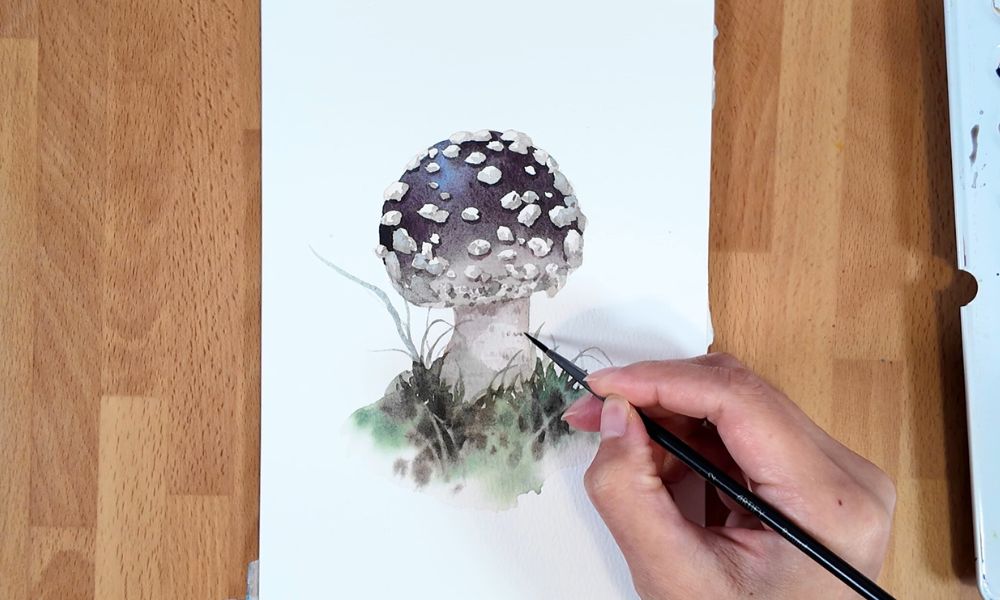
7. Final Details
Currently, the composition looks quite symmetrical. To add more visual interest, I’ll introduce some additional long grass blades with engaging postures.
Additionally, I’ll add a subtle, light shadow wash beneath the mushroom’s base to integrate the mushroom and the grassy ground more cohesively.
This work is a fantastic way to capture the subtle beauty of forest fungi.
I hope you enjoyed painting this fascinating woodland subject and feel inspired to keep exploring more of nature’s hidden wonders!
If you enjoyed this tutorial, don’t forget to save this image to your Pinterest board for later!
You can also watch the painting process in my YouTube Short below!
Related Blog Posts:
Learn how to paint watercolor Himalayan blue poppy
Lean how to paint watercolor Pansies
Learn how to paint Catharanthus roseus with watercolor