I’m always amazed by the sudden bursts of vibrant red that appear on the streets and in the parks — they make me truly feel the arrival of autumn (though there’s also that touch of melancholy about how quickly time flies, haha).
In this tutorial, we’ll focus on the wet-on-wet watercolor technique — letting beautiful reds, oranges, yellows, and even greens blend seamlessly under different levels of wetness. I’ll also share an easy way to create natural-looking leaf veins. Let’s get started!

Painting Tools
- Watercolor Paper: Arches Cold-Pressed Watercolor Paper
- Brushes: Escoda Perla #8 / Escoda Versatil #10
- Watercolors: For this beginner step-by-step watercolor tutorial series, I use Schmincke Horadam 24 Half-Pan Set. You can choose any brand and find similar colors.
Colors:
Chromium Orange Hue
Cadmium Red Light
Permanent Carmine
Magenta
Manganese Violet
Phthalo Green
Burnt Sienna
Sepia Brown
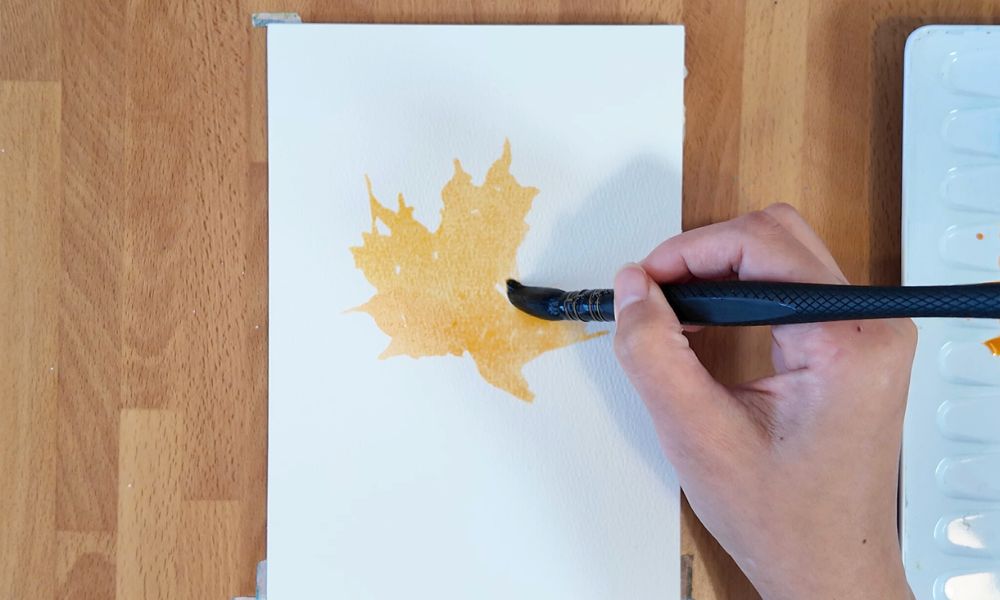
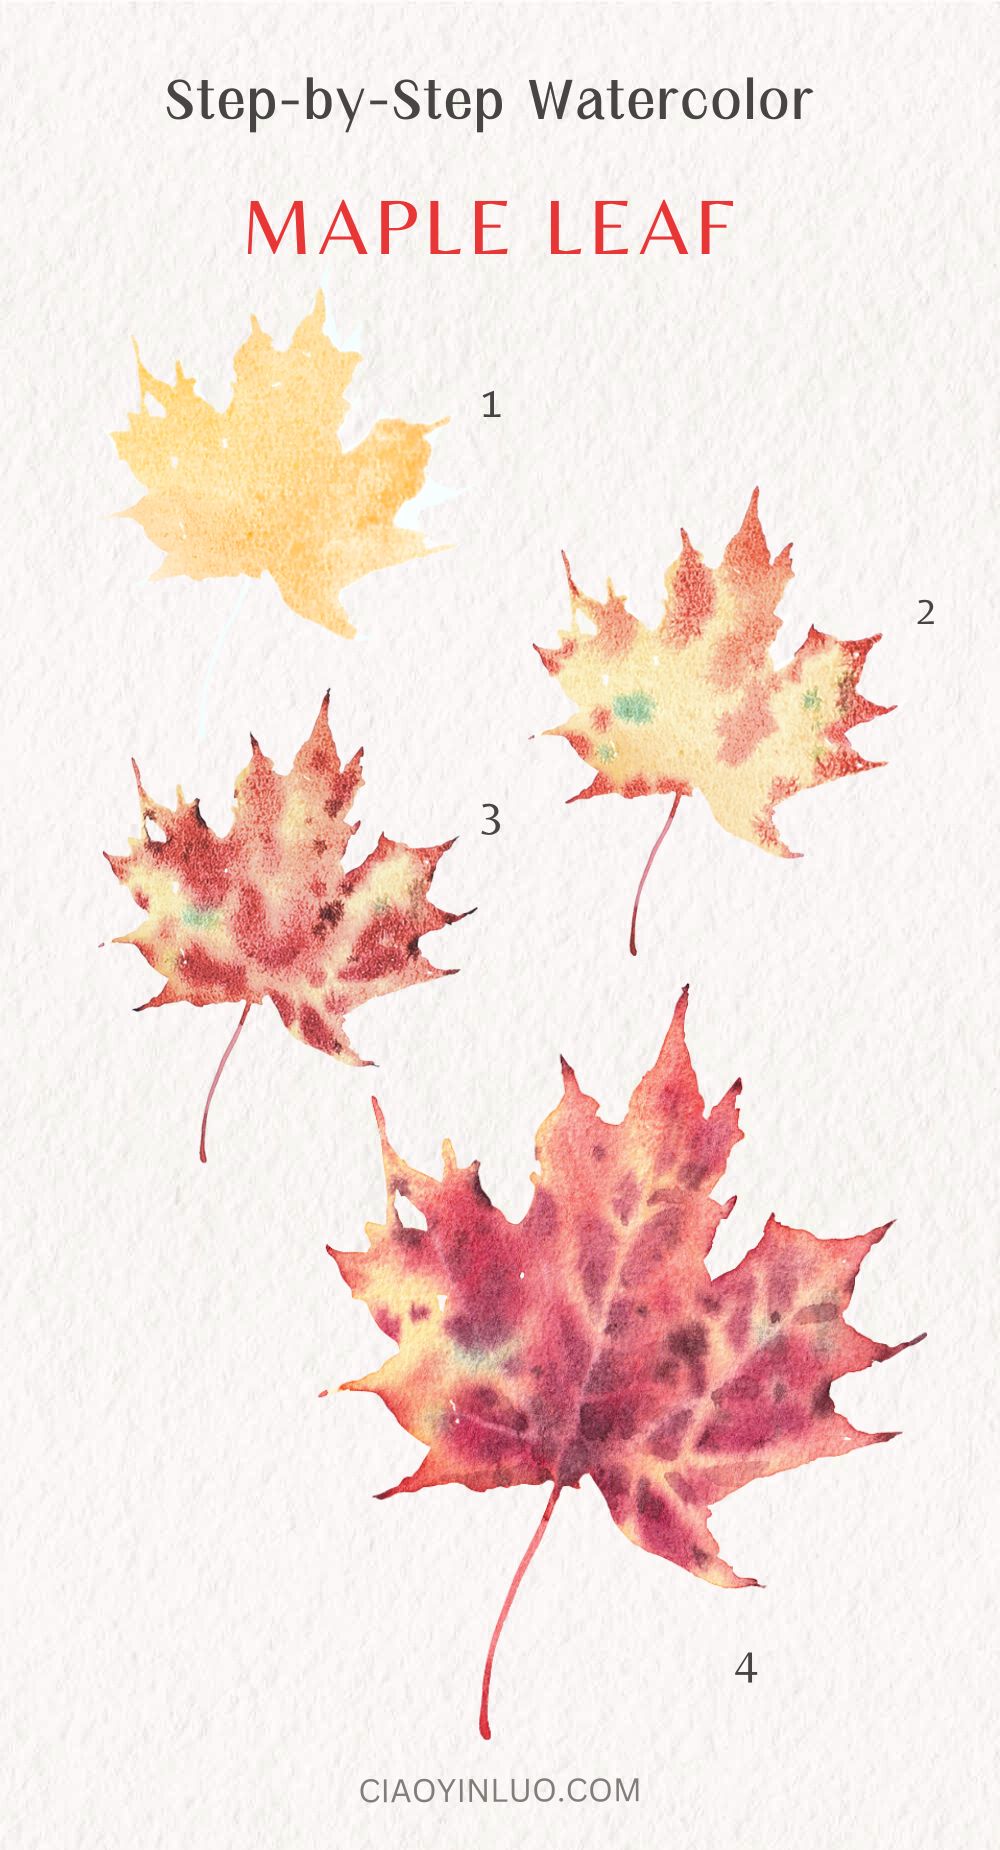
1. Leaf Base Shape
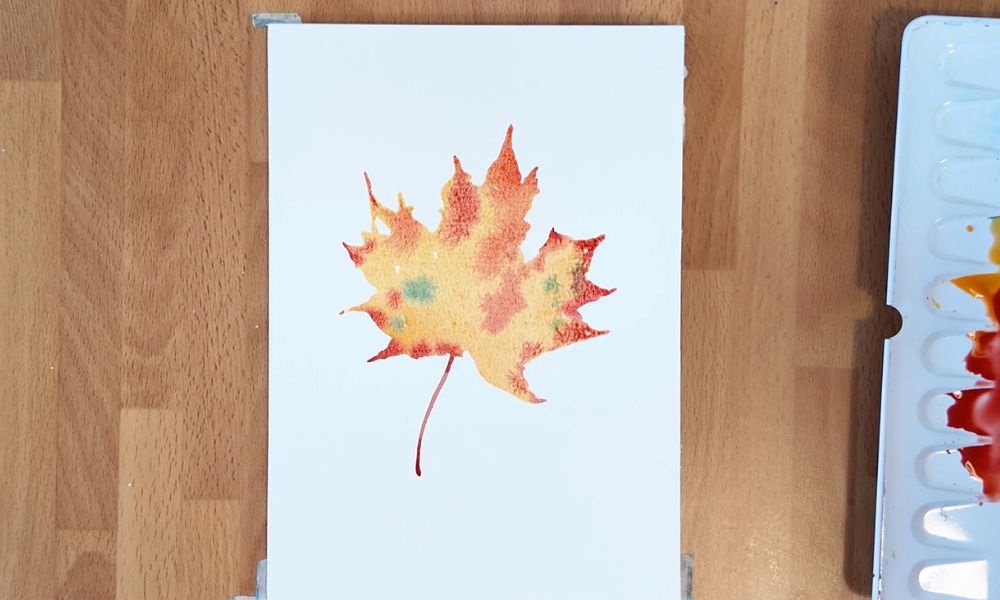
We’ll begin by directly painting the shape of a maple leaf. Using a medium-sized brush with a good amount of water, load it with Chromium Orange Hue and paint the leaf as if you’re creating its silhouette.
It’s okay if your brush is a bit too large to form fine, sharp tips — we’ll refine the edges later with a smaller brush.
At this stage, the key is to create a wet and complete maple leaf shape. Now we’re ready to add more colors, so let’s move on to the next step!
2. Adding Color
We already have the overall shape, so now we can switch to a smaller brush and start adding more color!
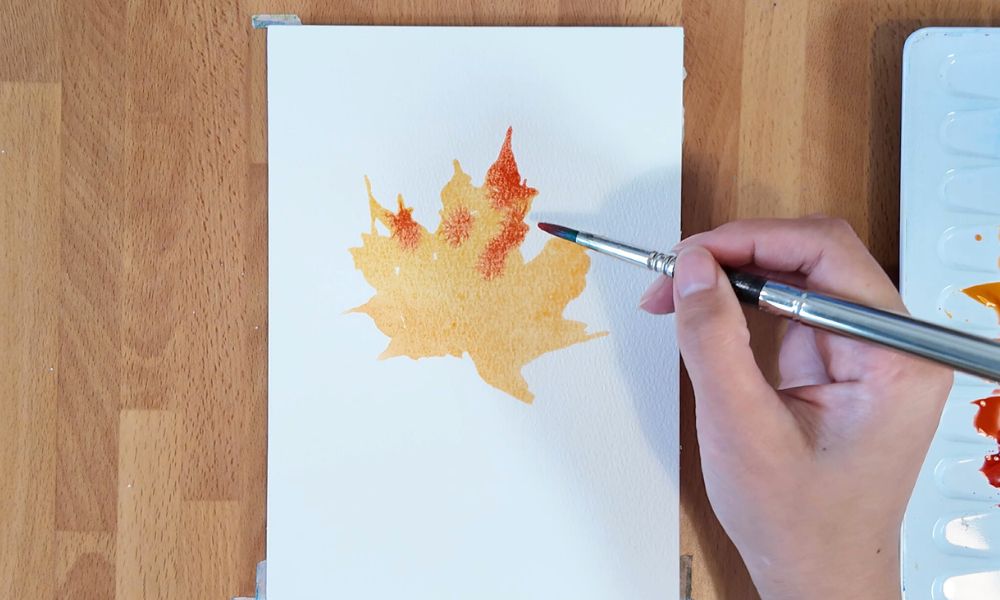
I used orange and red tones like Cadmium Red Light and Permanent Carmine, along with some light green tones. Add some of these colors to the center of the leaf and along its edges. Next, use a more concentrated mix of reds (Permanent Carmine + Magenta + Burnt Sienna) and layer it over some areas.
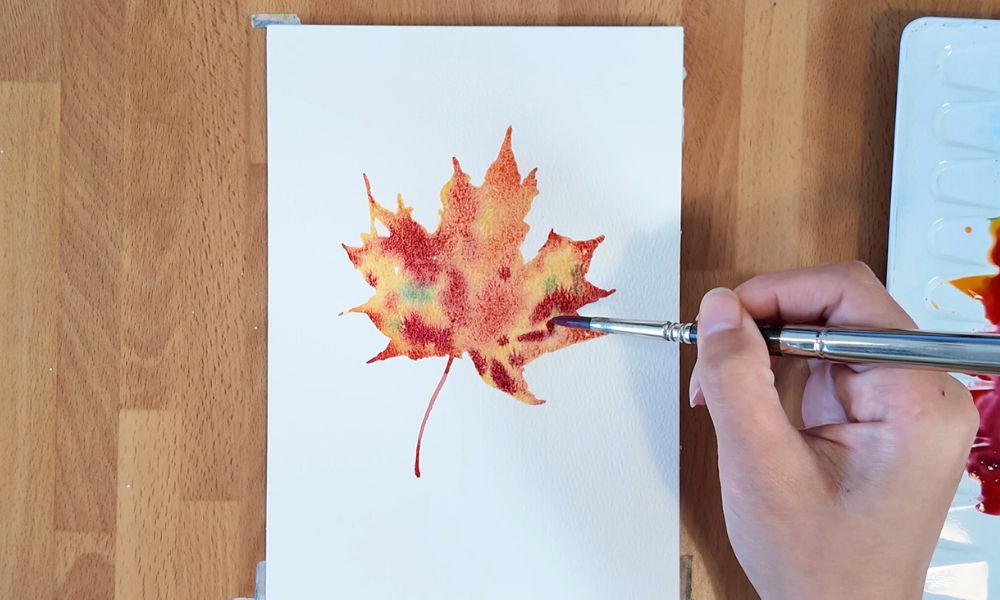
3. Creating the Leaf Veins
Now, the leaf should be gradually becoming less saturated with water—the reflection from the side should be less noticeable. This is the perfect time for us to create the main leaf veins.
To do this, simply clean your brush, blot away the excess water with a paper towel or cloth, and then lift several lines with the damp brush to reveal the veins. If the underlying color is deep red, the veins will appear particularly prominent.
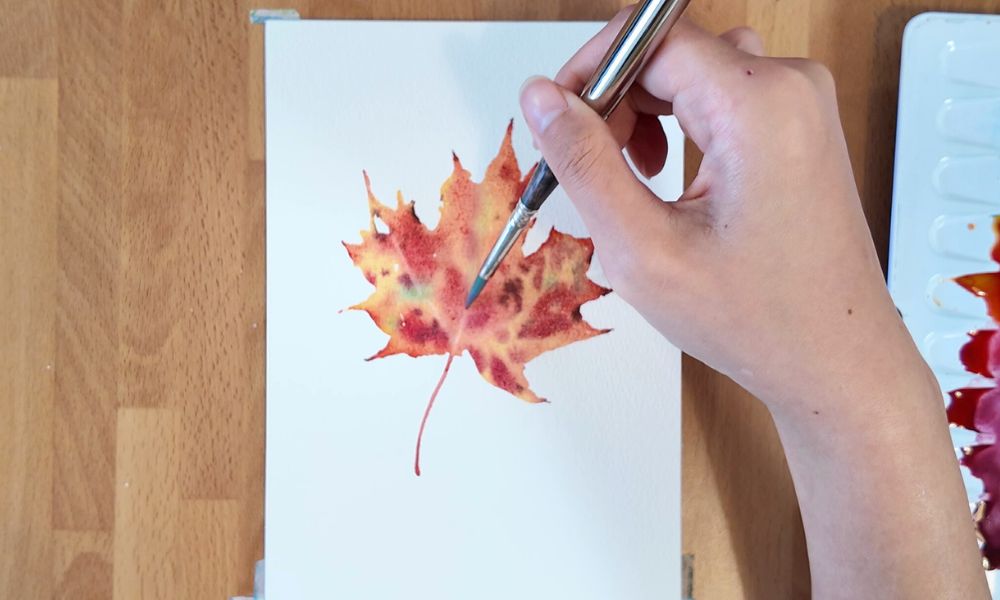
Besides lifting the pigment, we can also accentuate the veins by adding darker strokes next to them—this is known as negative painting. I used a brownish-purple mix (Magenta + Manganese Violet + Sepia Brown) to add the final layers of depth to the maple leaf.

Finally, you can add a few dry brush strokes and dots to the leaf to represent a dry or textured surface, and with that, we have completed this beautiful red maple leaf!
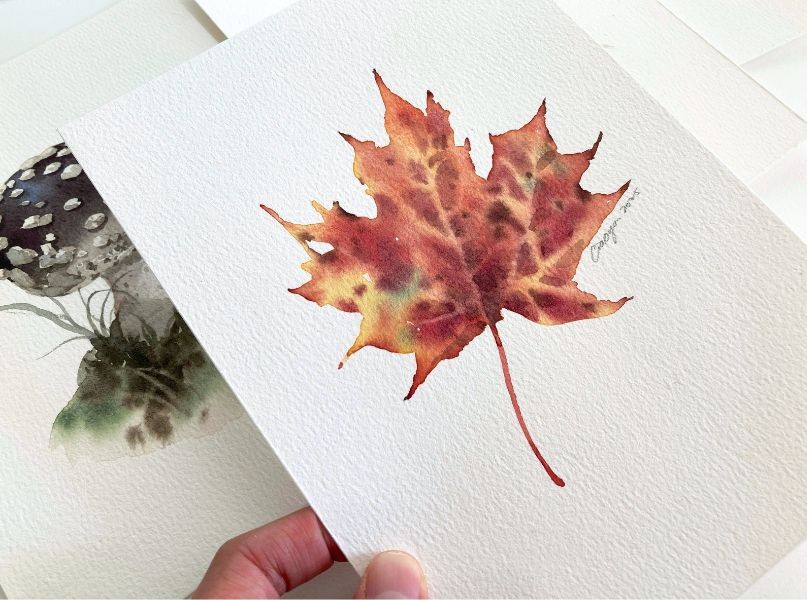
The maple leaf is a subject I must paint every year—it perfectly captures the intense and fleeting colors of the autumn season!
In today’s painting, we had a fantastic opportunity to practice the wet-on-wet technique, using bleeding and layering to create soft, natural textures. What other autumn subjects would you like to paint in the future? Please let me know in the comments!
If you enjoyed this tutorial, don’t forget to save this image to your Pinterest board for later!
You can also watch the painting process in my YouTube Short below!
Related Blog Posts:
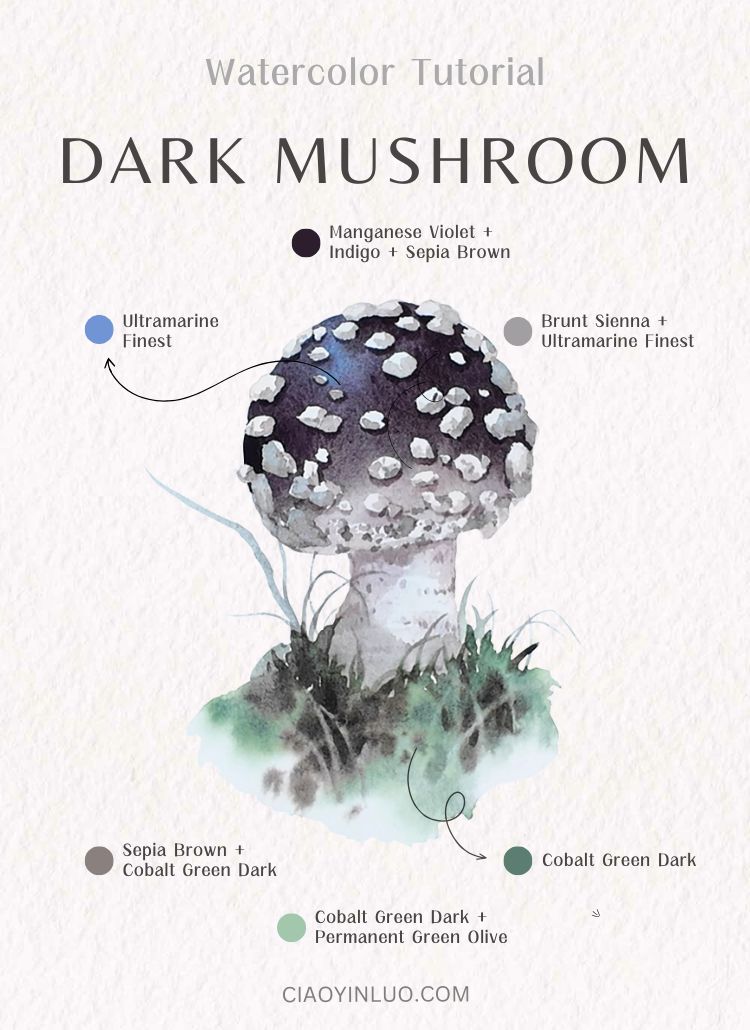
Learn how to paint watercolor Mushroom|Fall Watercolor Ideas
Learn how to paint watercolor Himalayan blue poppy
Lean how to paint watercolor Pansies