Is the drying speed of watercolor paper a challenge for you?
Water control is crucial when painting with watercolors.
We add brushstrokes, layer colors, and create textures before the paper dries. However, this is a common issue for many artists.
I frequently receive questions about this:
-My paper dries halfway through the painting, and I don’t have enough time to add more layers or color.
-Am I painting too slowly? I can’t seem to speed up.
-I feel like the paper is drying—should I keep going?
-Did I choose the wrong paper?
Today, I’m sharing 5 methods to help keep your watercolor paper wet longer and extend your painting time!”
Table of Contents
Switch to Larger Watercolor Brushes
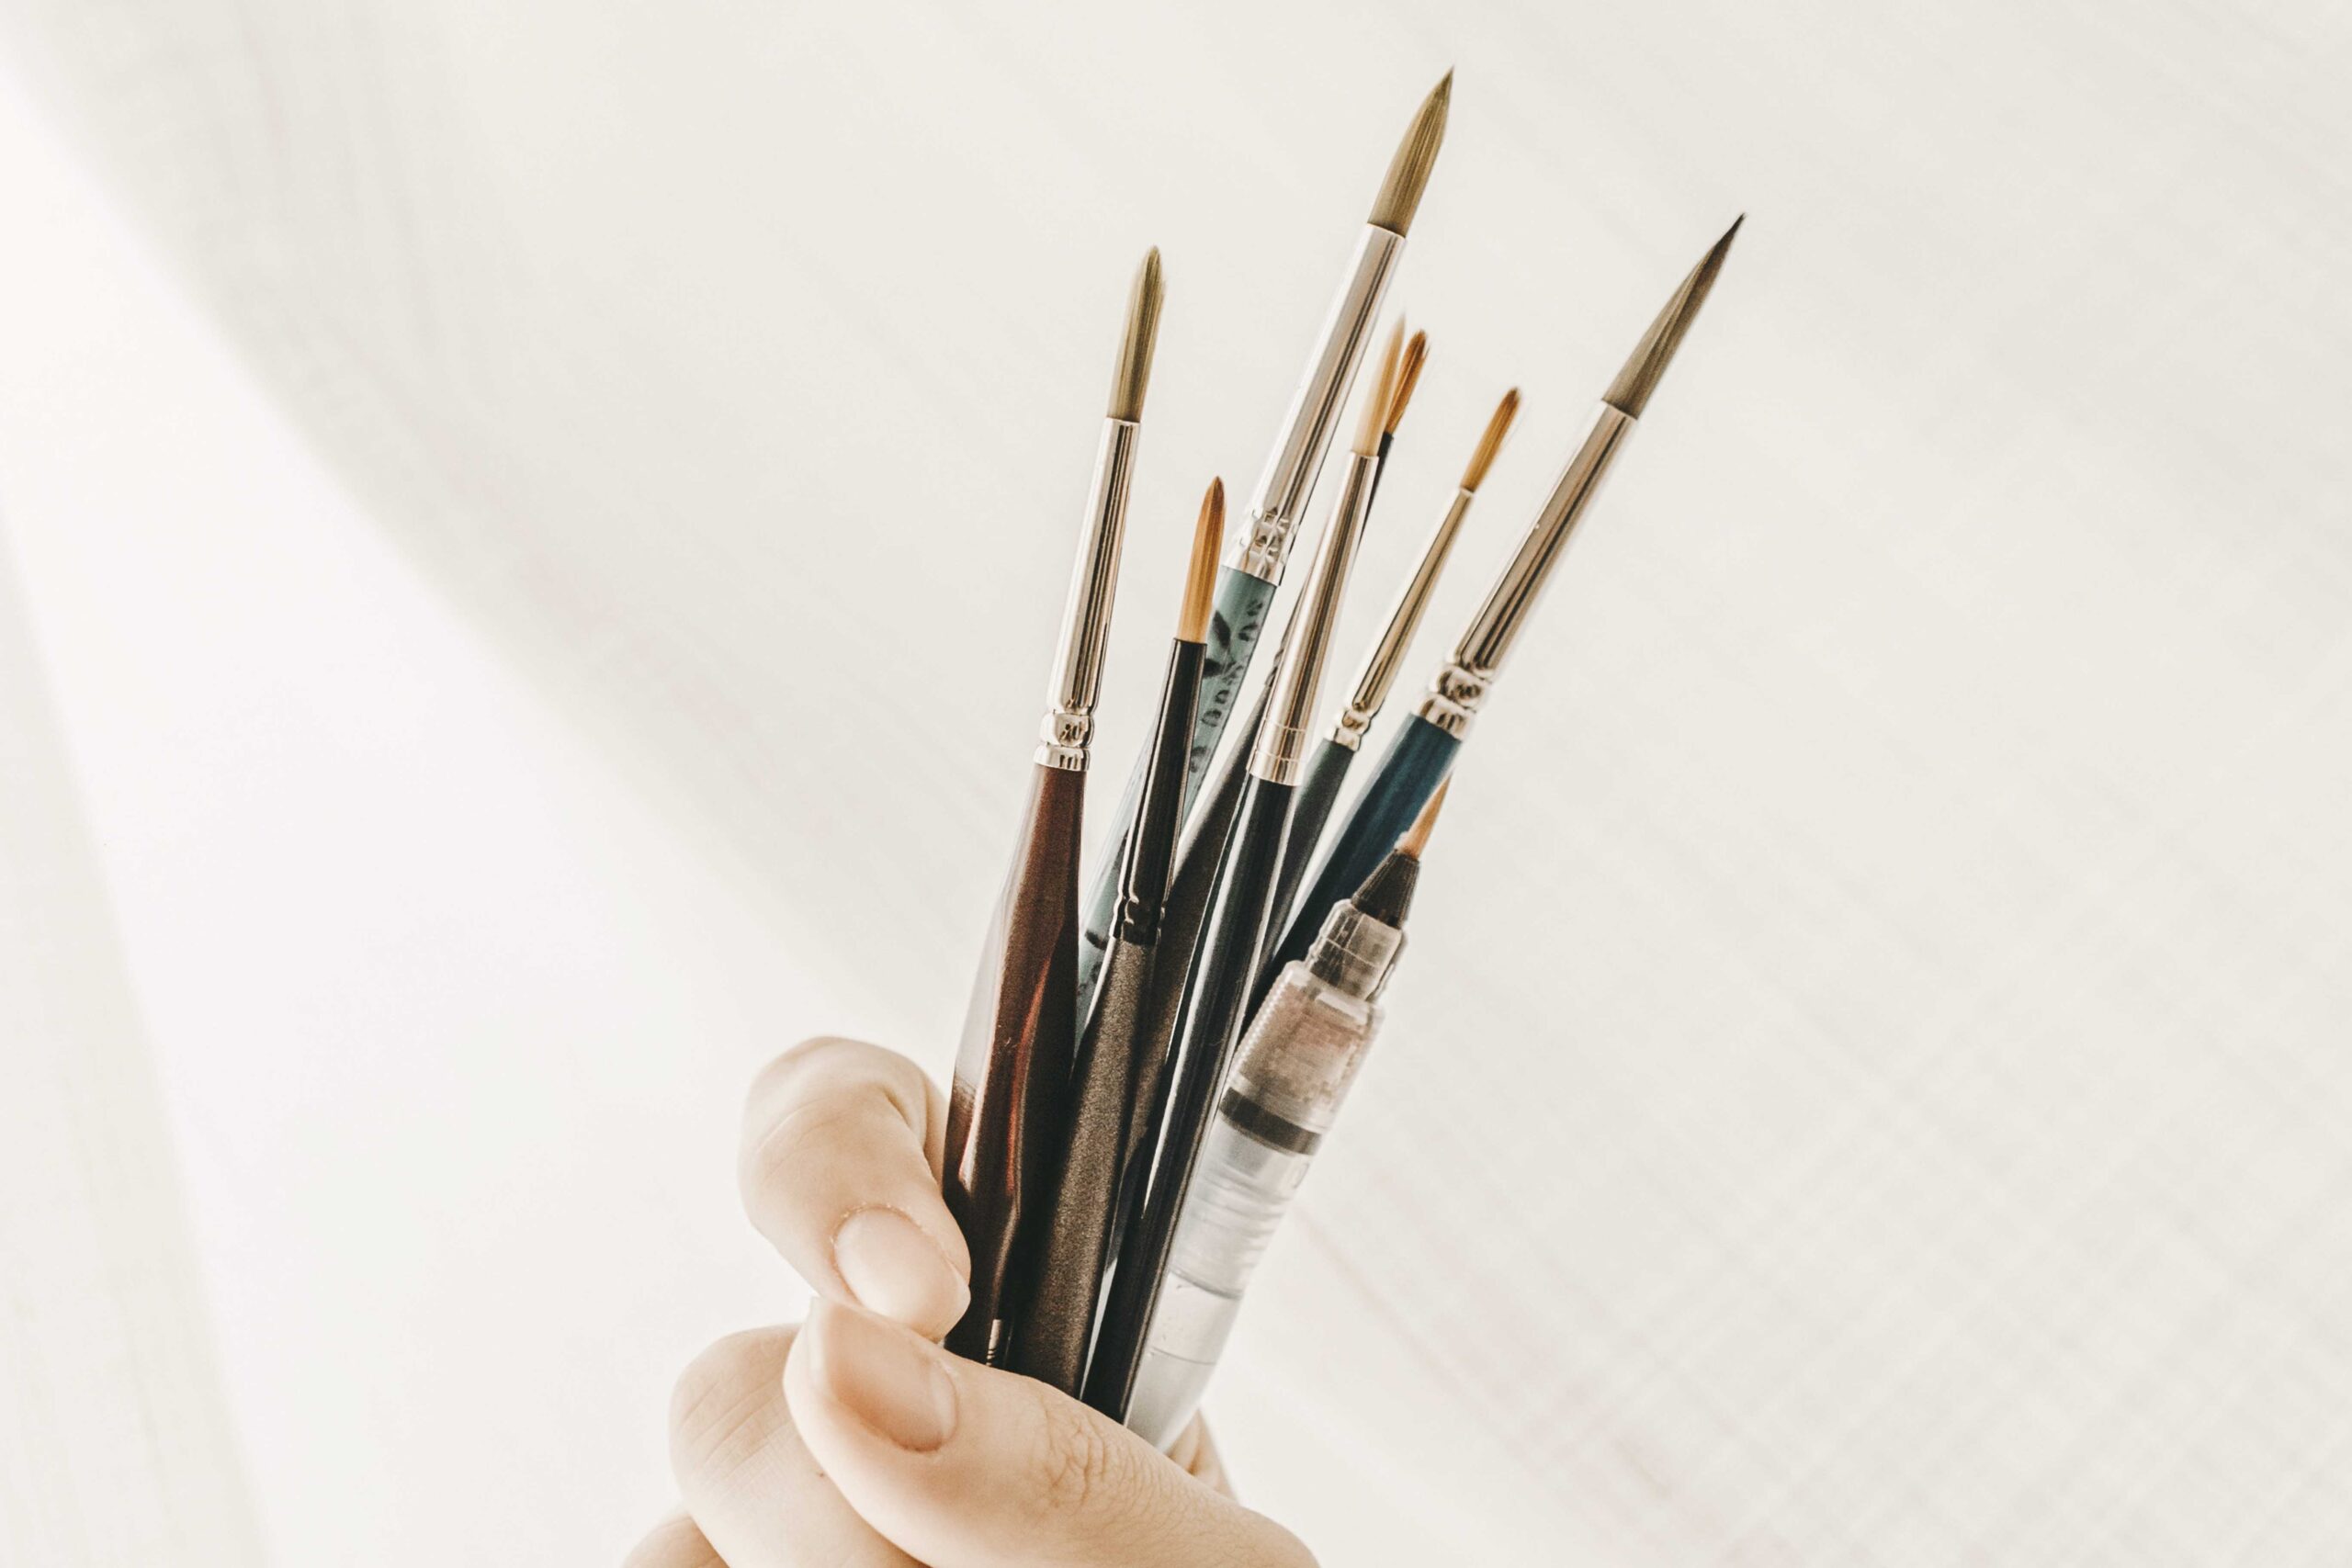
Some artists may not use appropriately sized watercolor brushes for their paintings.
For instance, when painting a large A4 landscape, using a size 8 or 10 brush for the base layer may be much slower compared to a size 16 or large flat brush. Smaller brushes hold less water and cover less area, meaning it takes longer to complete larger sections, and the paper may start drying before you’ve finished the first layer.
Switching to the right-sized brush can make your work faster and easier, allowing you to add more layers.
Divide Your Painting Area into Sections
Sometimes, the areas we paint may have irregular shapes and won’t be as relaxed or free-flowing as when we paint backgrounds or the first layers. At these times, we tend to focus more on the outlines of objects and slow down. During this process, the paper may dry out, making it difficult to blend colors smoothly.
In fact, we can break the painting process into sections, depending on our painting habits and pace. For example, we could complete each petal individually instead of painting all of them at once, or separate non-connected areas. This will reduce time pressure during the process.
Different Techniques to Extend Paper Wetness
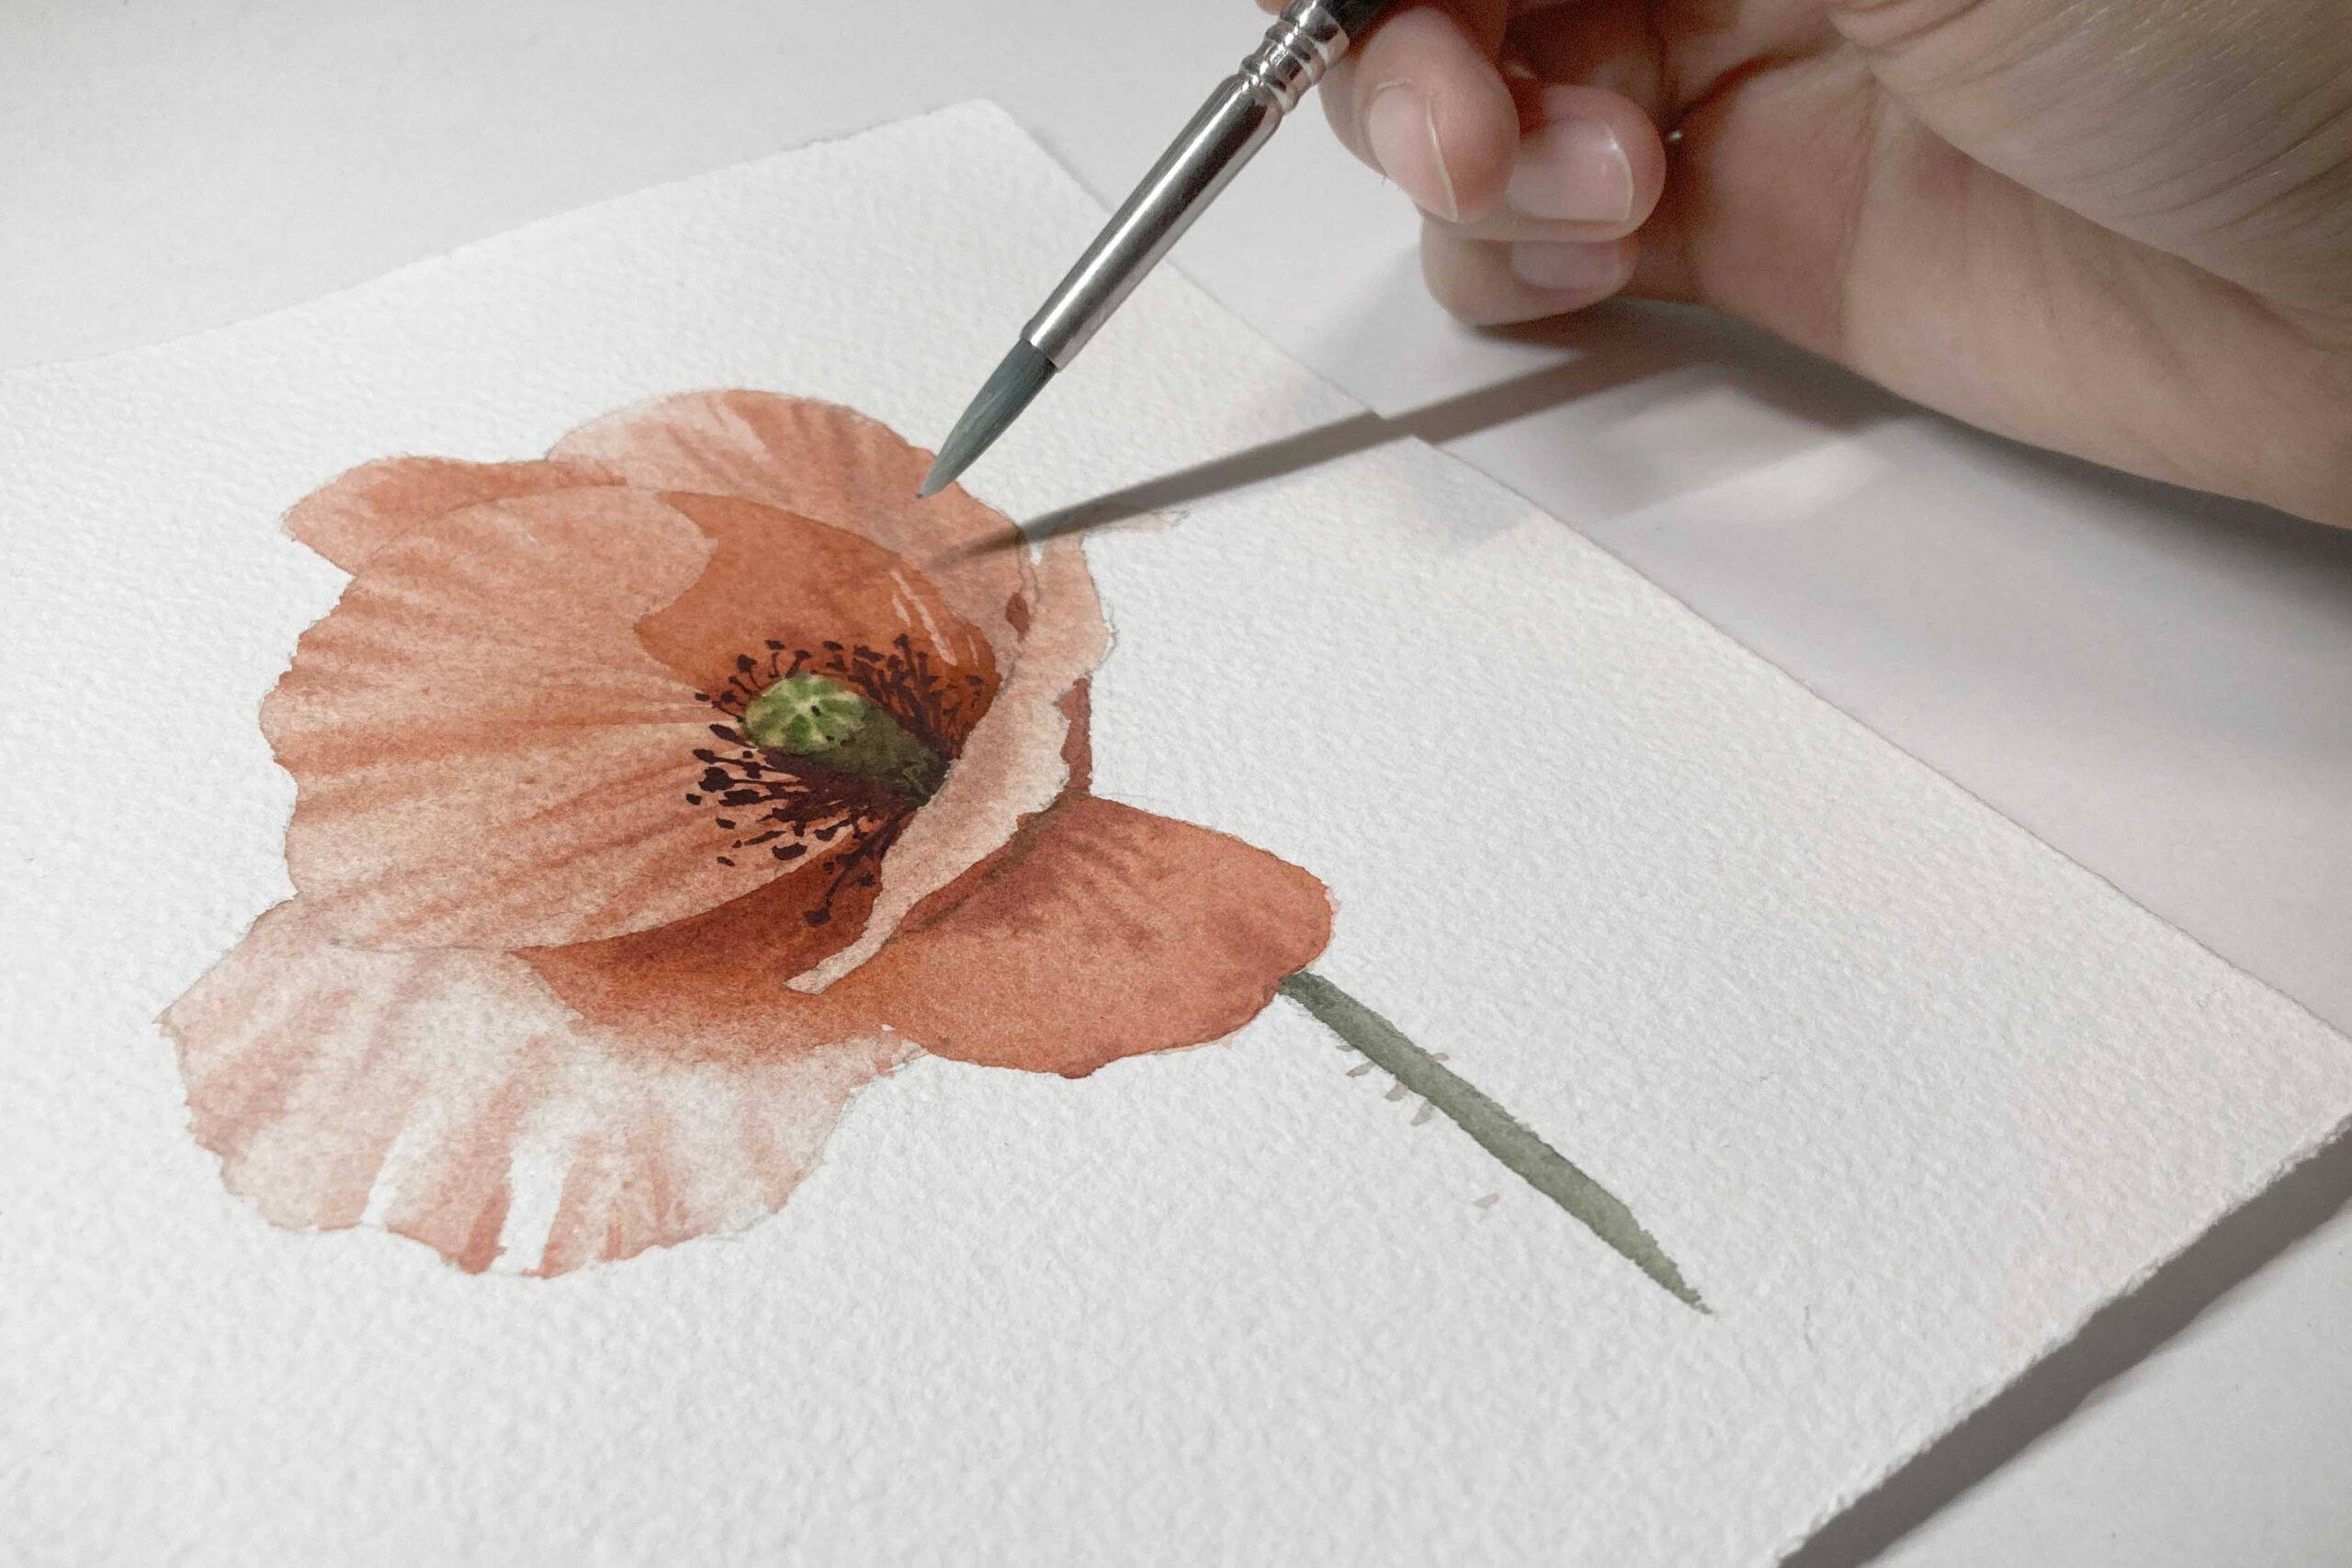
We often use the wet-on-wet technique for backgrounds, starting by wetting the paper. If your paper dries too quickly before finishing the painting, try wetting both sides of the paper with a sponge or brush. This ensures even moisture absorption.
You can also immerse the paper in water or use a showerhead, as I personally do, to thoroughly dampen it. When both sides of the paper are thoroughly dampened, it will stay moist for a longer period. This gives you more time to make color adjustments, add soft brushstrokes, and build up layers in your painting without the paper drying out too quickly.
Another way to maintain moisture during watercolor painting is by replenishing water as you work. Using a spray bottle to lightly mist the paper before it fully dries can keep it workable, allowing for smoother blending or color adjustments.
However, spraying water when the paper is nearly dry may lift pigments, exposing the white paper underneath and creating uneven patches.
For best results, mist evenly from a distance to avoid disturbing the paint and ensure a consistent, moist surface for continued painting. We aim to add moisture while avoiding puddling or warping of the paper.
As long as the paper retains sufficient moisture, the paint will remain fluid. Whether you start with enough water initially or add moisture midway, both methods help maintain this effect, allowing you to continue painting seamlessly!
Choose the Right Paper for Your Painting
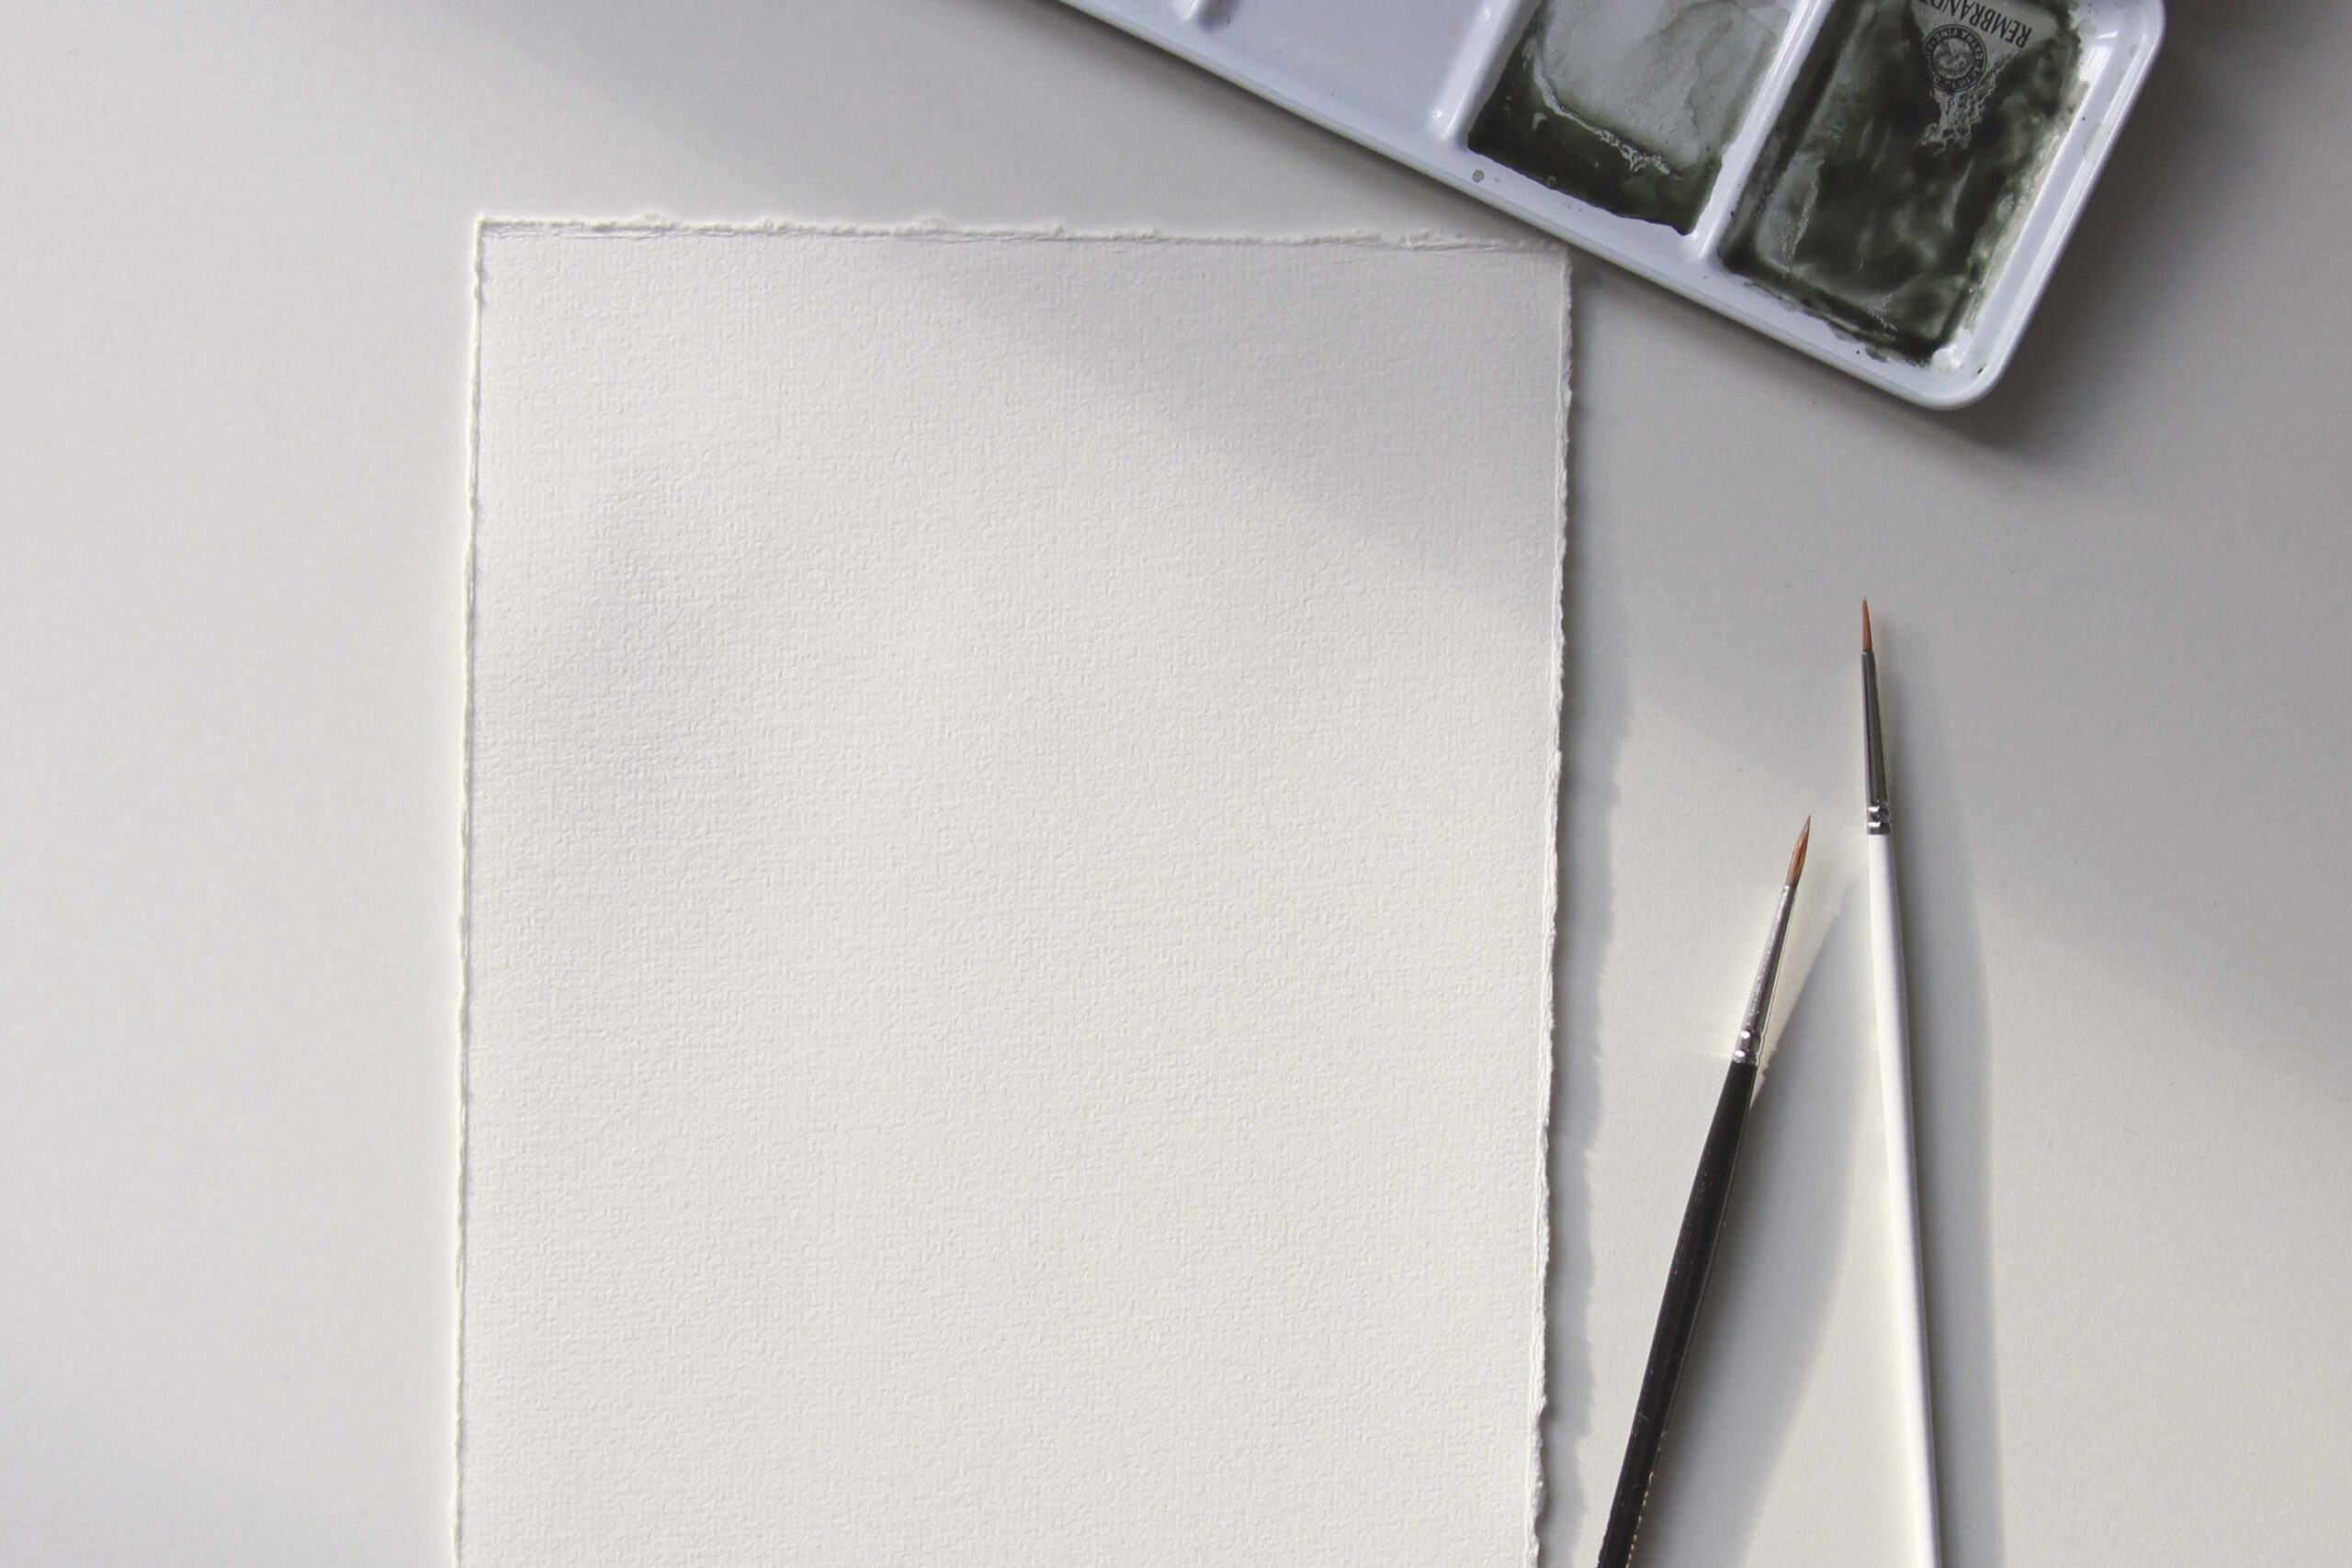
The key to keeping watercolor paper moist lies in its weight, thickness, and composition. Different papers yield varying results and painting experiences. Here’s a breakdown:
- Heavyweight Watercolor Paper
Papers like 140 lb (300 gsm) or heavier retain moisture longer than thinner papers, extending your working time. - Cold-Pressed or Rough Paper
Textured surfaces hold more water and pigment, helping maintain wetness. - 100% Cotton Paper
Cotton fibers offer superior moisture retention compared to wood pulp or blends.
For techniques requiring extensive water or blending, 300 gsm cotton watercolor paper is highly recommended by artists.
Adjust Your Speed and Plan Ahead
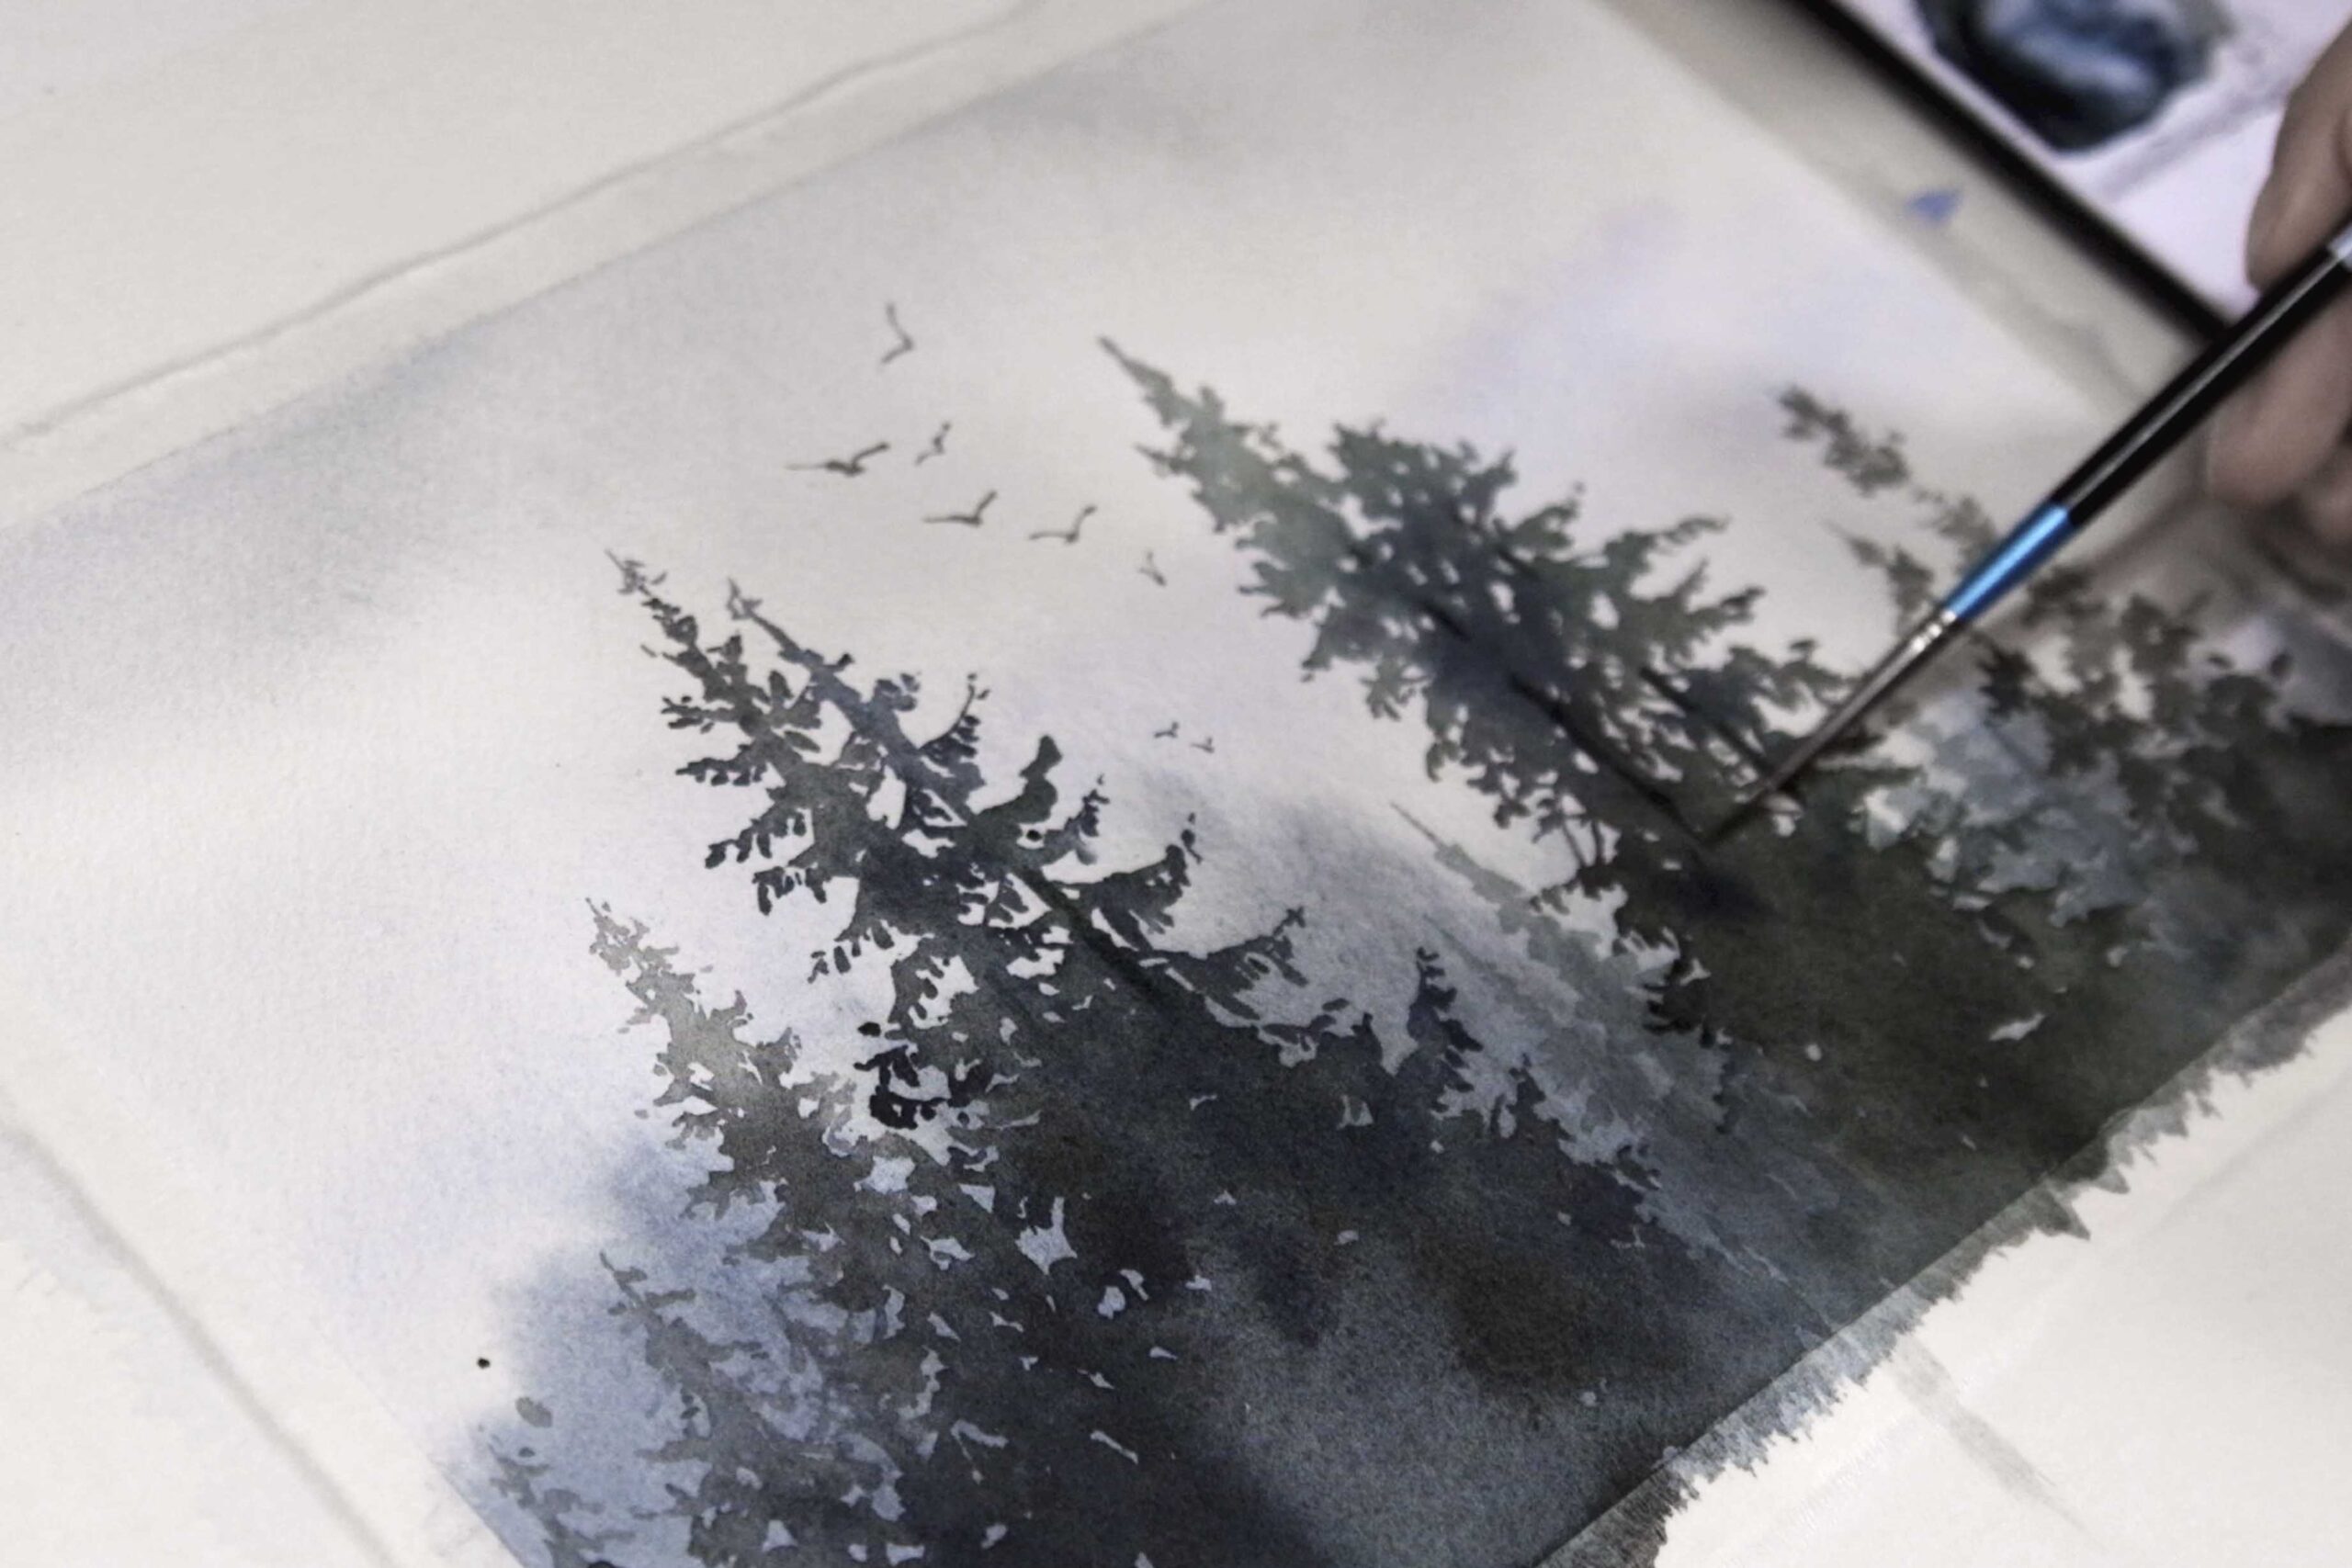
We often wonder if our painting speed is too slow to connect colors and complete areas before the paper dries. However, I believe that in addition to factors like paper type, sectioning, brush size, and moisture retention, familiarity with the subject plays a key role. For example, if you typically paint animals but are now attempting a complex building, you might feel overwhelmed and unsure of how to break down the process. It’s normal for your pace to be slower in this case.
Therefore, before starting your formal painting, it can be helpful to do some preparatory steps. This will help you feel more confident and speed up your painting process!
Start with sketch practice
We can try adjusting our painting speed to match the drying speed of the paper.
To achieve this, it’s helpful to do small practice sessions before starting the final artwork.
This will help you become more familiar with color choices, shading, and contrasts, and allow you to go through the process briefly.
This way, you can complete areas or layers before they dry completely.
Prepare your paints in advance
Before you start painting, think about the colors you may use in your piece.
Decide on the focal points and key elements, and mix your colors ahead of time on your palette.
This saves time during the process since you won’t need to stop frequently to mix colors, which can slow you down.
Use masking fluid
When we need to preserve white areas or intricate details, consider using masking fluid.
For example, if you want to keep the moon in the sky or roses in a bush, apply the masking fluid before you start painting.
This allows you to paint the sky or foliage without worrying about the moon or roses, saving time for layering.
Once the painting is dry, you can remove the masking fluid to reveal the preserved areas.
I hope this post helps you overcome some of the challenges of keeping watercolor paper moist. I wish you smooth sailing in your future practices! If you have any related questions, feel free to leave a comment below.
I’ll be sharing more step-by-step tutorials for beginners, so stay tuned!
More artist tips: How to Build a Daily Painting Habit: Unlock Your Creativity
