This fun and simple watercolor tutorial lets you dive into the festive spirit! Learn how to paint adorable Christmas cookies decorated with colorful icing, powdered sugar, and holiday details. Perfect for holiday cards, decorations, or just for fun. Grab your brushes and watercolors, and let’s get started!
Hope you have fun!
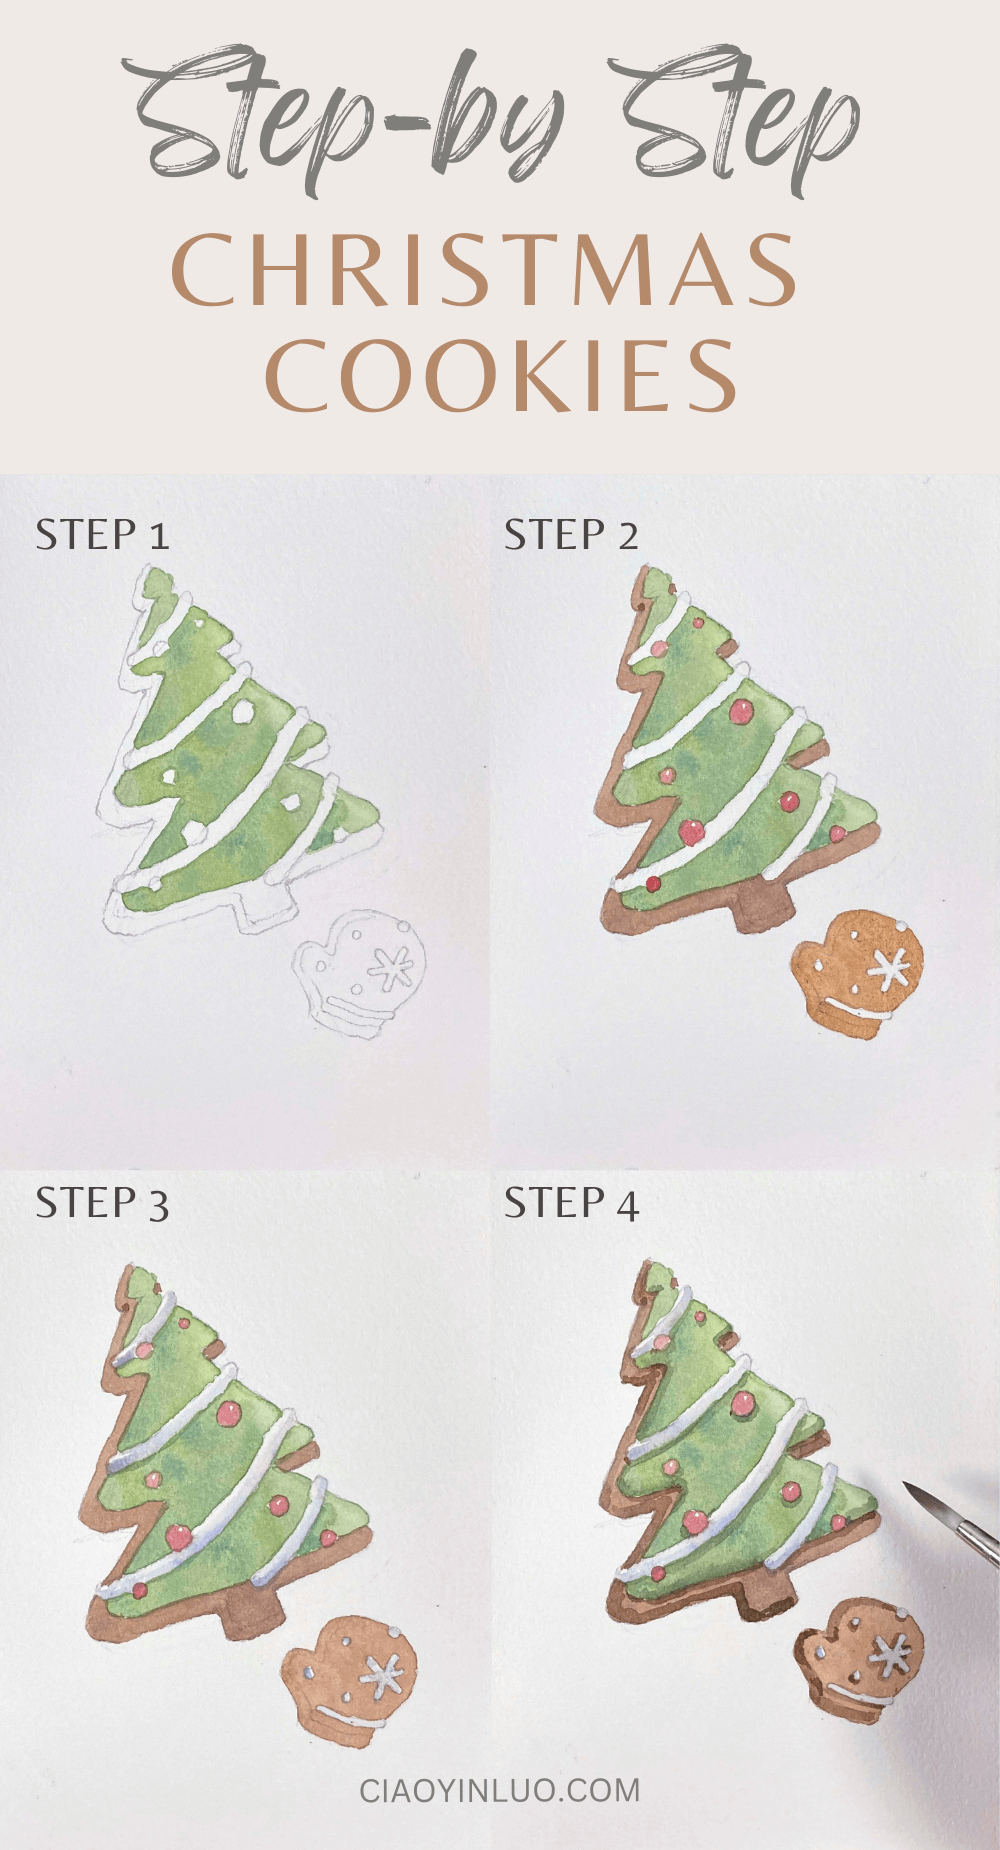
Table of Contents
Supplies list
Watercolor Paper: Arches Cold-Pressed Watercolor Paper
Brushes: Escoda Perla #8 / Escoda Versatil #10
Watercolors: For this beginner step-by-step watercolor tutorial series, I use Schmincke Horadam 24 Half-Pan Set. You can choose any brand and find similar colors.
Colors:
Yellow Ochre
May Green
Cobalt Green Dark
Permanent Carmine
Burnt Sienna
Sepia Brown
Ultramarine
Sketch
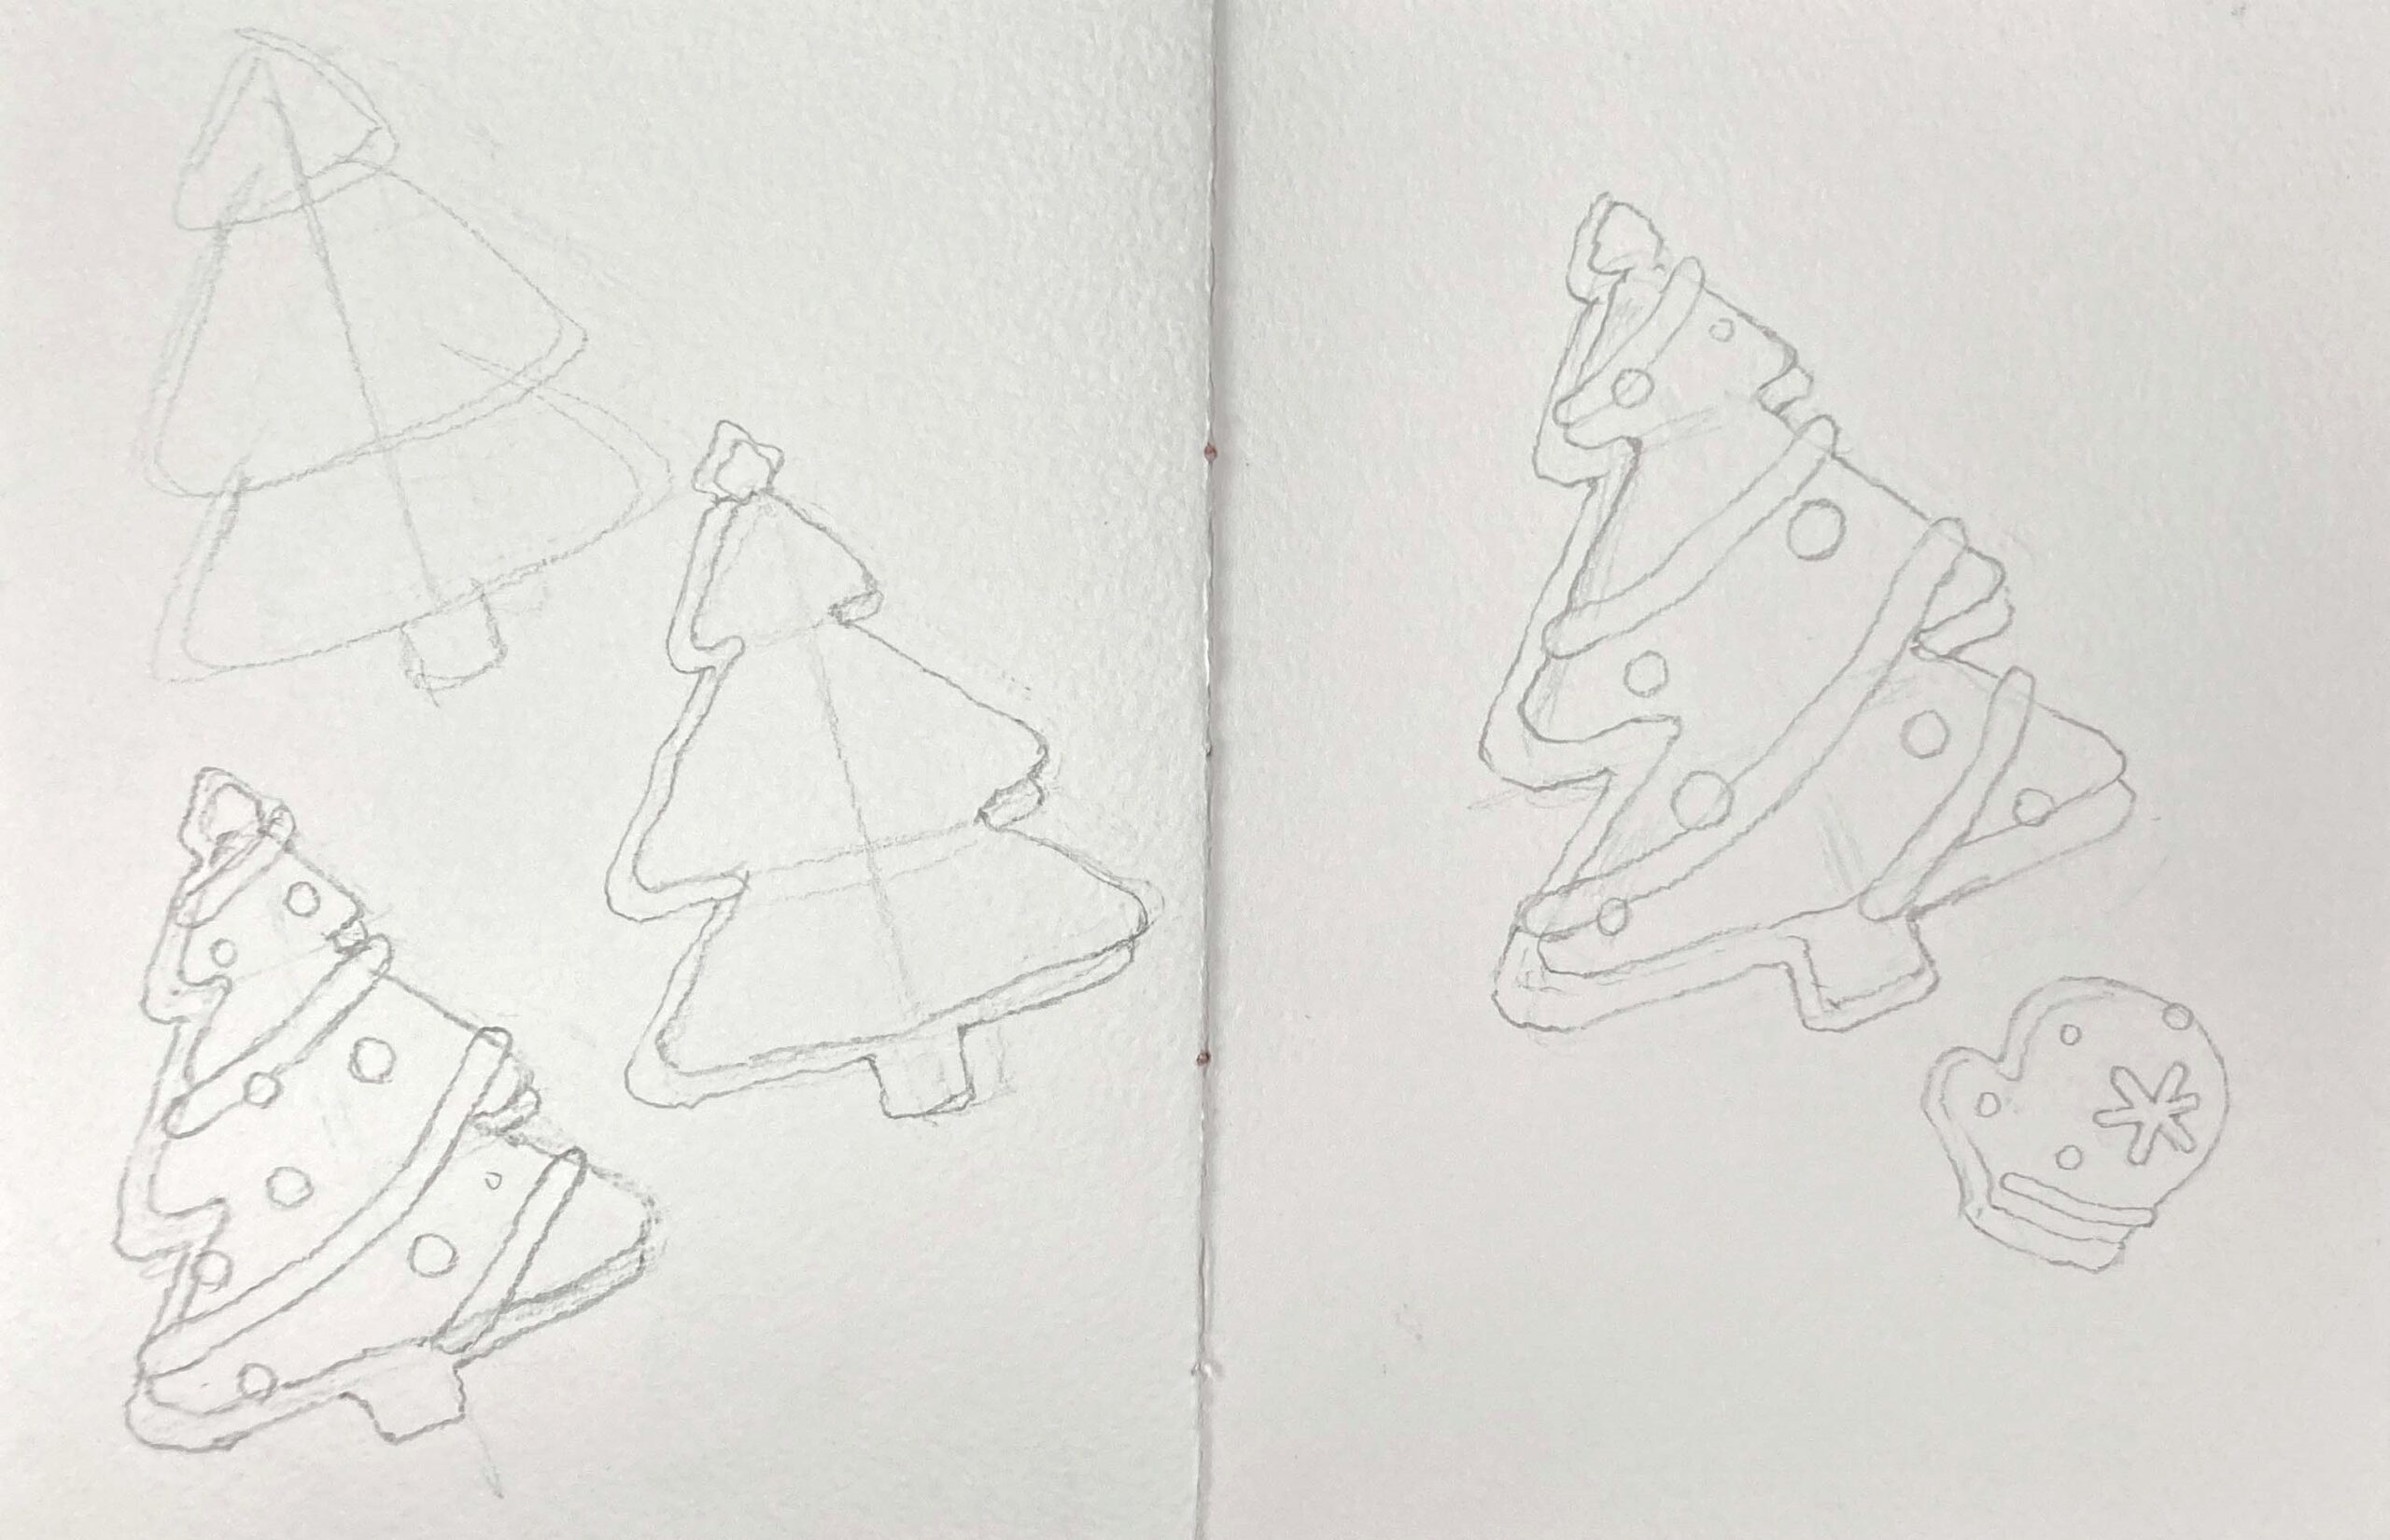
Step 1: Christmas Tree Icing
I mixed Yellow Ochre + May Green to paint the green icing. Since using May Green alone can be overly vibrant, blending in a little Yellow Ochre or a touch of brown helps soften the color.
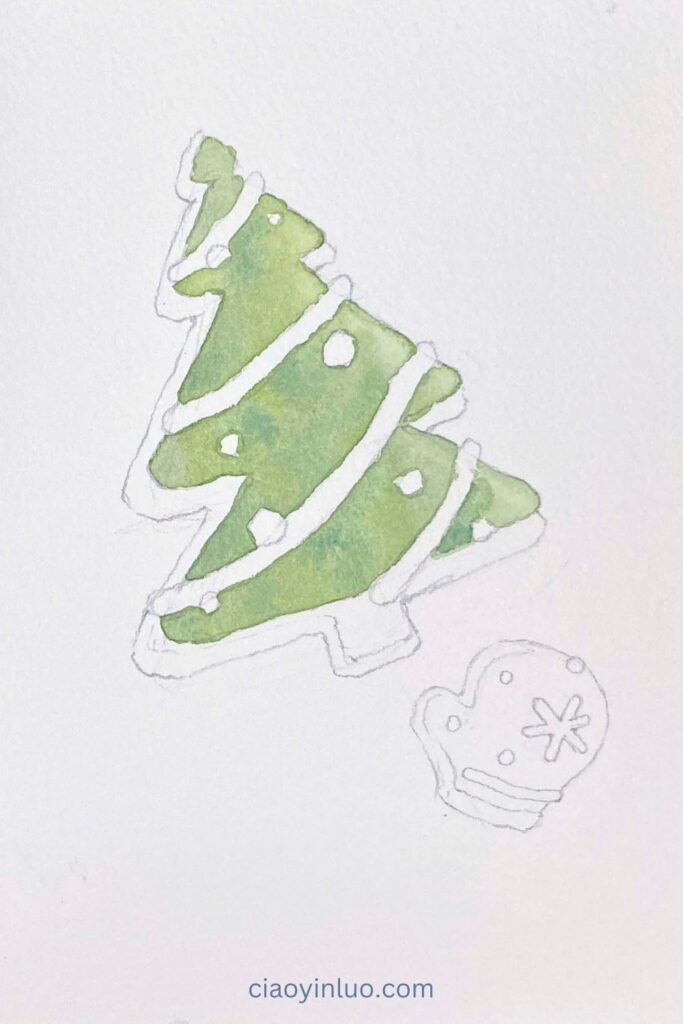
Step 2: Cookies
For the cookies, I suggest experimenting with various shades of brown. For a warmer tone, I use Burnt Sienna, while for a cooler brown, I add more Sepia. Additionally, I use Permanent Carmine to create the decorative elements. With this, we’ve almost completed the base colors.

Step 3: White Icing
If the white icing is left completely white, it might look too flat. Adding soft shadows can give it more depth. I usually dilute Burnt Sienna + Ultramarine to create a light gray tone, then apply it primarily to the bottom areas of the white icing.
,

Step 4: Dimension of the Cookies
This step is crucial. To make the cookies look more dimensional, we need to add shadows and highlight their thickness.
For the green icing, I took the green mix from earlier and added a tiny bit of brown to create a slightly darker green. Then, I applied it to the left and lower edges of the icing and added shadows of the white and red icing.
For the cookies, I used a darker shade of brown on the left and lower edges to add thickness. This immediately made the cookies look much more three-dimensional!

Step 5: Details
In the last stage, observe if any additional details are needed.
For example: I deepened the shadows on the green icing where it overlaps with the cookies.
I also added some small strokes to emphasize the texture of the cookies.
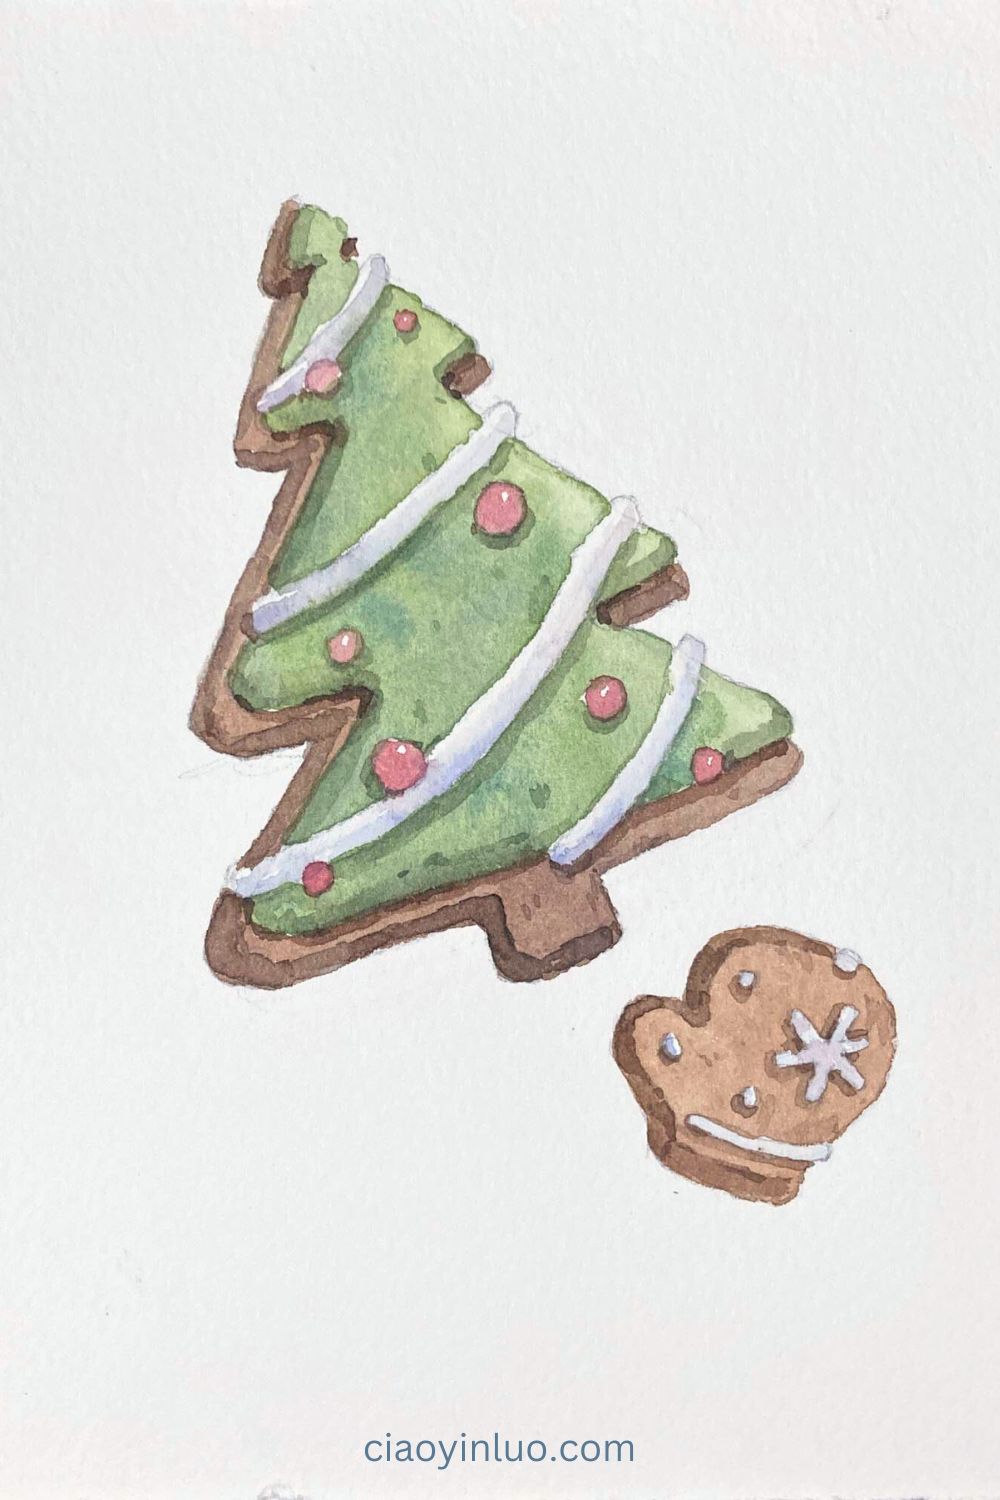
We’ve finished these adorable watercolor Christmas cookies!
Additional Small Cookies
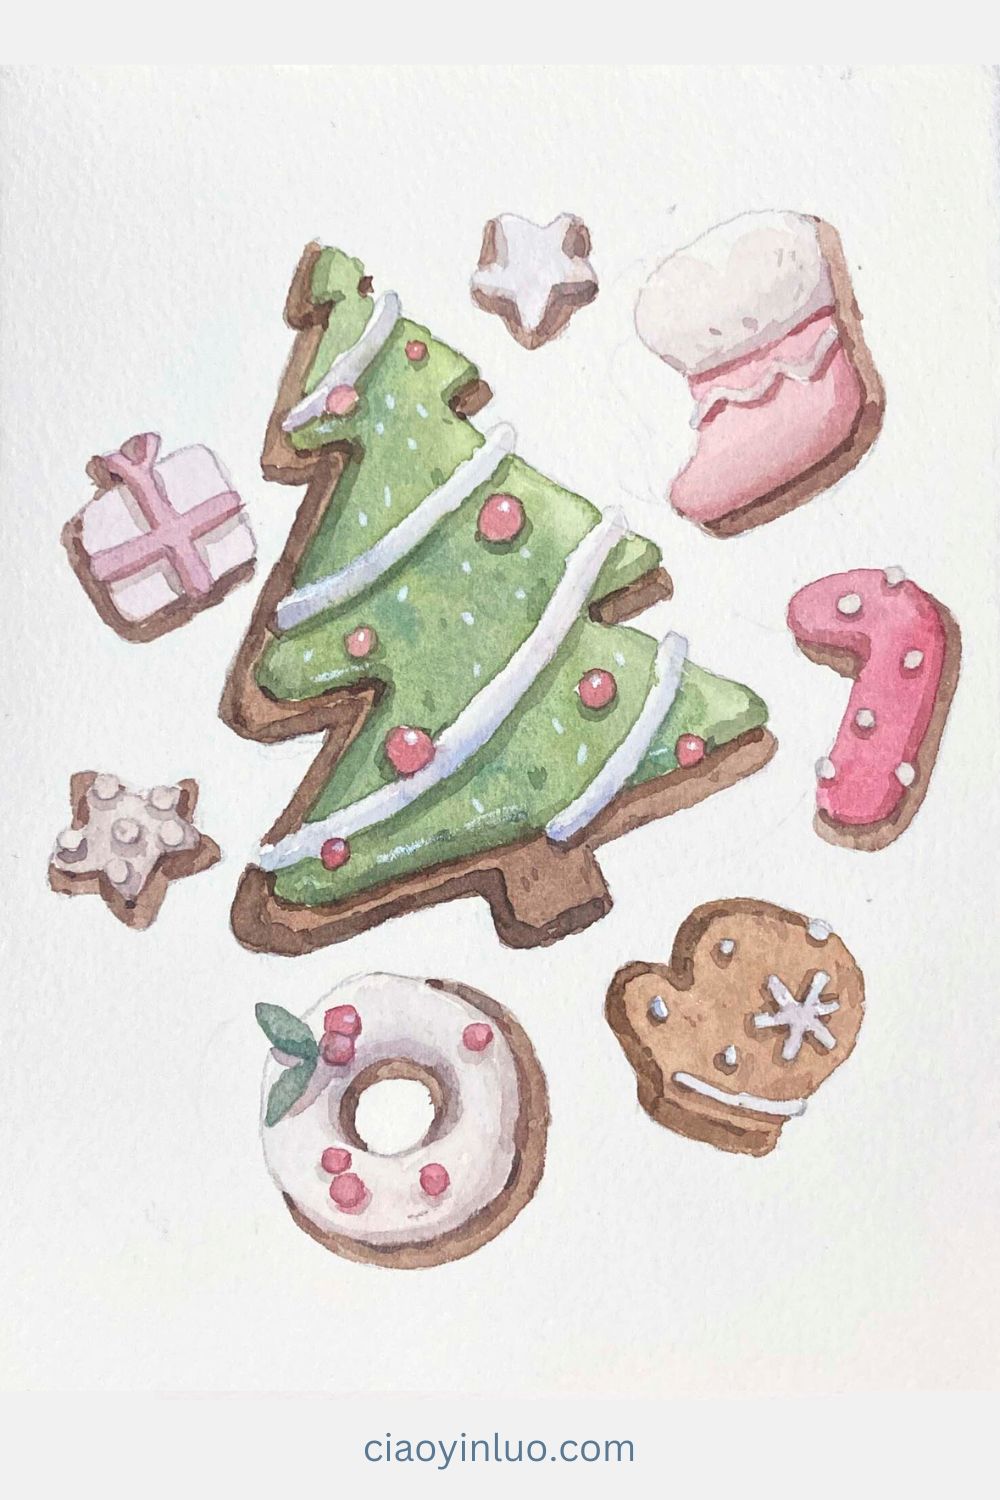
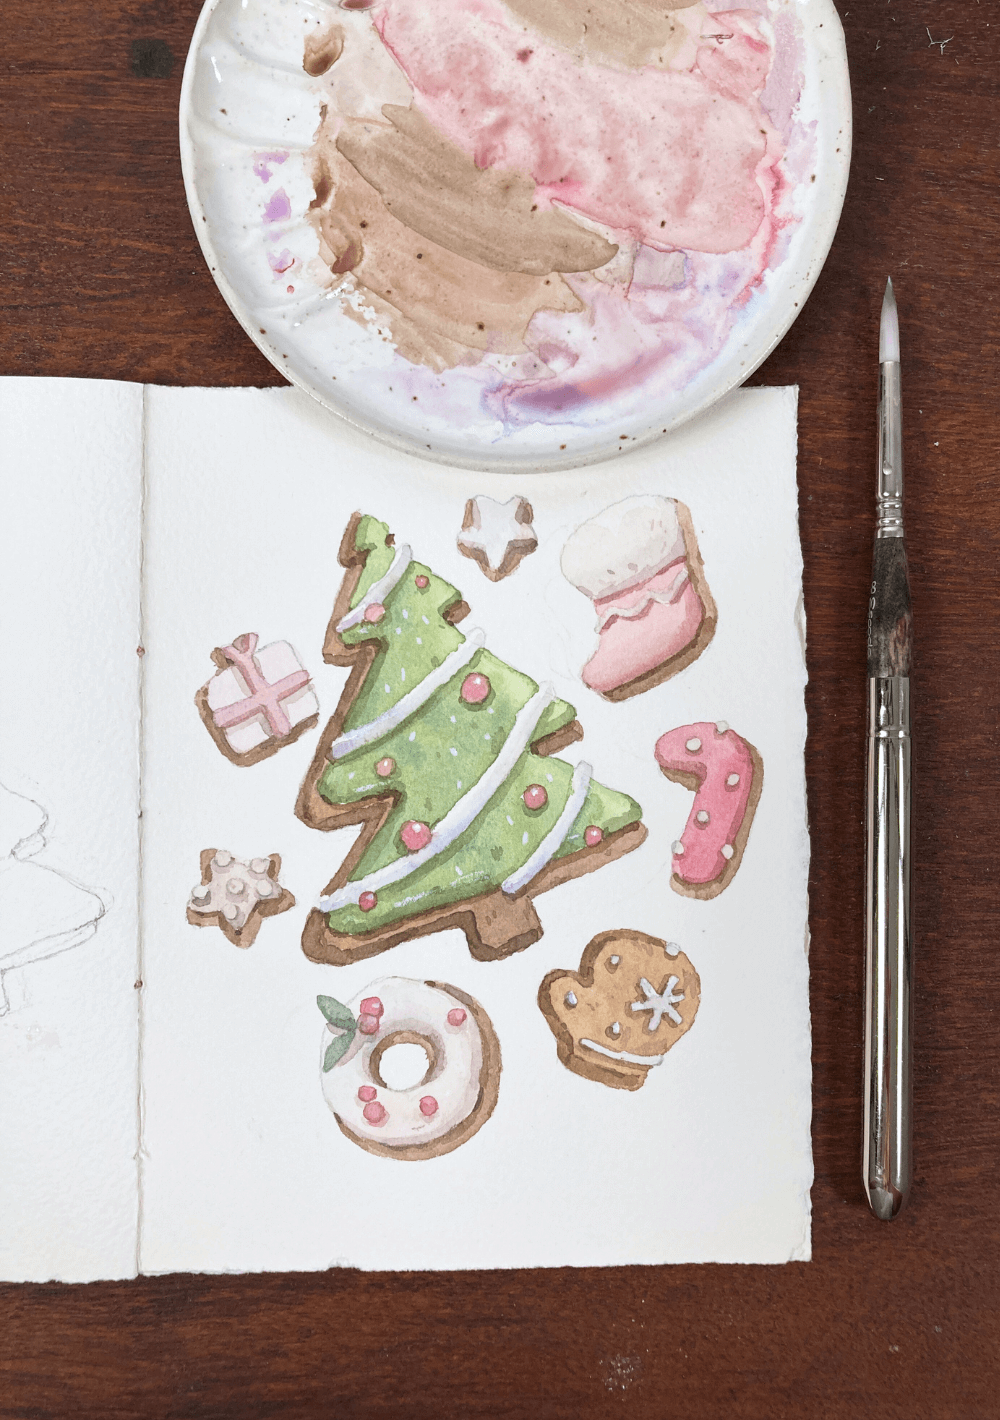
Here, let me show you more small Christmas cookies. You can decide whether to fill in these blank areas.

For the cookies other than the Christmas tree ones, I wanted to keep the colors more neutral and not too vibrant. Using mostly white icing as the base, I applied light colors first.

Then, I used soft red and green accents for the decorations to maintain a harmonious overall tone. The painting steps are similar to those for the Christmas tree cookie.
I hope you enjoyed this illustration tutorial.
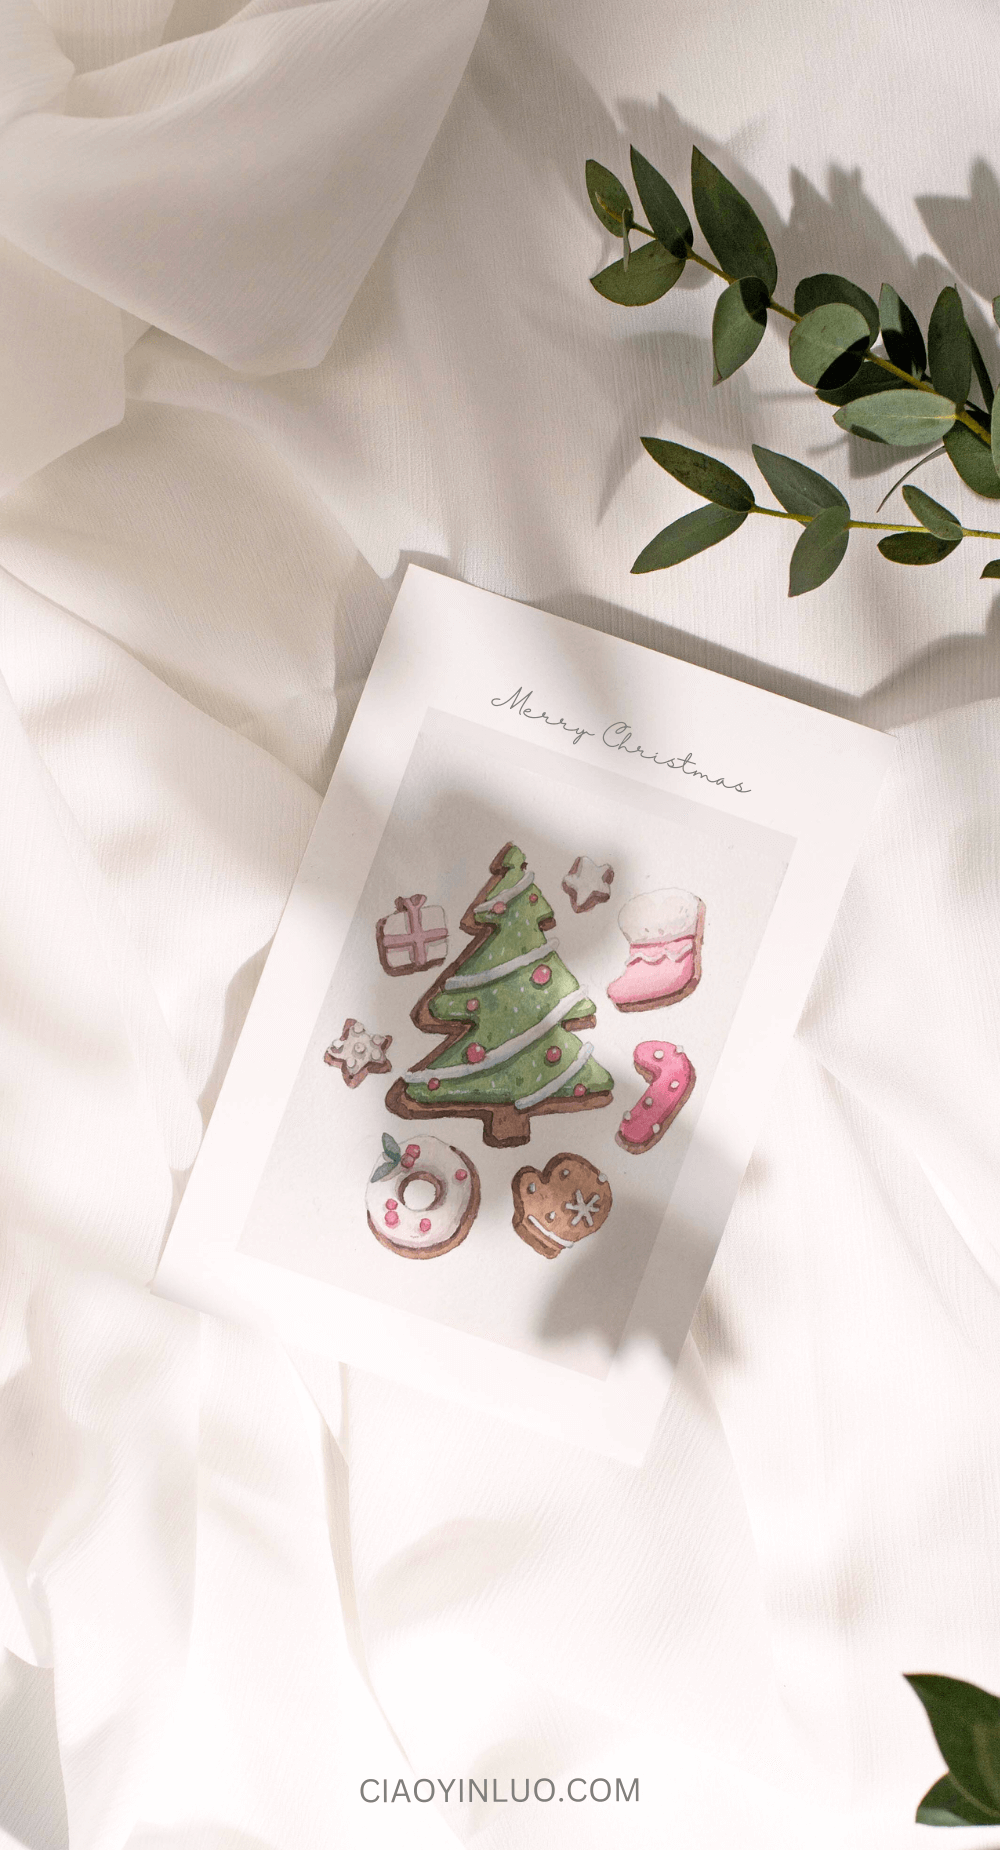
You can use these cookies to create adorable greeting cards! Here are some examples:

Thank you so much for finding and trying out this tutorial. I hope it was helpful and brought you joy in using watercolors!
Feel free to share your results in the comments below—I’d love to see how your illustration turned out. If you have any suggestions for what I should paint next, let me know!
See you in the next tutorial!
Related Blog Posts:
【Watercolor Illustration】Mushrooms and Little Mice
Watercolor Tutorial: Snowy Mountain Landscape – Perfect for Beginners
How to paint Forget-me-not flower: Step-by-Step Easy watercolor Tutorial
