The sky and clouds are among the best subjects for daily painting practice! Their shapes are diverse, and their colors are ever-changing. In this step-by-step guide, I’ll share how I painted this dreamy, colorful sky.
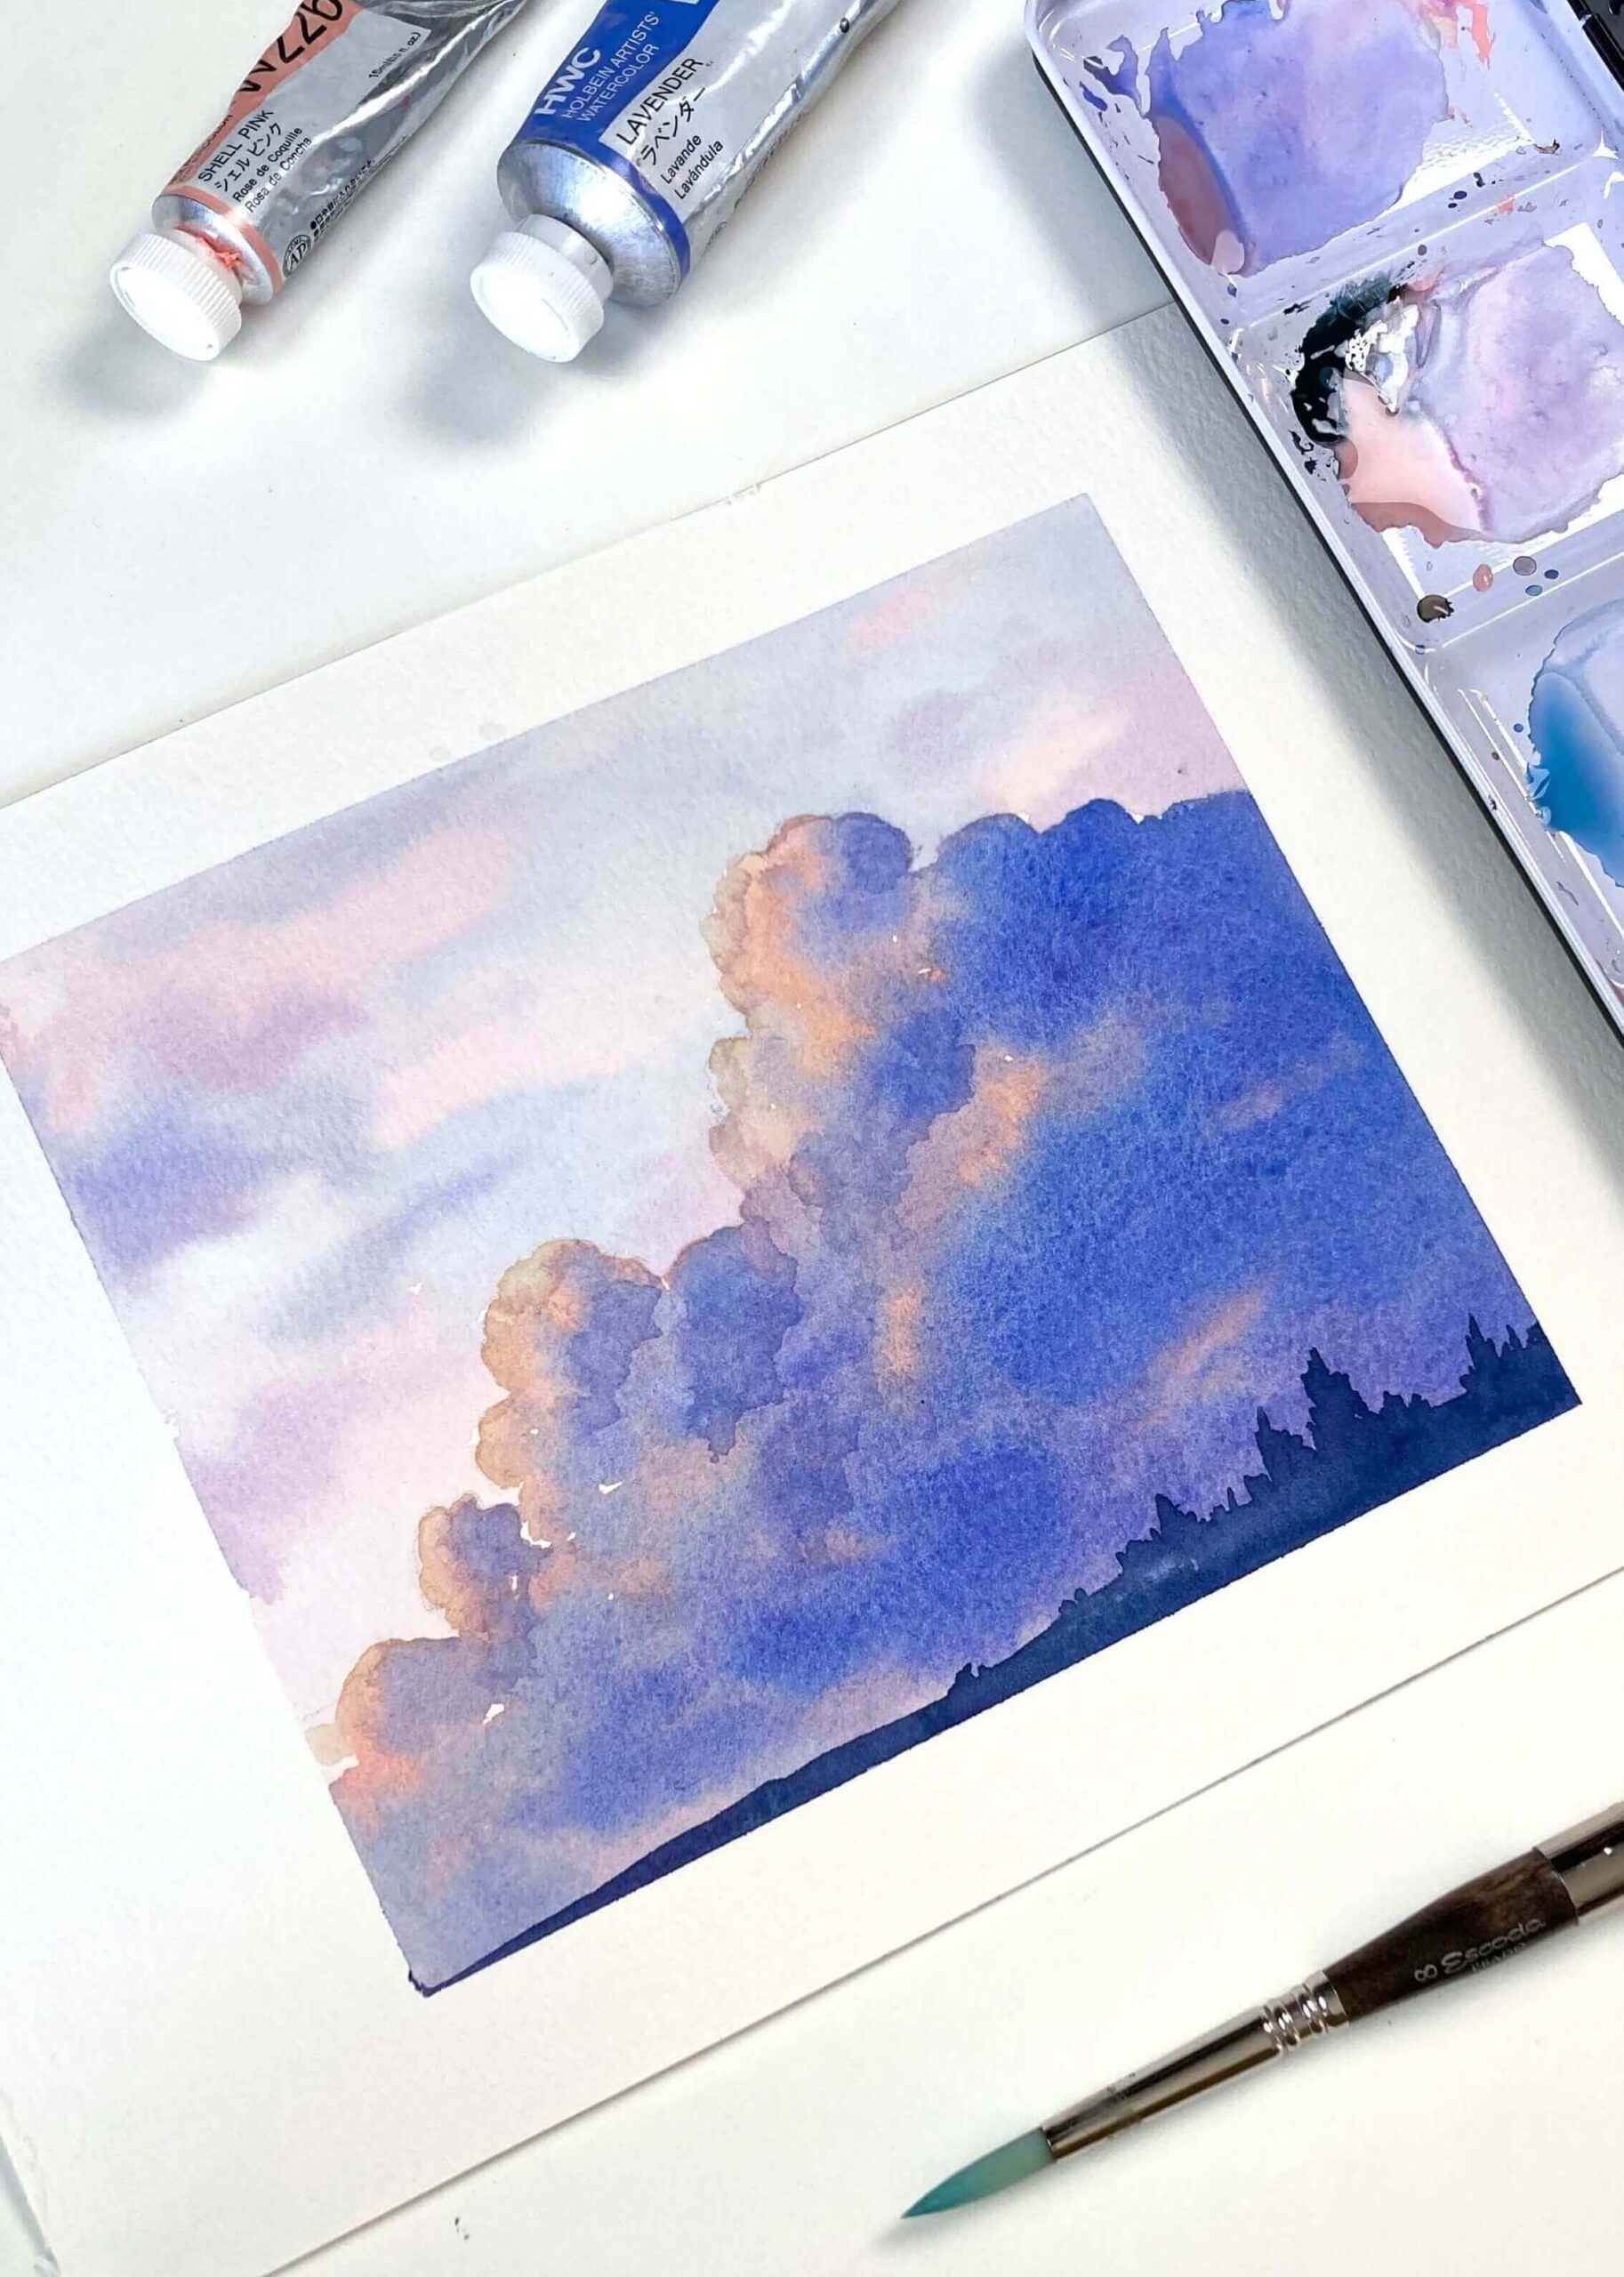
Painting Tools
- Watercolor Paper: Arches Cold-Pressed Watercolor Paper
- Brushes: Escoda Perla #8 / Escoda Versatil #10
- Watercolors: Holbein/ Schmincke Horadam 24 Half-Pan Set. You can choose any brand and find similar colors.
Colors:
Chromium Yellow Hue Deep
Shell Pink
Lavender
Ultramarine
Indigo
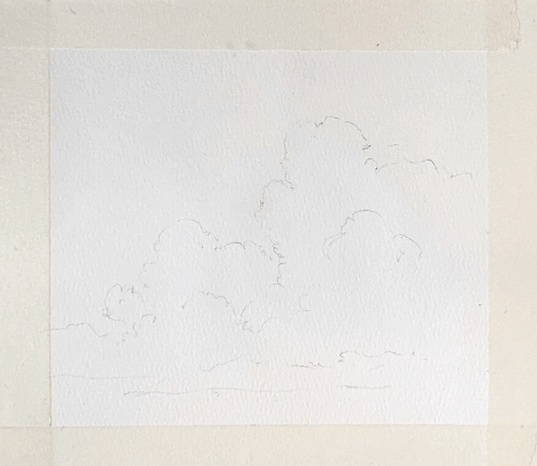
1. Sketching the Clouds
Use a pencil to draw broken lines to represent the shape of the clouds, keeping it as simple as possible.
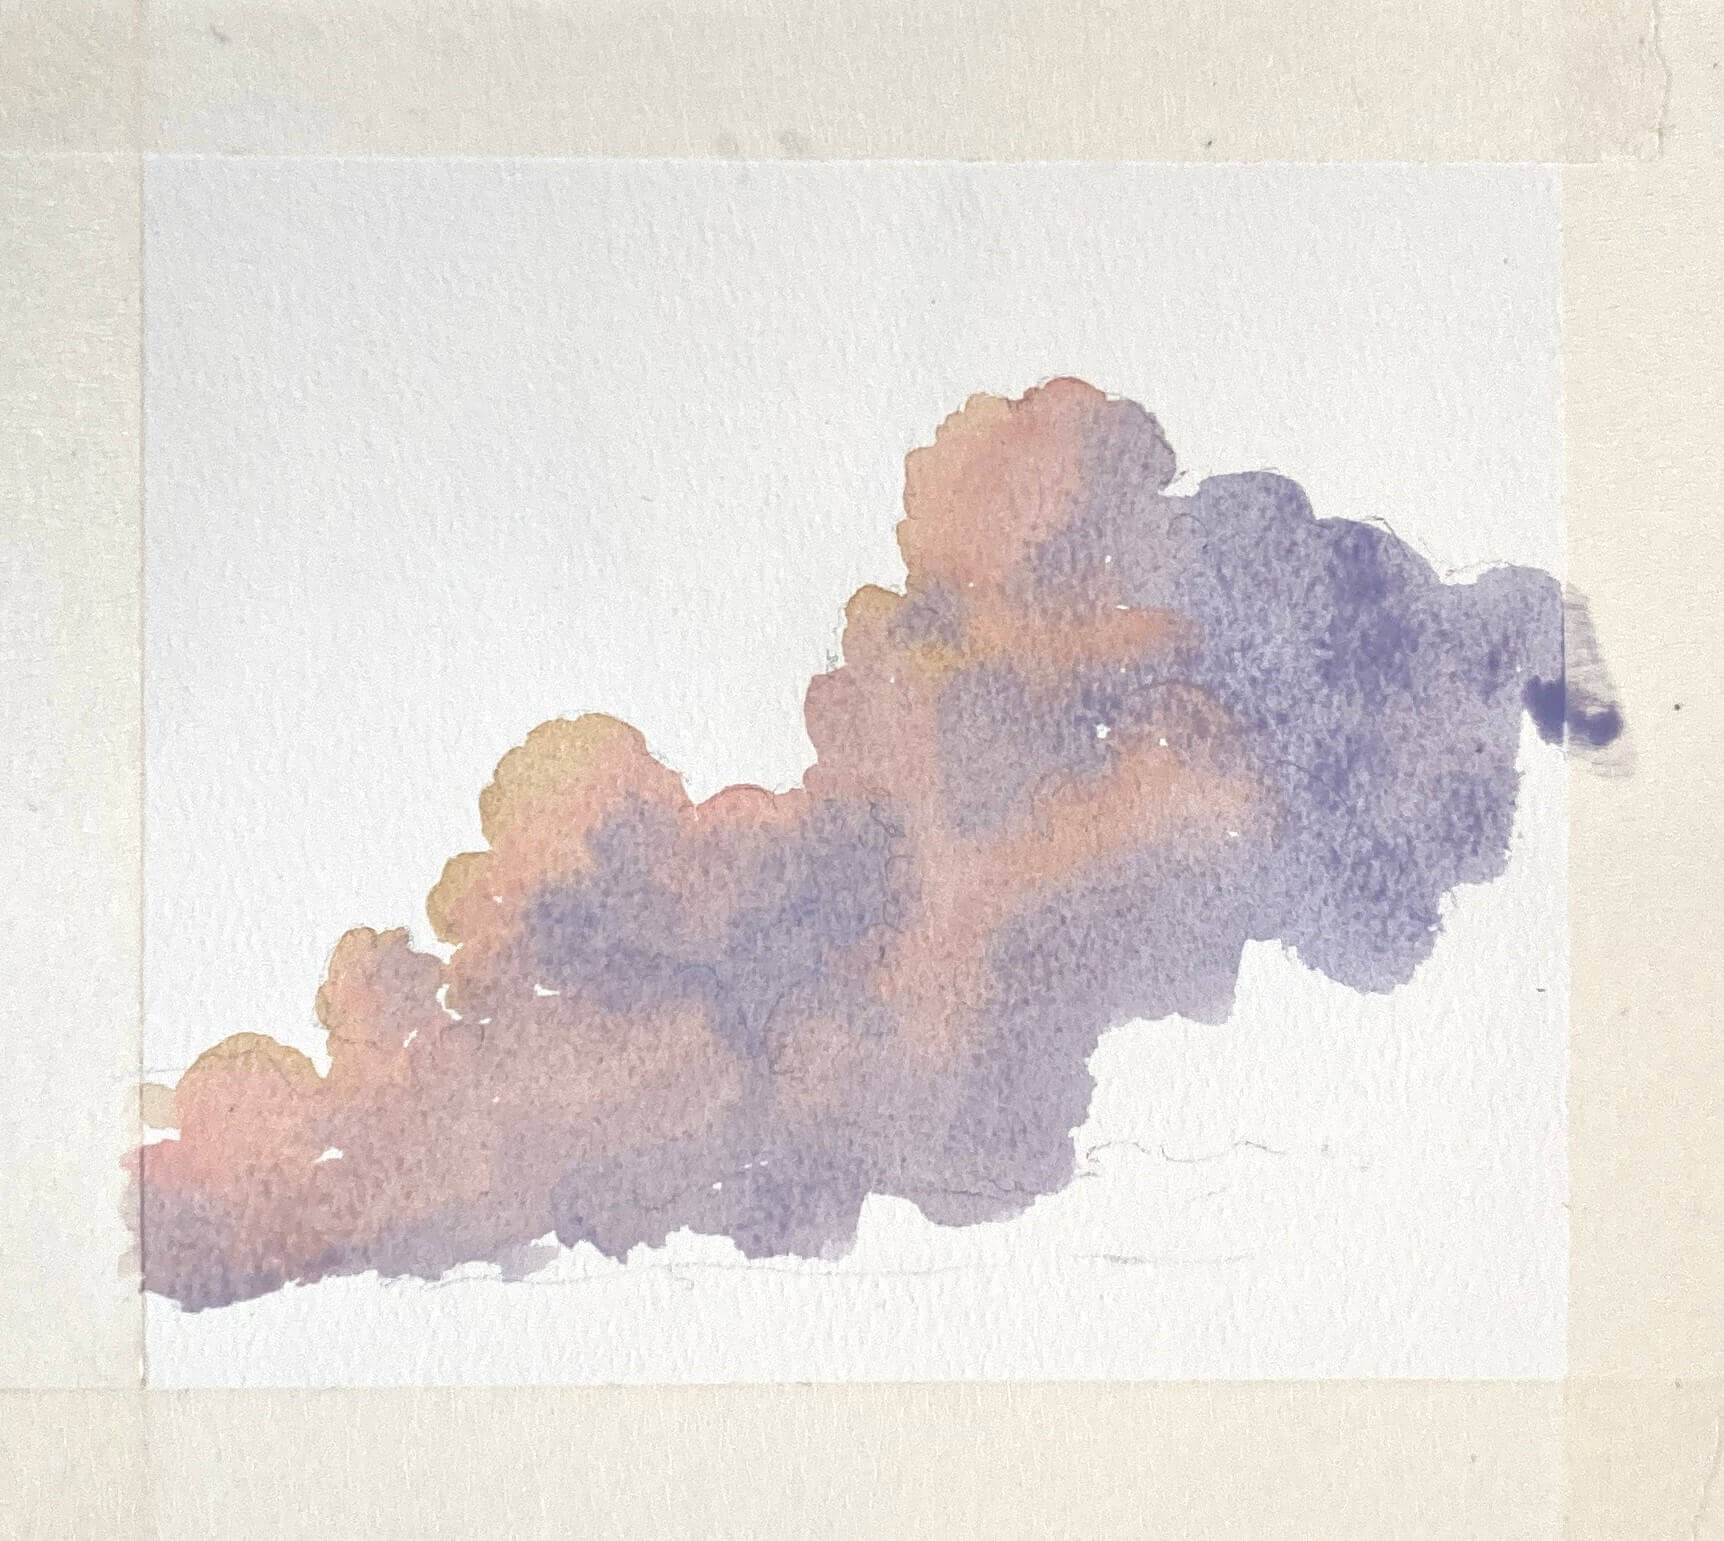
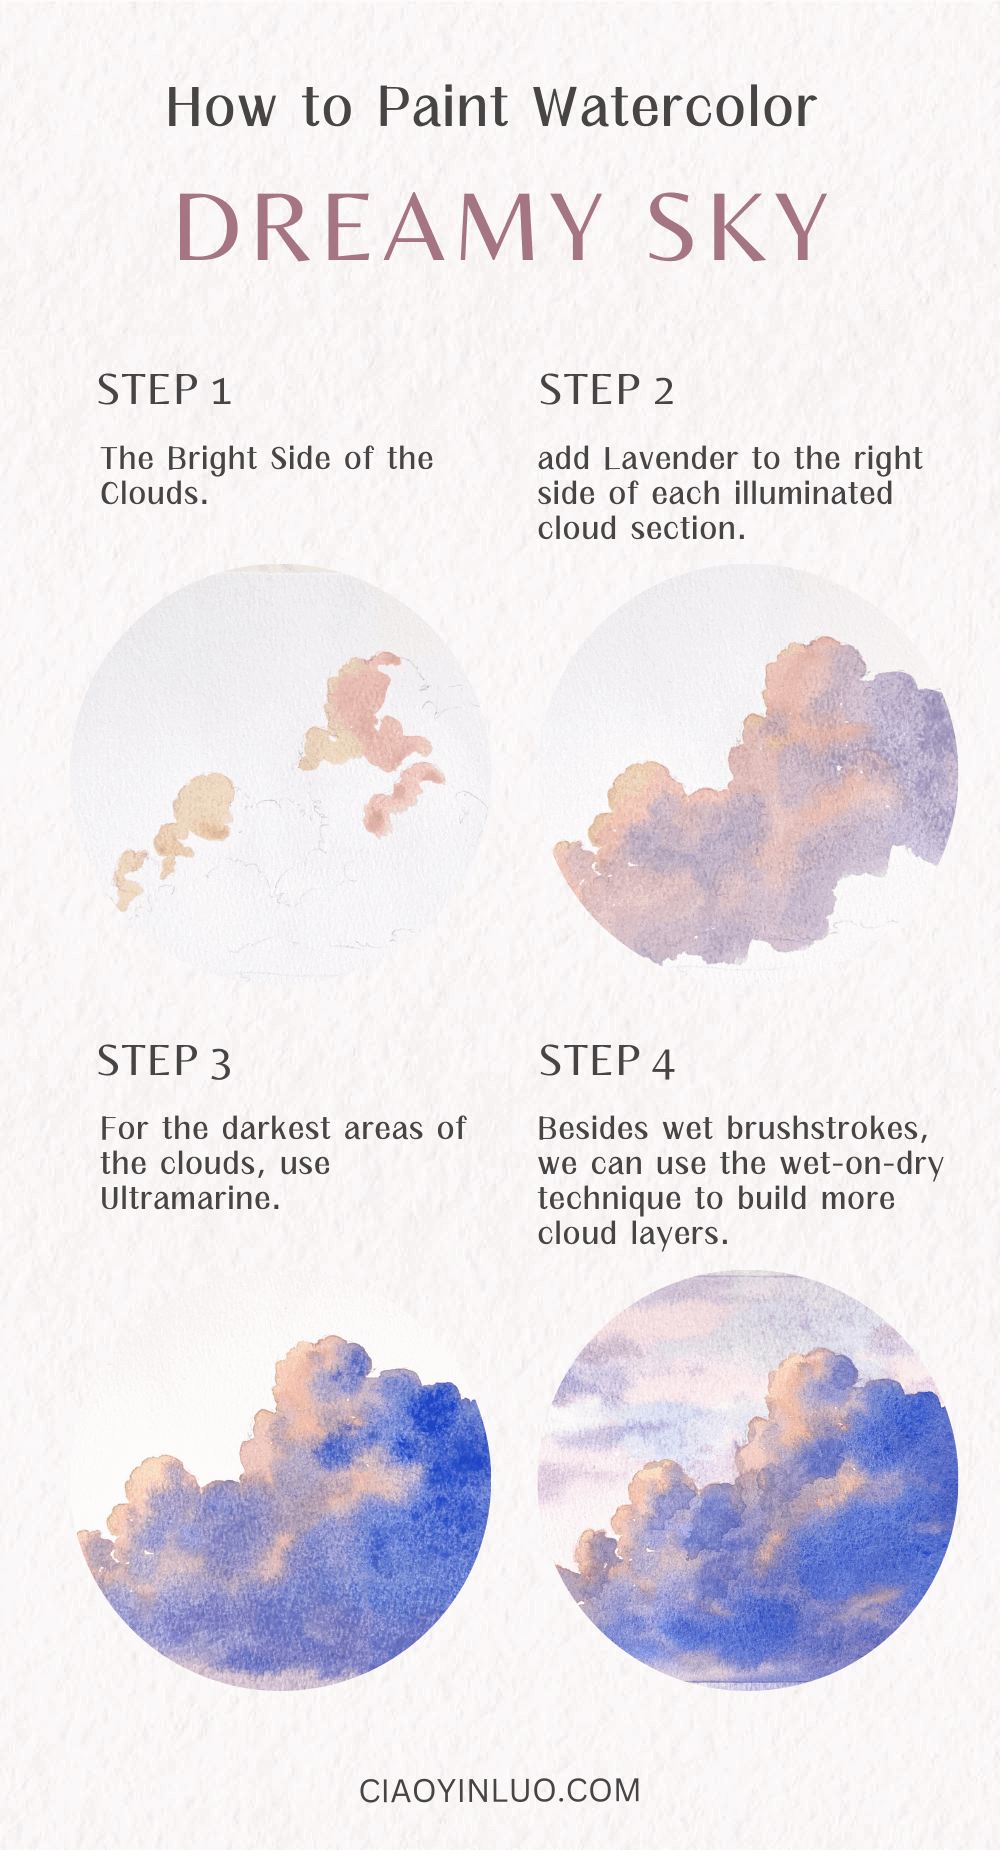
2. The Bright Side of the Clouds
Apply Chromium Yellow Hue Deep and Shell Pink on the left side of the clouds, following their curvature.
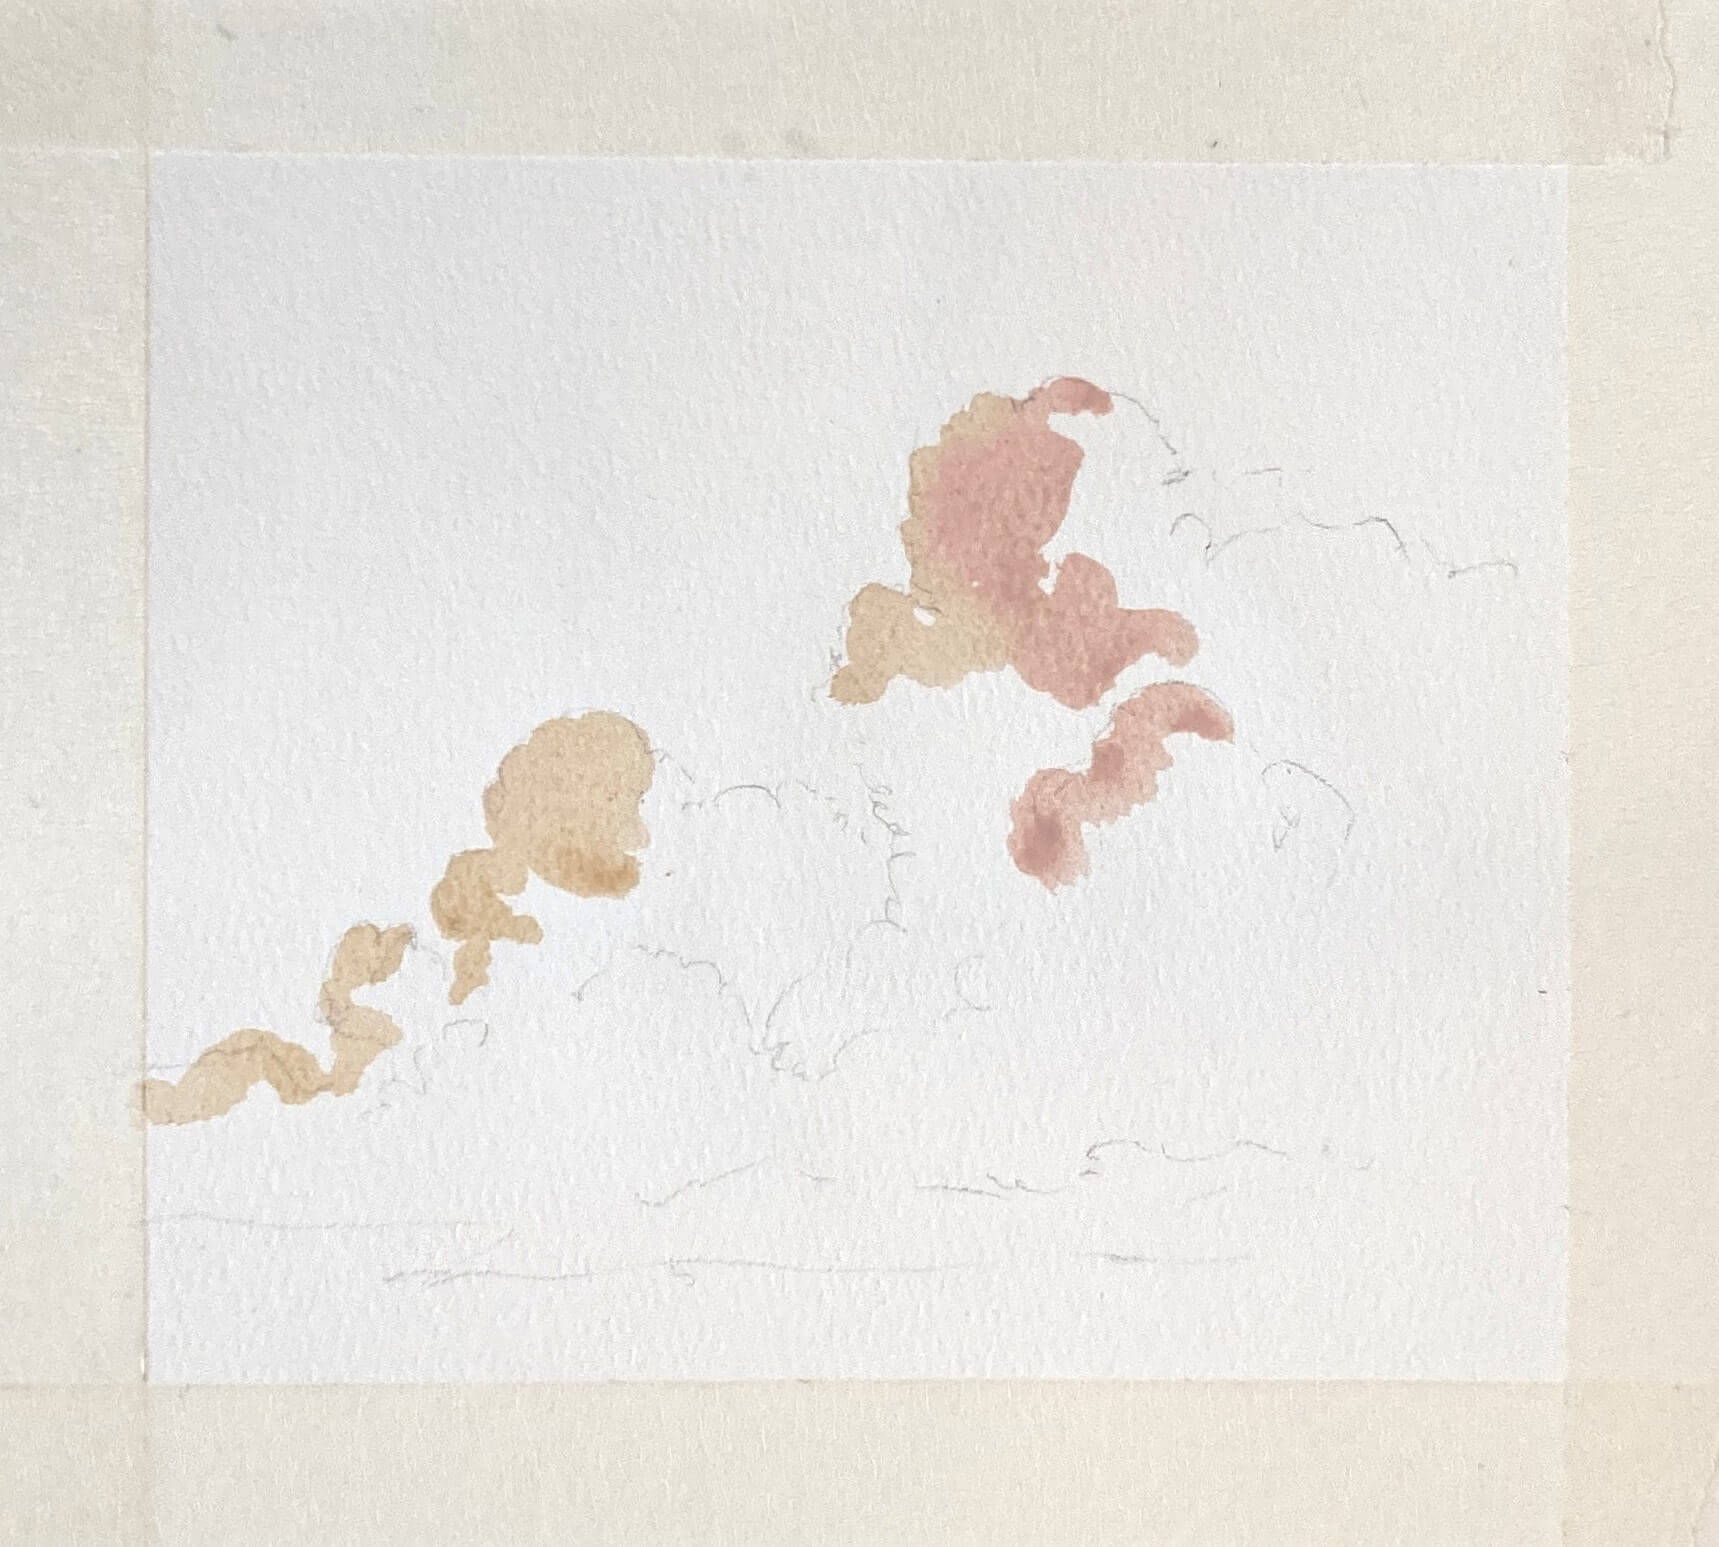
Next, add Lavender to the right side of each illuminated cloud section. This color serves as a smooth transition between pink and blue.
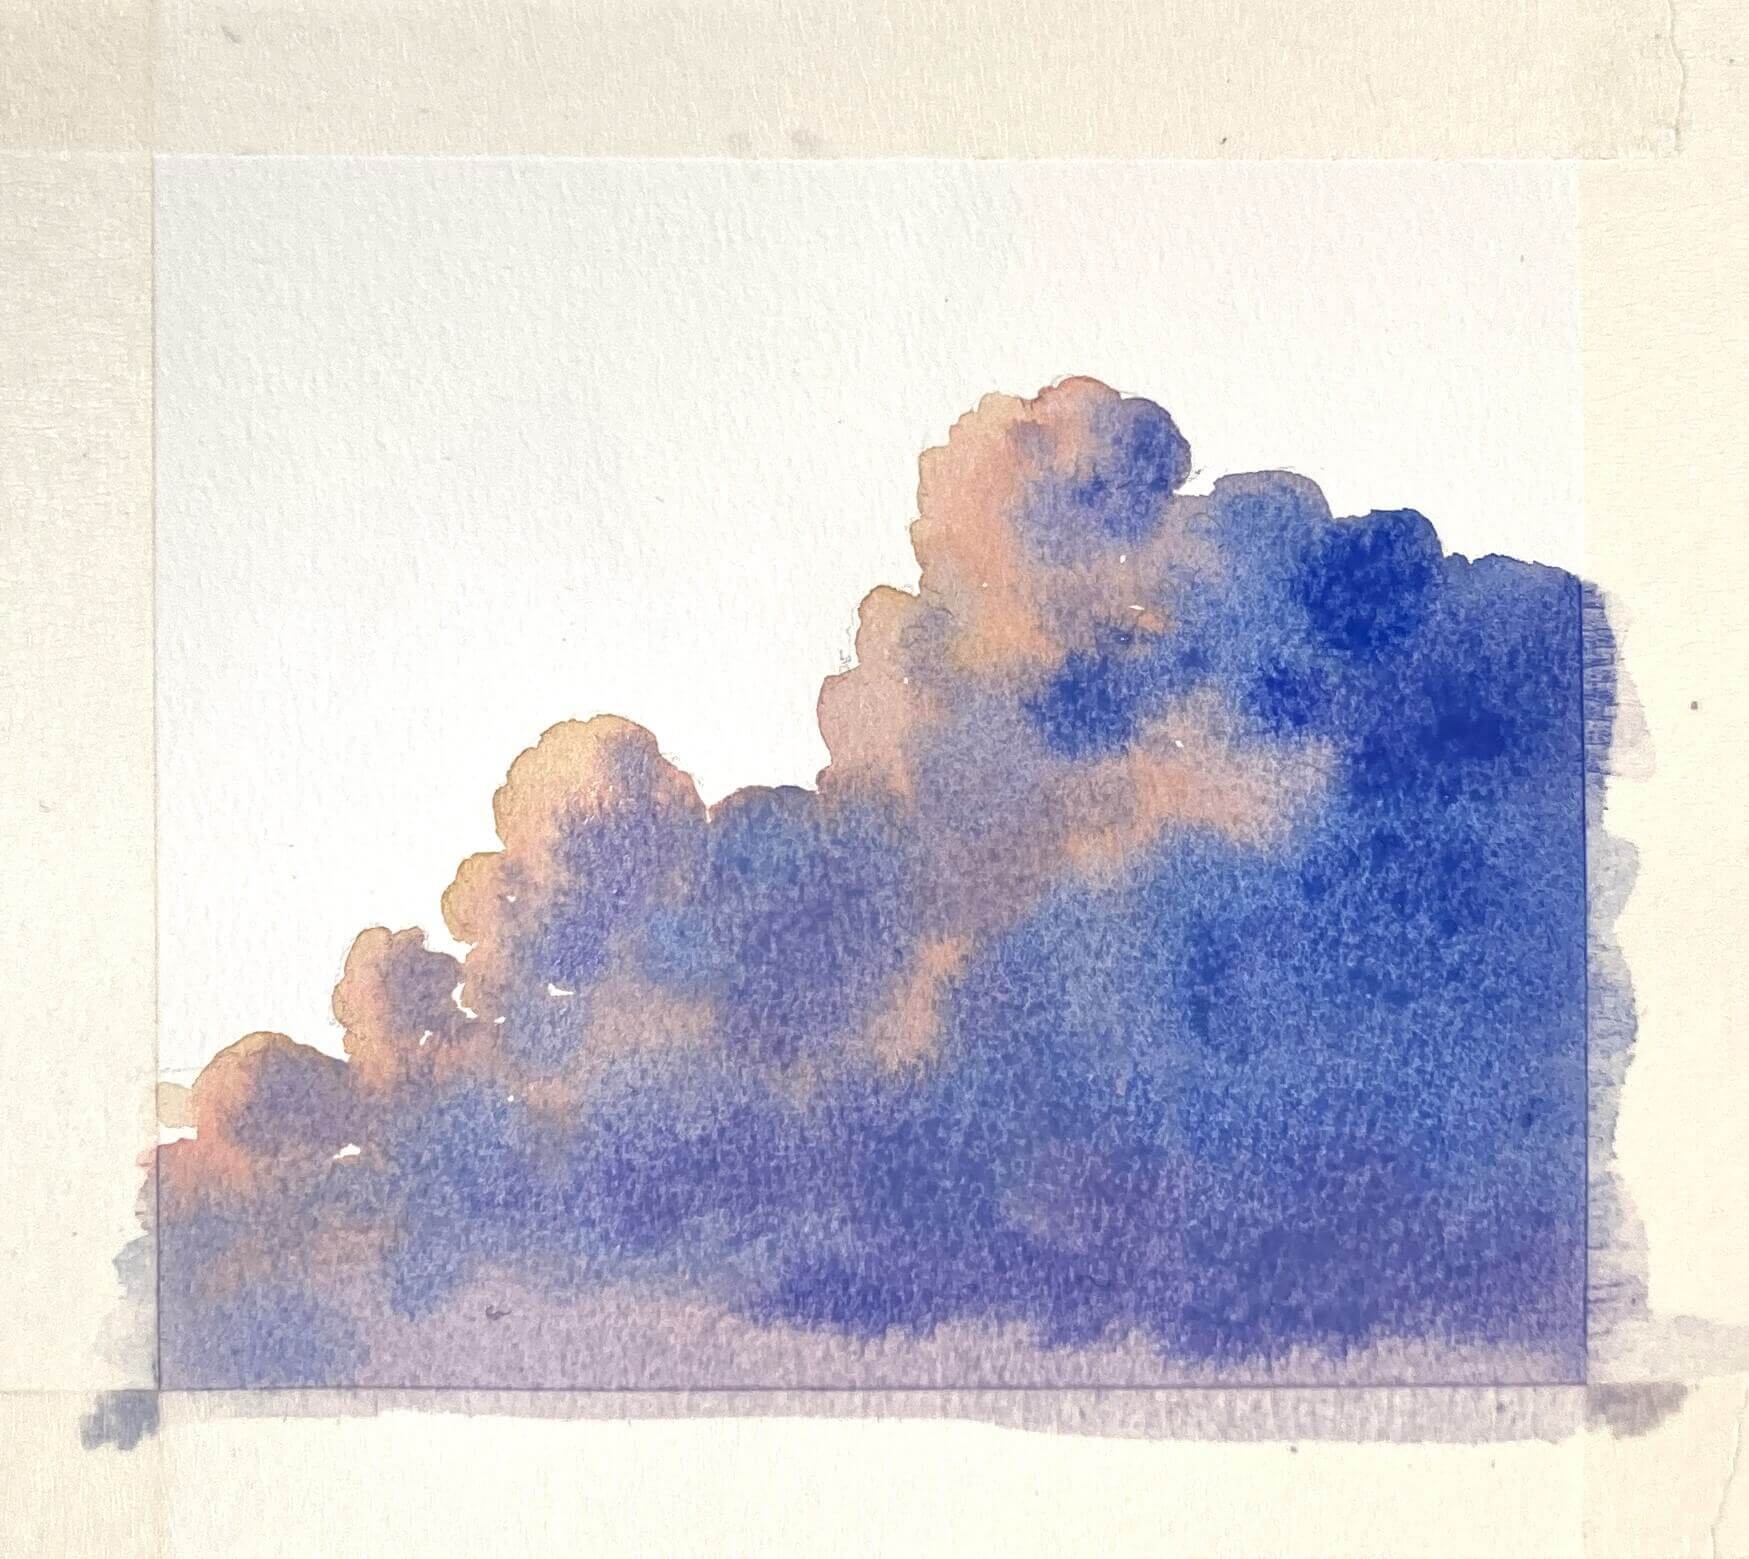
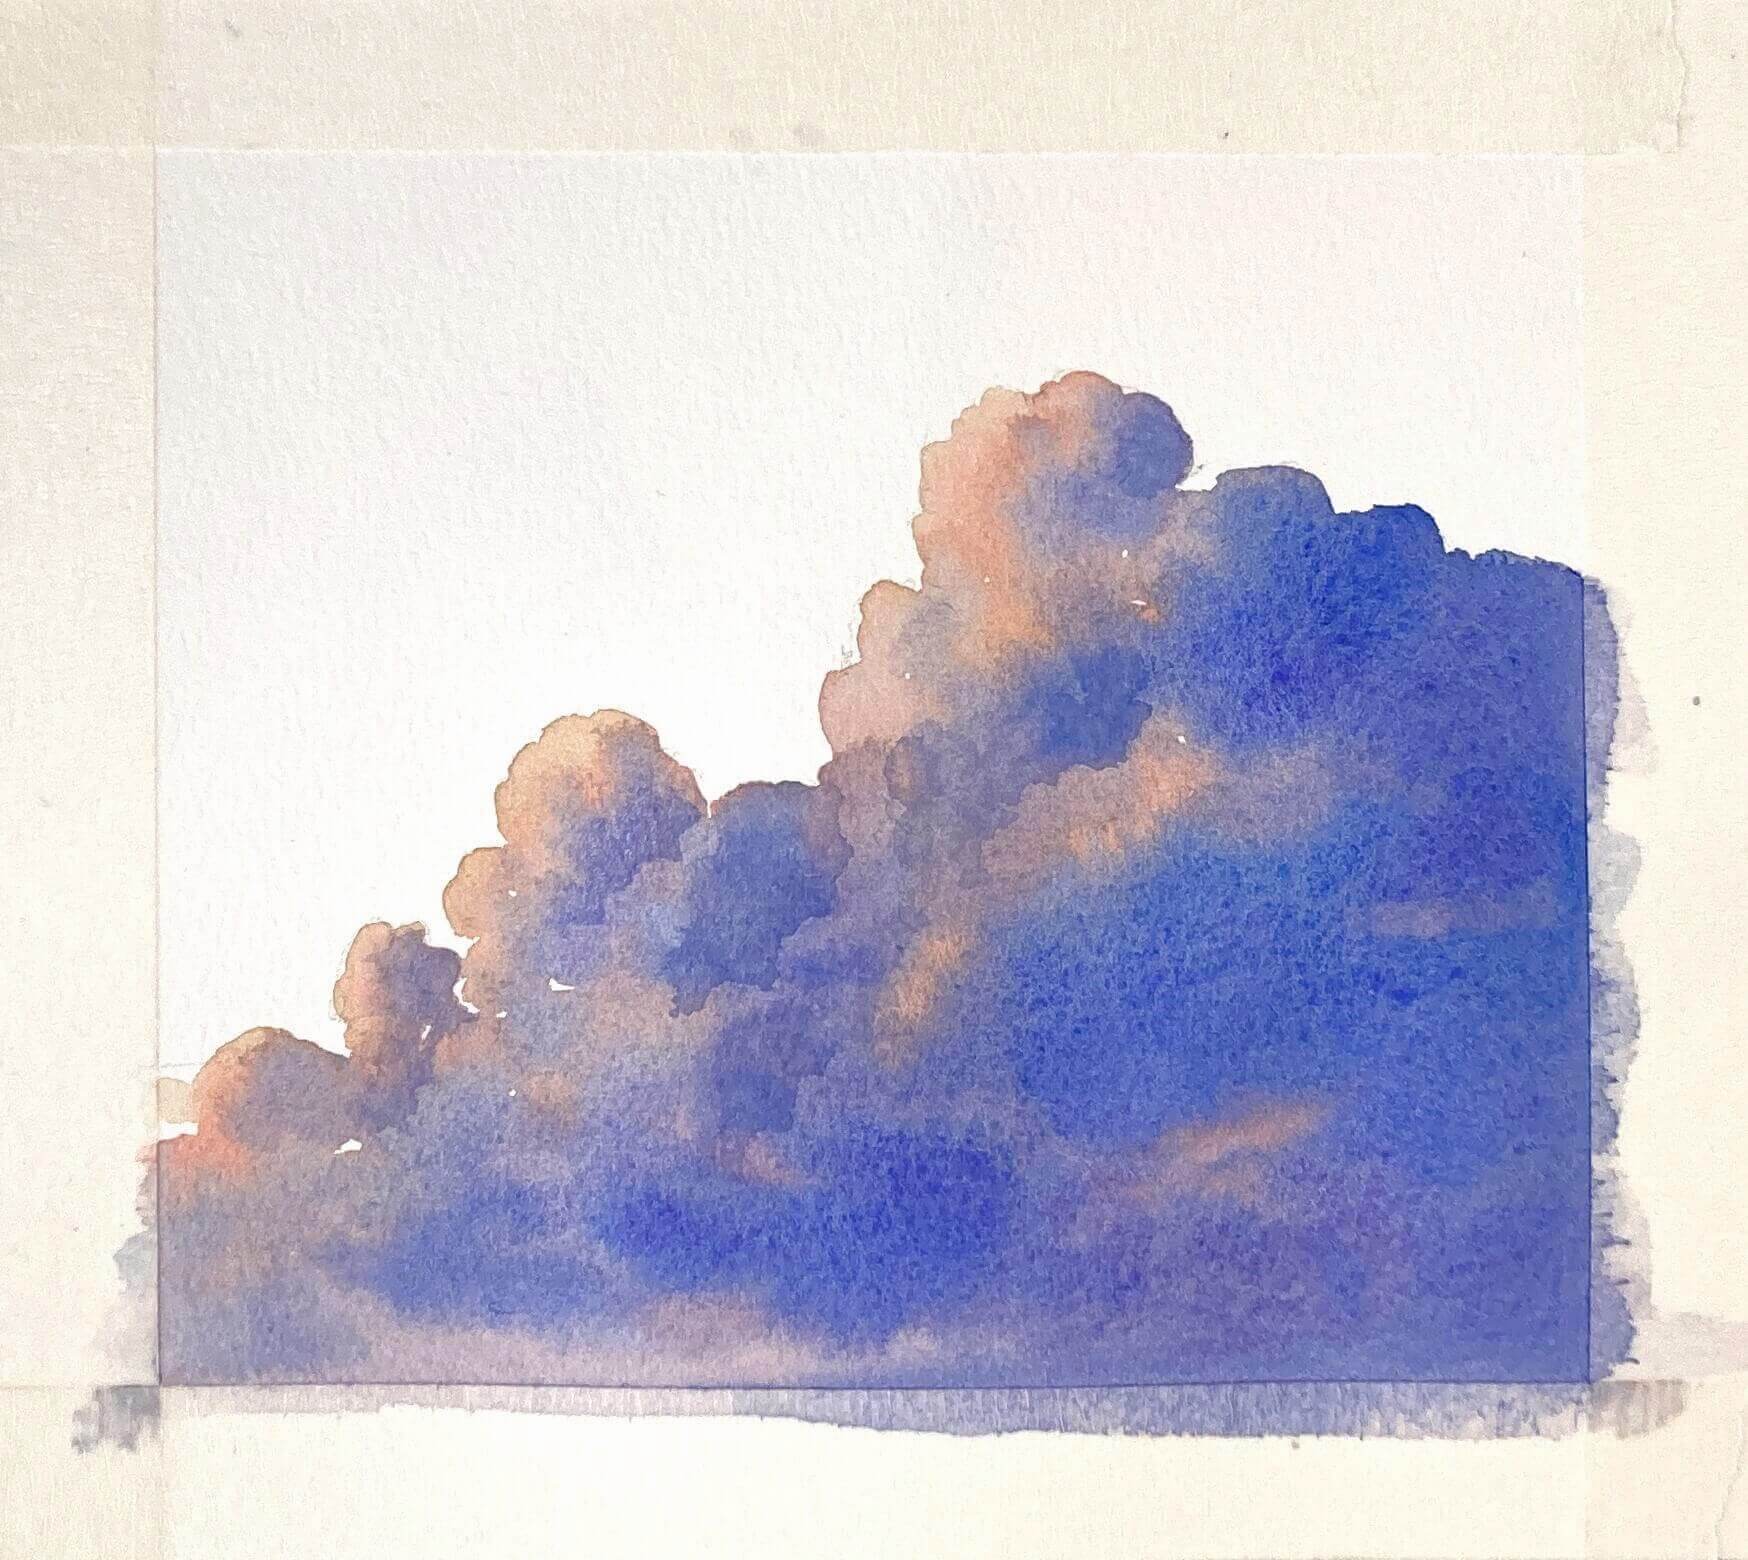
3. The Shadowed Areas of the Clouds
For the darkest areas of the clouds, use Ultramarine.
When transitioning colors, avoid fully rinsing the brush; for example, when shifting from pink to Lavender, retain some pink on the brush to mix with Lavender.
Similarly, when moving from Lavender to Ultramarine, keep a bit of Lavender. This technique helps create seamless intermediate tones, making the overall painting more harmonious.
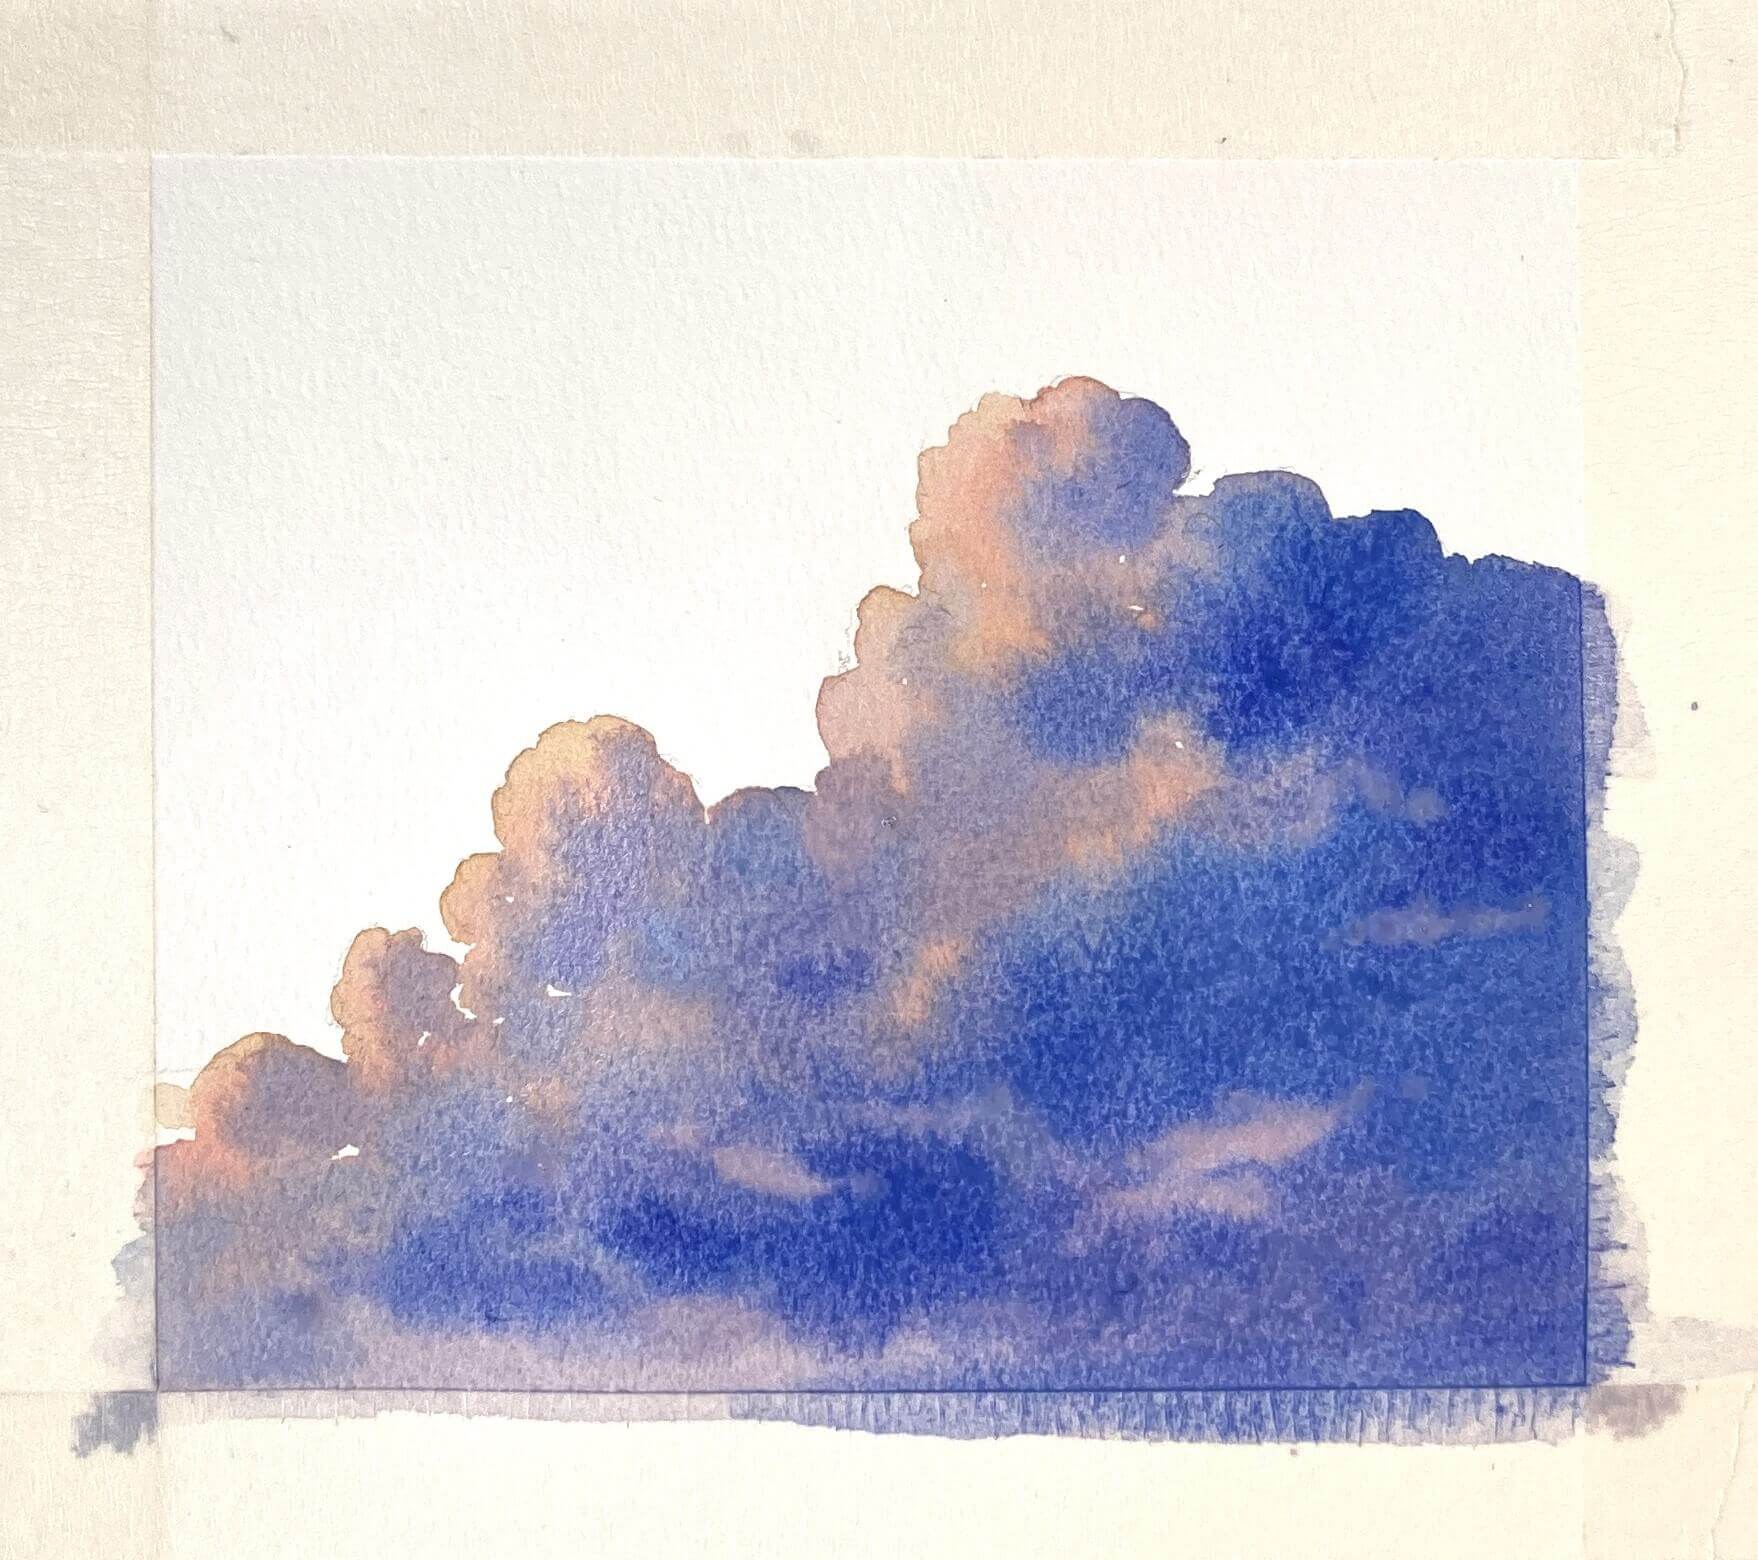
After completing the deepest blue of the clouds (Ultramarine), we can use Shell Pink to add some highlights within the blue areas, as Shell Pink is slightly opaque.
However, try to apply it before the base color dries to create soft, blurred edges. Then, let this layer dry.
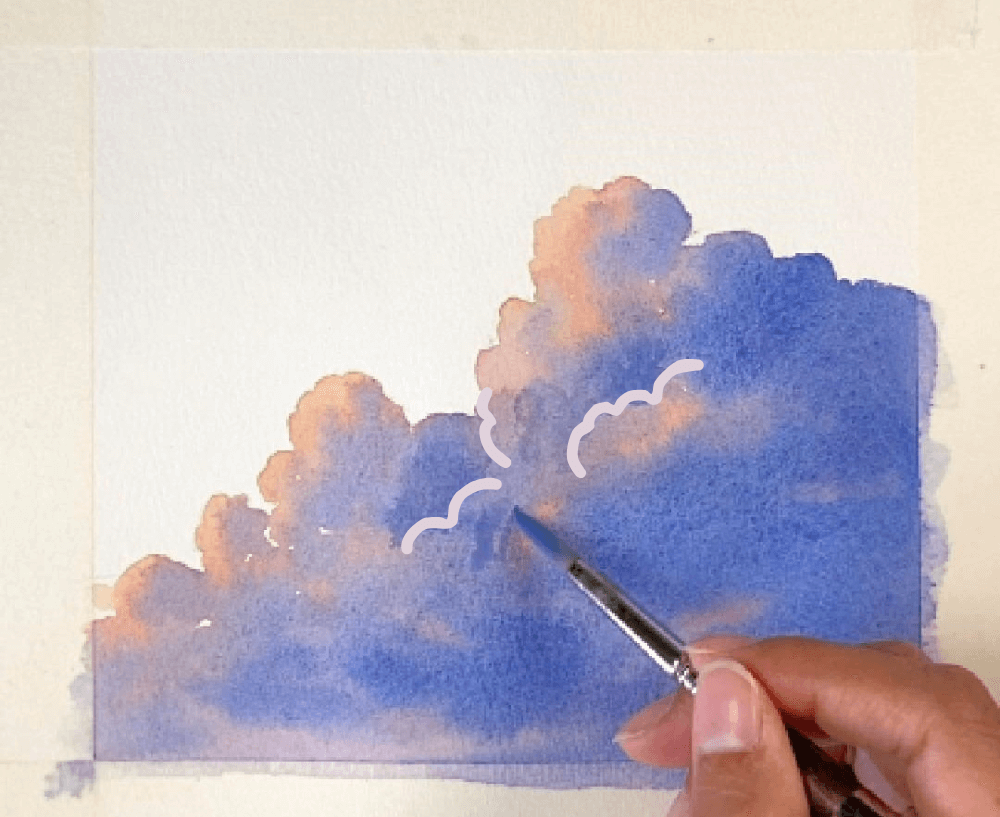
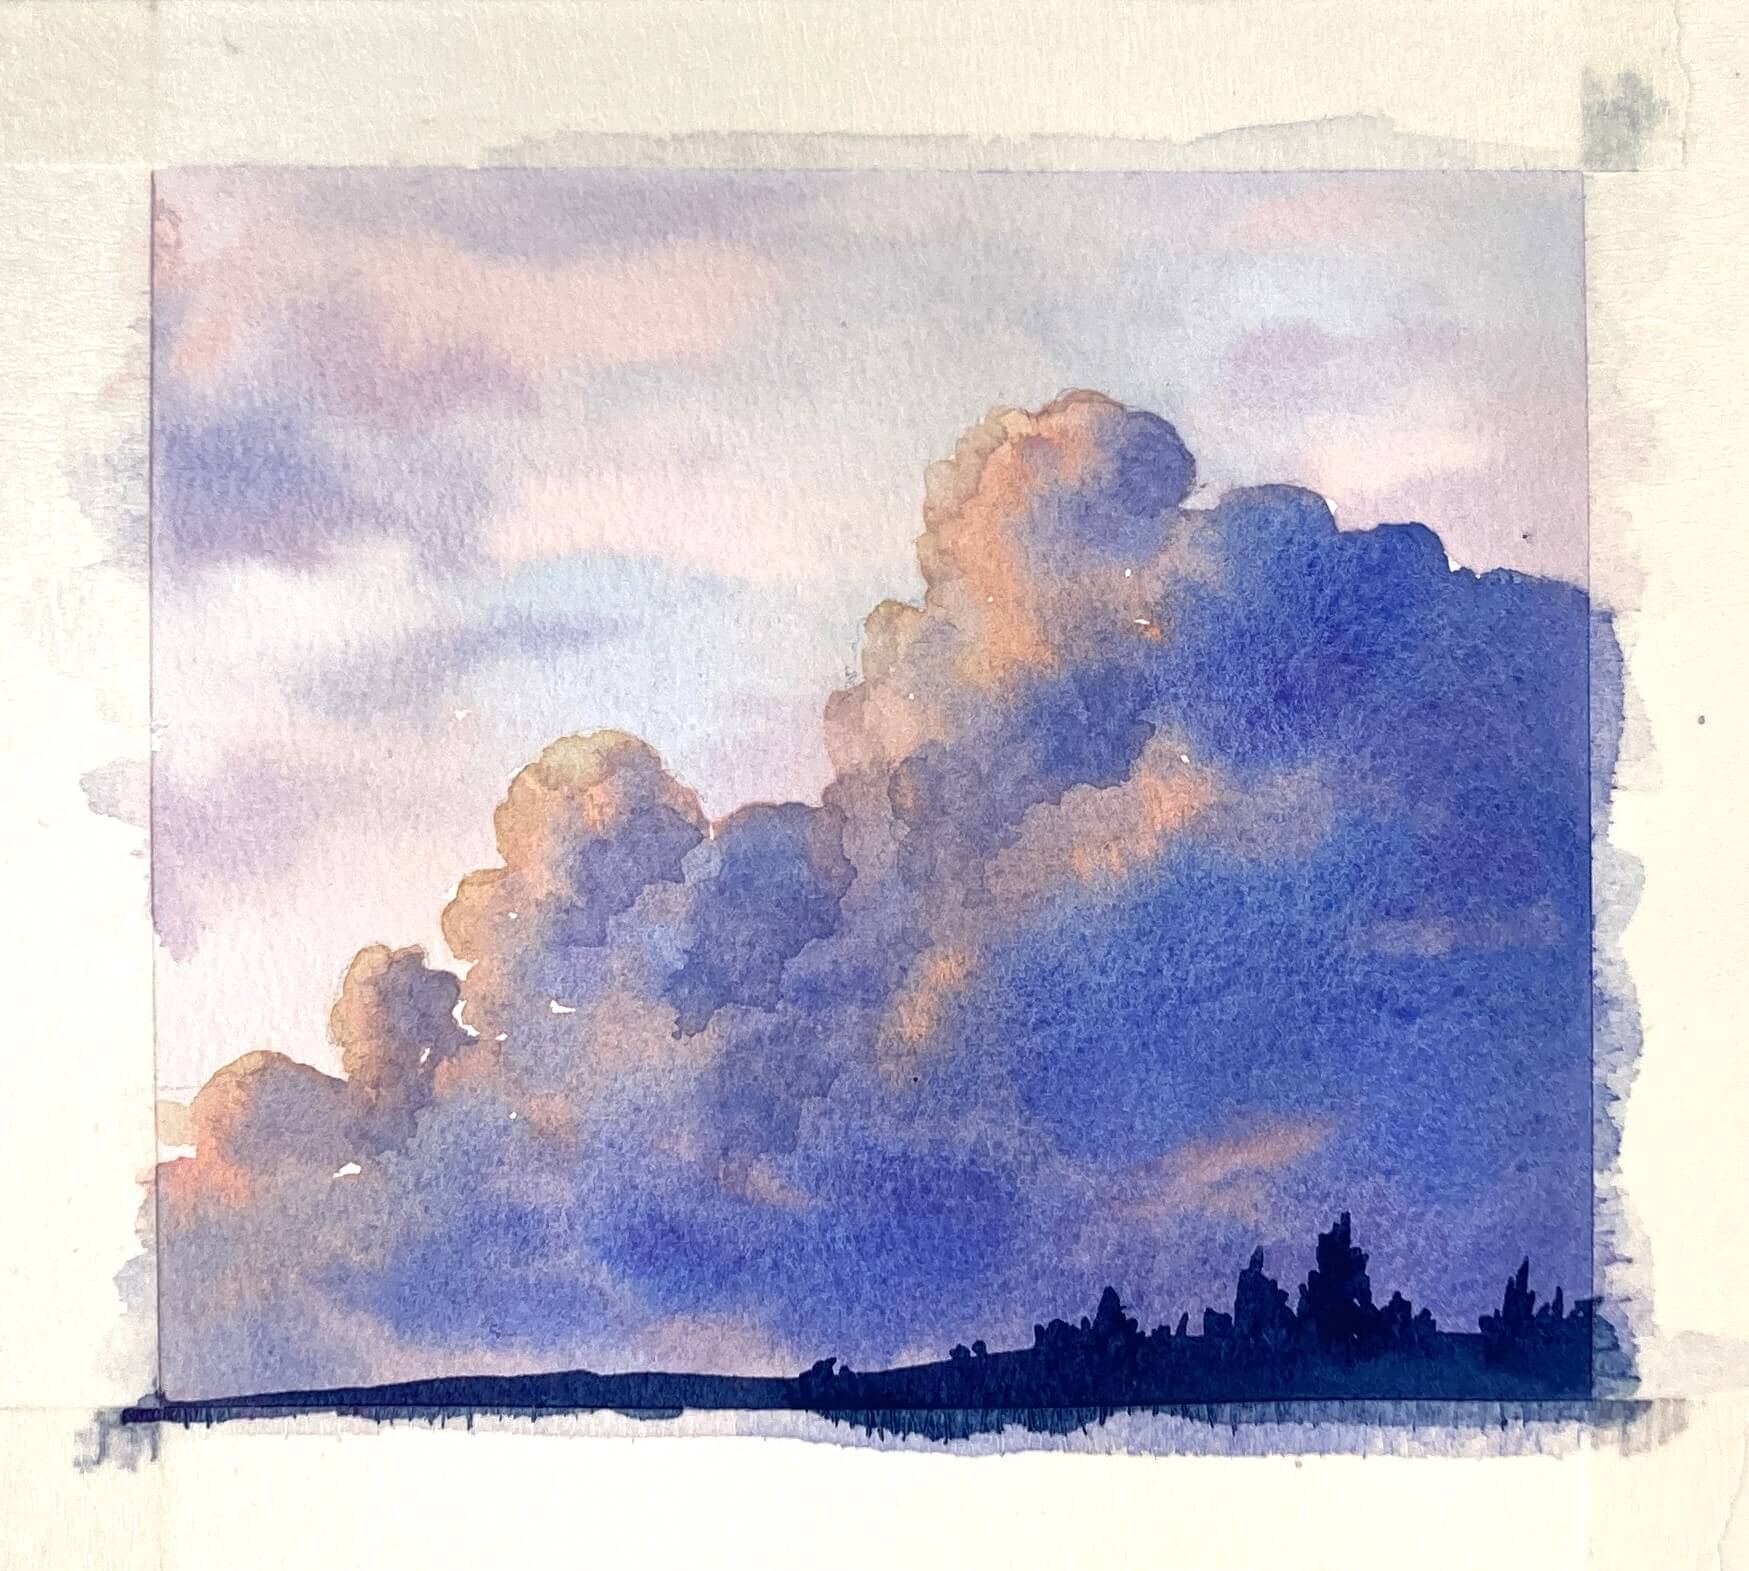
4. Adding Depth and Layers
Besides wet brushstrokes, we can use the wet-on-dry technique to build more cloud layers.
First, determine the shapes and positions of the highlighted areas to preserve. Then, use blue tones to darken the left side, enhancing the depth of the clouds. However, do this sparingly to maintain the clouds’ soft texture.
5. Background and Foreground
Now, let’s add the background! Use diluted Shell Pink and Lavender with the wet-on-wet technique to paint the sky.
Finally, use Indigo or a mix of Ultramarine and Sepia to create silhouetted hills and tree clusters in the foreground, completing the painting.
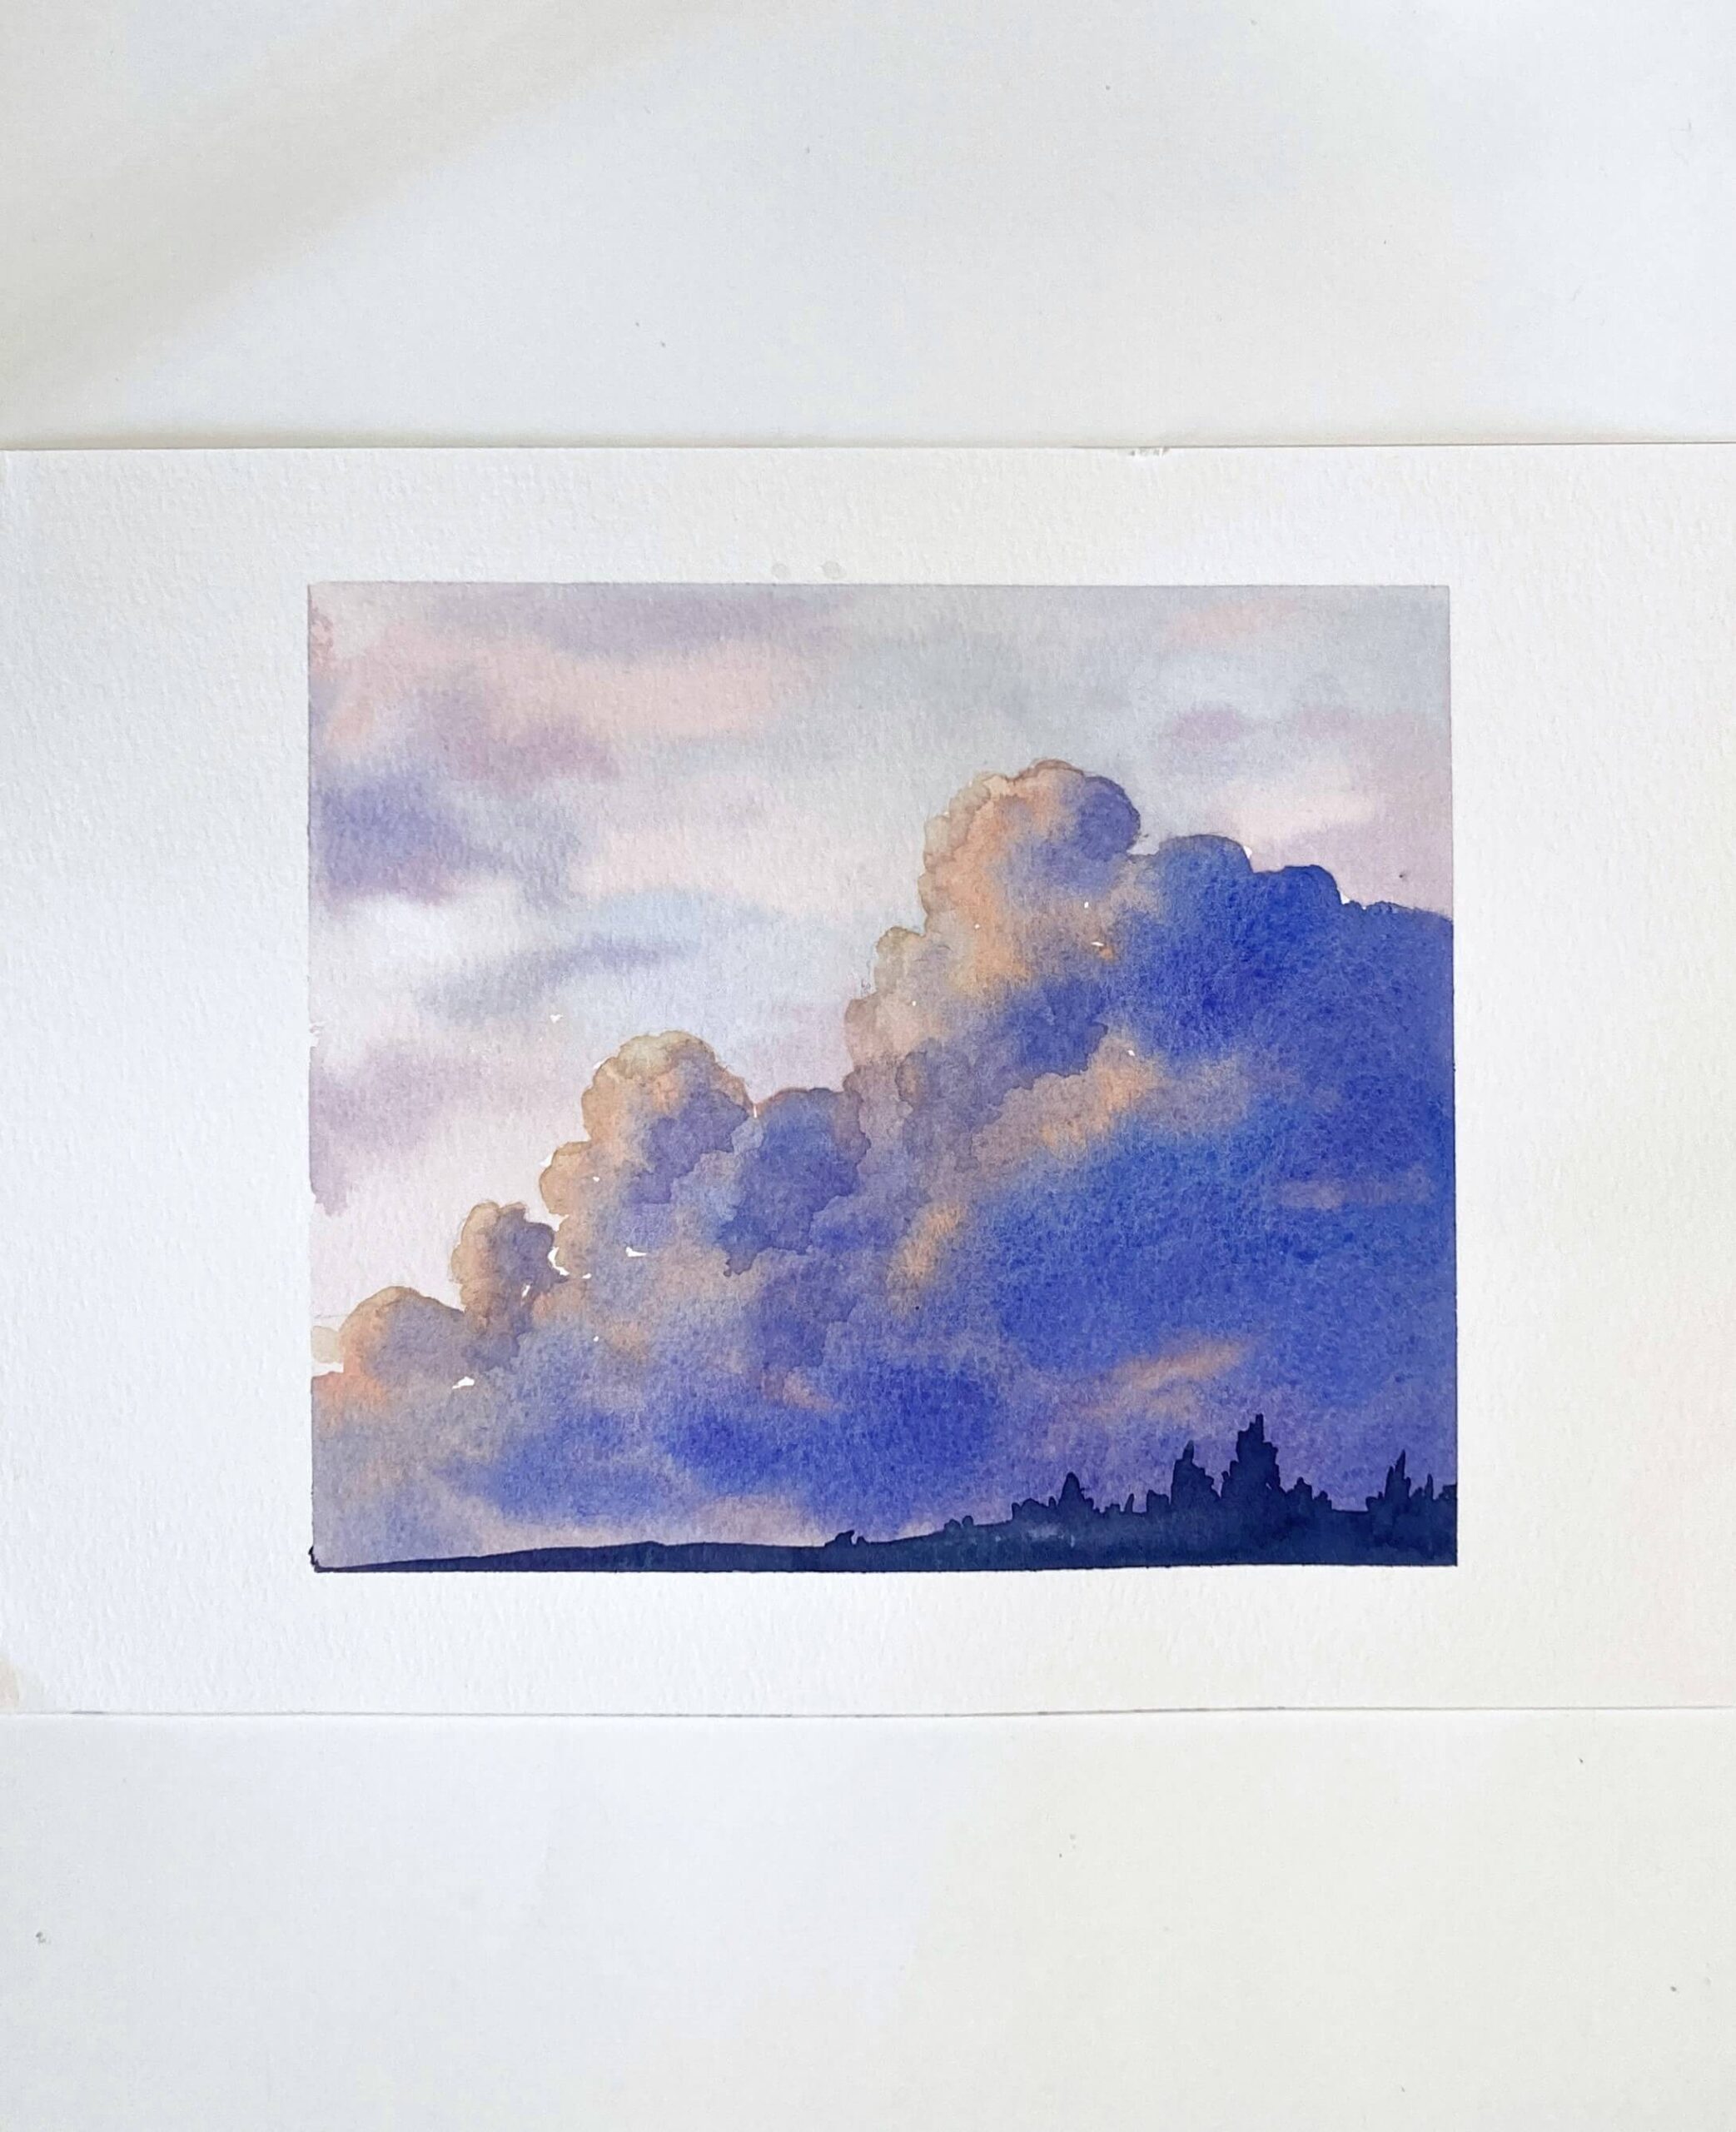
Is the sky one of your favorite subjects too?
For beginners, painting the sky and clouds can be quite challenging, as their shapes, moisture control, and color transitions can all affect the overall atmosphere of the artwork. However, with continuous practice, you’ll likely become fascinated by this subject—its possibilities are endless!
If you have any suggestions for what I should paint next, let me know—I’m just as excited as you are for the next tutorial.
Want to remember this? Save this tutorial on your favorite Pinterest board!
Related Blog Posts:
【Watercolor Illustration】Mushrooms and Little Mice
How to paint Tree: Step-by-Step Easy watercolor Tutorial
How to paint Forget-me-not flower: Step-by-Step Easy watercolor Tutorial