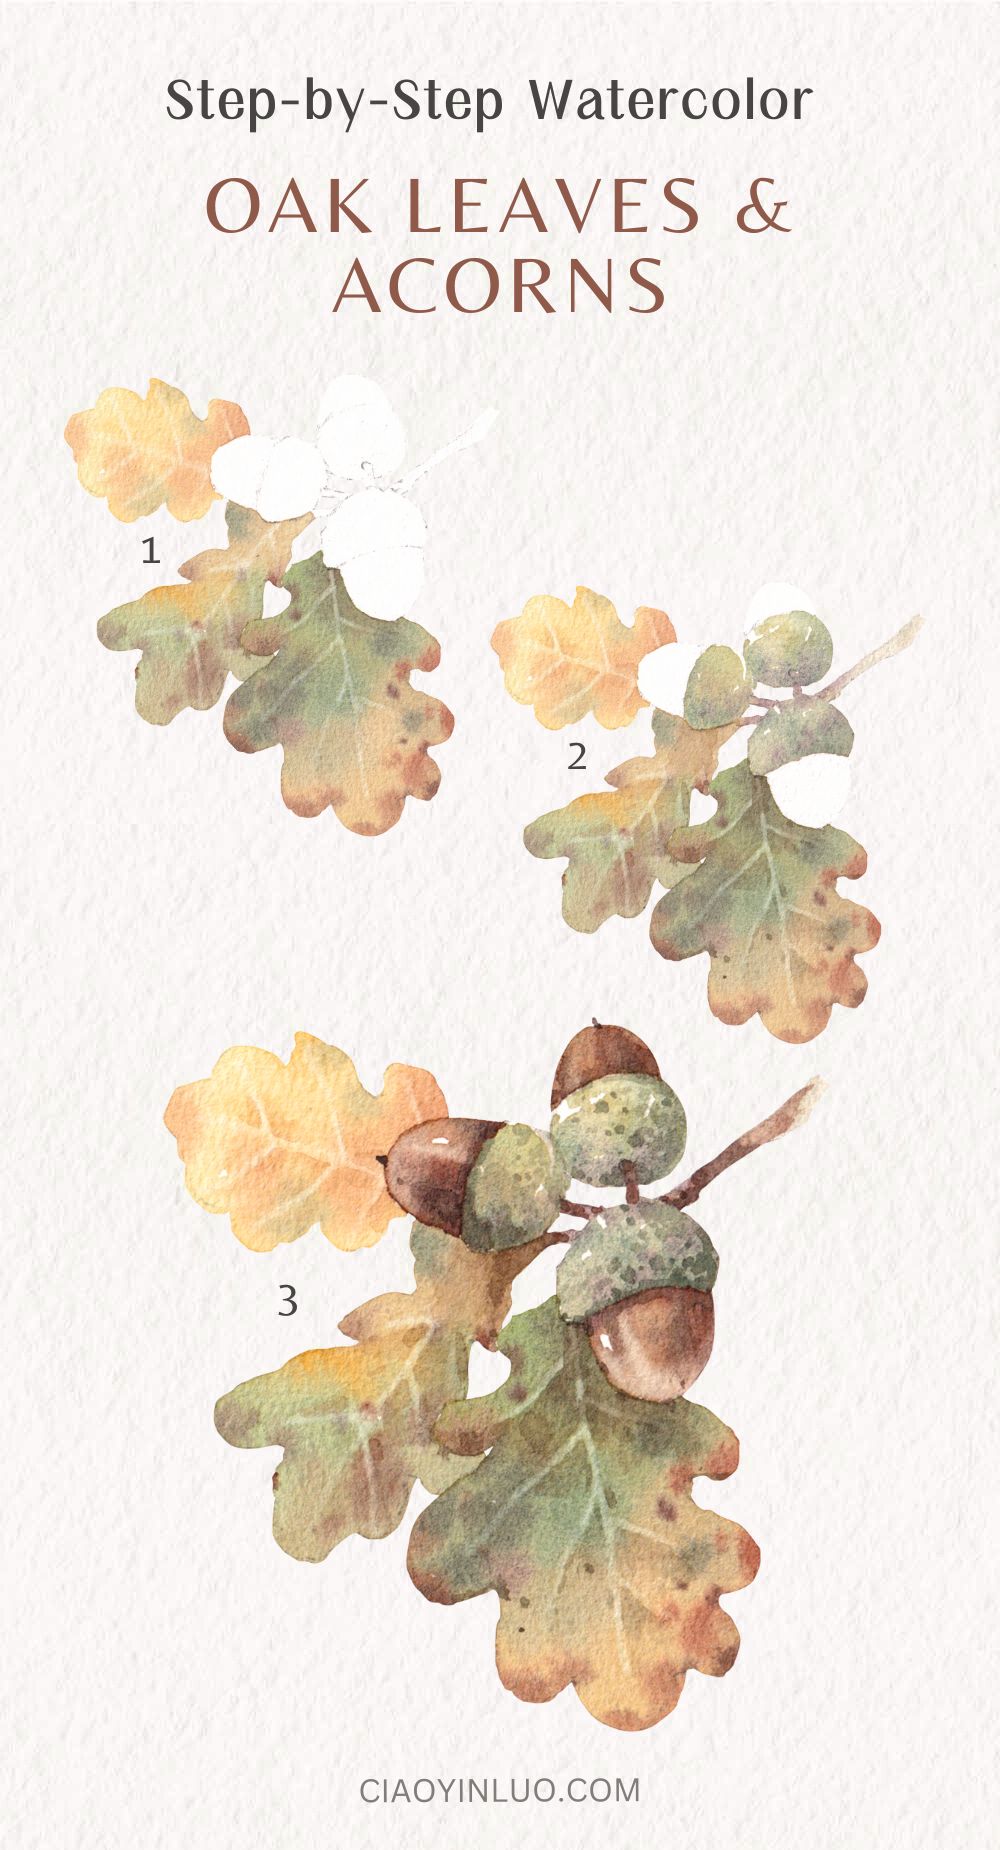
Few things symbolize the heart of the autumn forest quite like a cluster of oak leaves and acorns. I particularly love the charming shape of the oak leaves and the beautiful, breathtaking transition from green to deep, burnished bronze.
In this step-by-step watercolor tutorial, we will learn how to create subtle texture on the leaves and, most importantly, how to capture the acorns’ unique bumpy surface and rounded structure. Let’s get started!

Painting Tools
- Watercolor Paper: Arches Cold-Pressed Watercolor Paper
- Brushes: Escoda Perla #8 / Escoda Versatil #10
- Watercolors: For this beginner step-by-step watercolor tutorial series, I use Schmincke Horadam 24 Half-Pan Set. You can choose any brand and find similar colors.
Colors:
Chrome Yellow Deep
Chromium Orange Hue
Chromium Orange Hue
Burnt Sienna
May Green
Permanent Green Olive
Sepia Brown
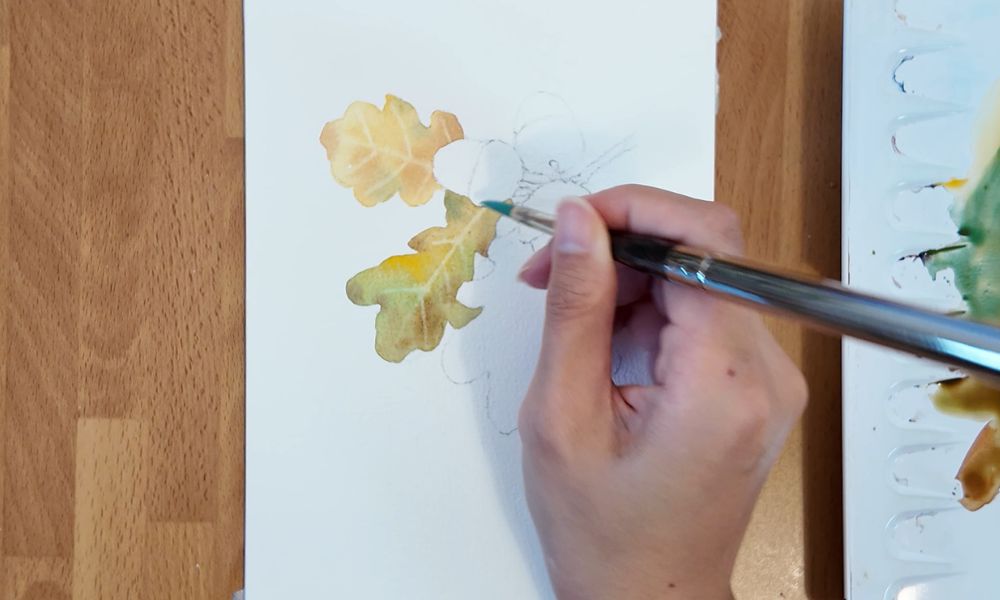
1. Leaves
The oak leaves are richly colored and transition beautifully between green, yellow, and brown.
I’ll start with the leaf on the left, using Chrome Yellow Deep and Chromium Orange Hue for the base. While the paper is still wet, I’ll drop in touches of orange and green tones.
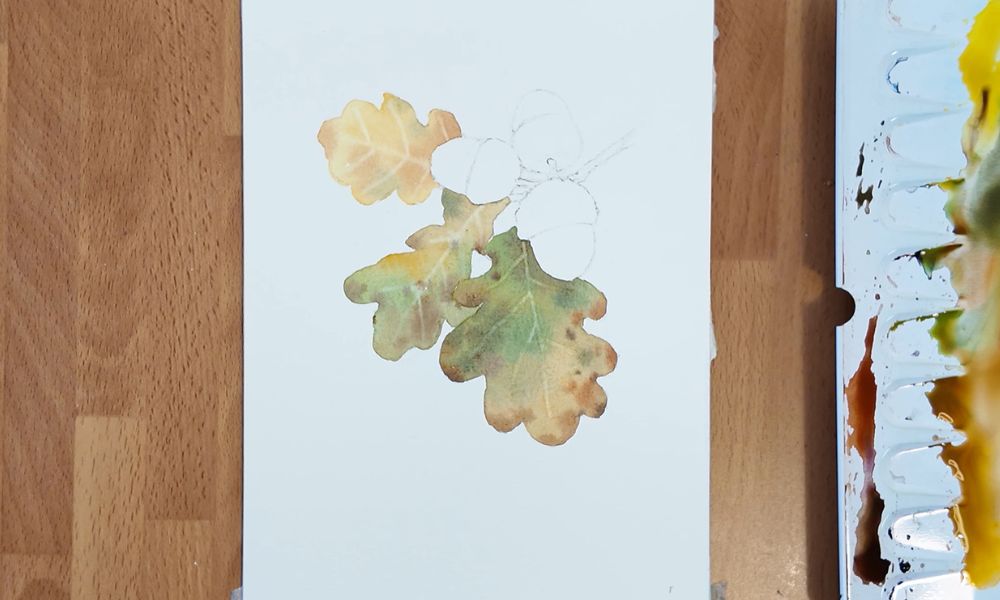
Next, repeat these steps for the remaining leaves. You can stain the edges with a slightly darker green and brown, allowing these colors to blend naturally.
Additionally, as the leaf is nearly dry, use a clean brush to lift the paint along the veins; this technique creates soft, natural lines.
2. Acorns
Next, we will focus on the acorns, as they are a key focal point in the composition.
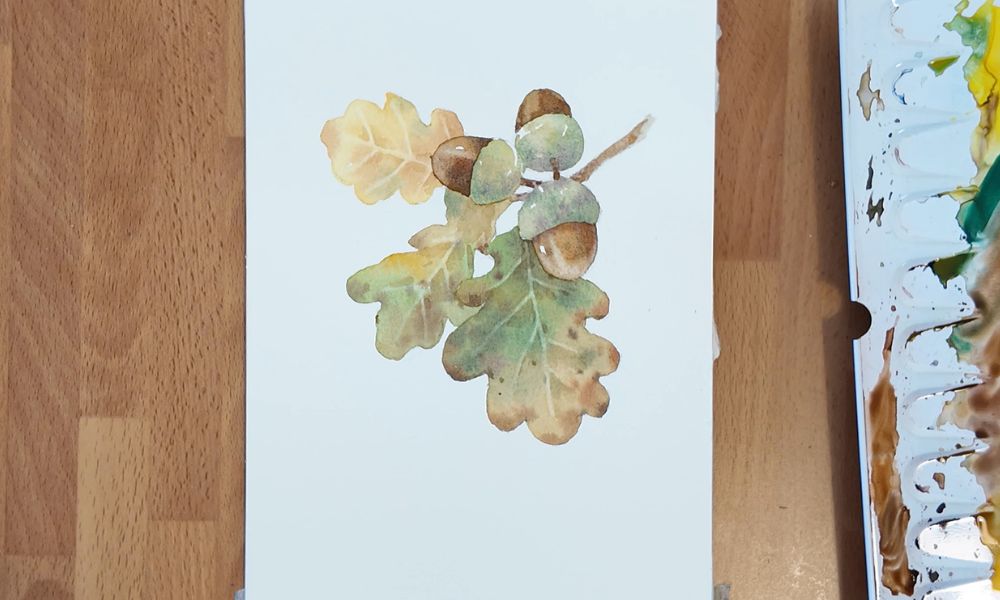
First, we will apply the base wash for the acorn caps using diluted Chrome Yellow Deep and Permanent Green Olive, and then let this layer dry.
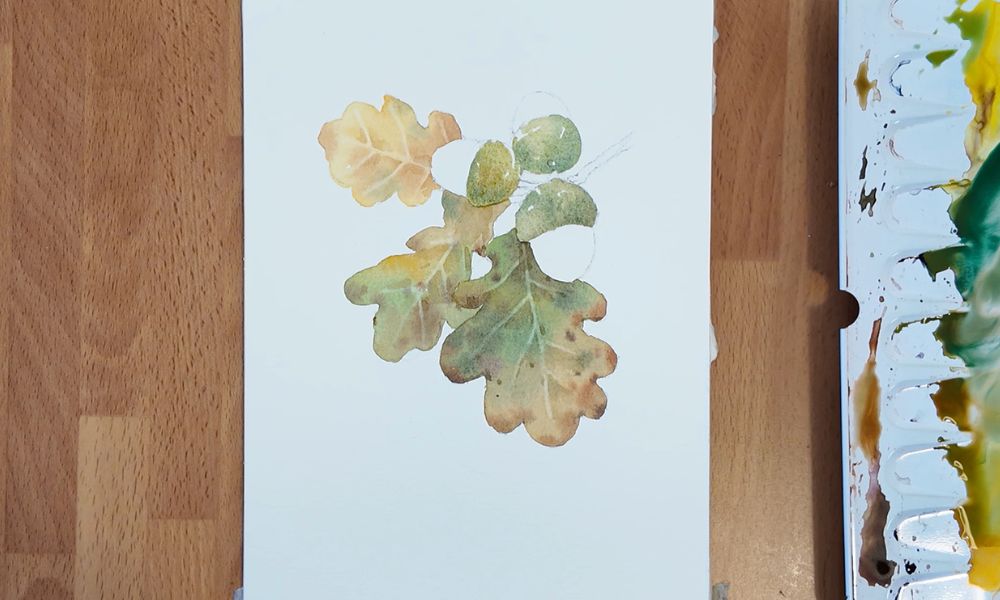
Following that is the base wash for the nut portion of the acorn, using Burnt Sienna and Sepia Brown. Please remember to reserve the highlights (bright spots) on the nut.
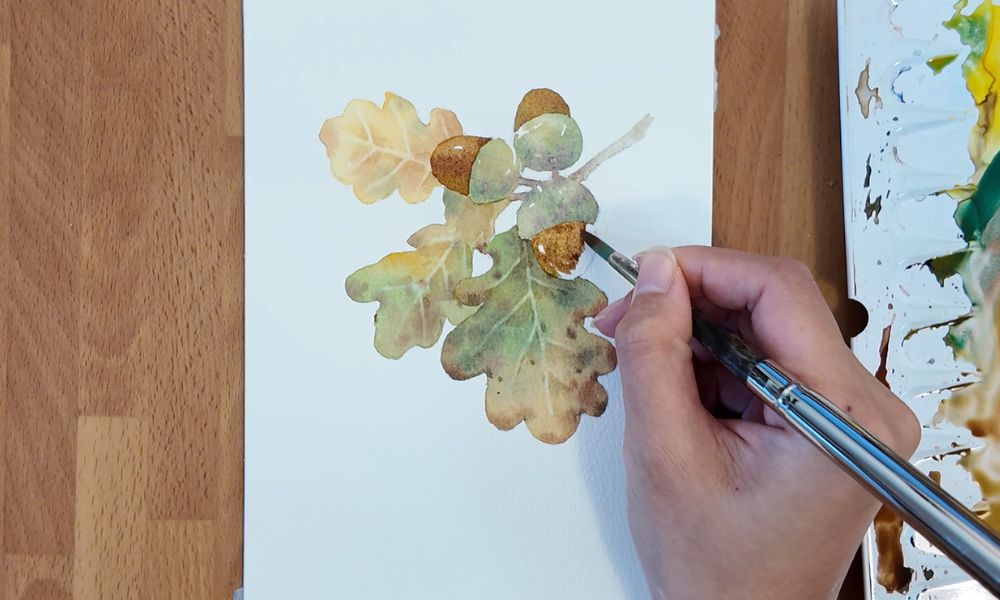
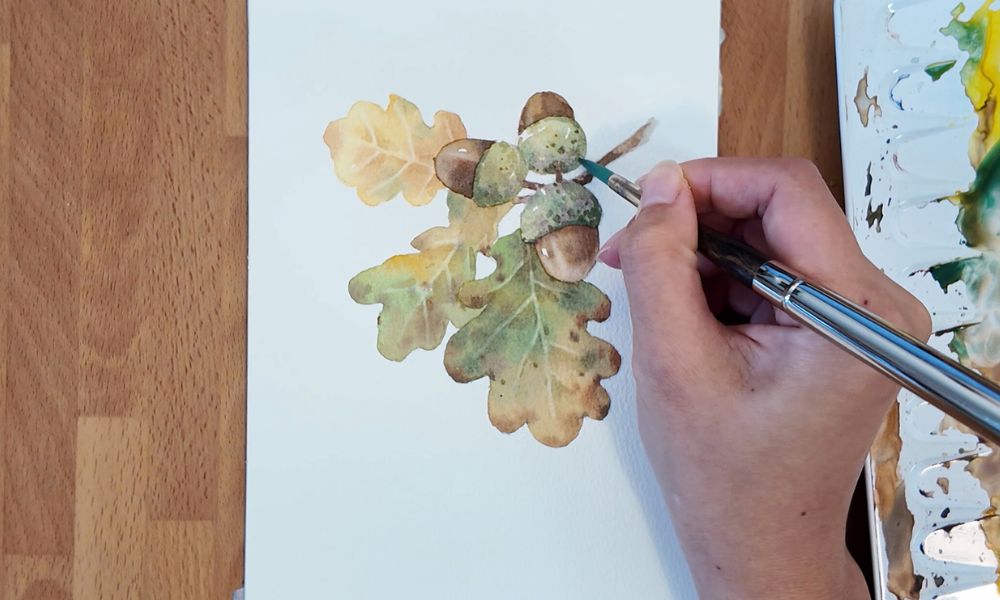
Once the entire base wash for the acorns is complete, let’s add the rough texture to the surface of the caps. I will use a darker greenish-brown by mixing Permanent Green Olive with some Sepia Brown, and depict the cap’s texture using short, dense strokes.
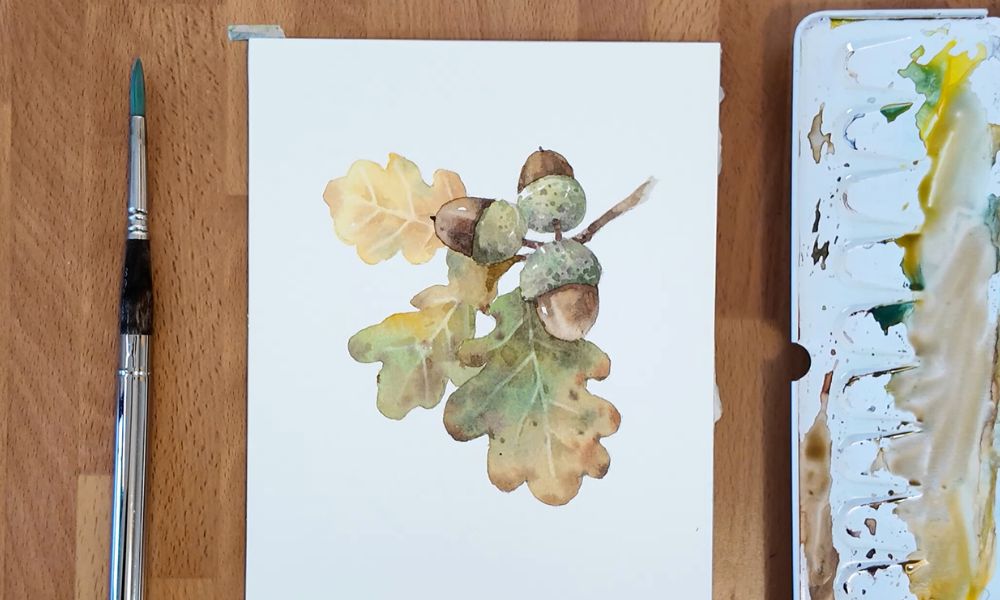
3. Details
Do the acorns and the leaves currently look slightly disconnected? No problem!
Simply darken the leaf areas directly beneath the acorns slightly and enhance the mottled effect on the leaves. This will make the two elements look more natural together and better capture the atmosphere of autumn.
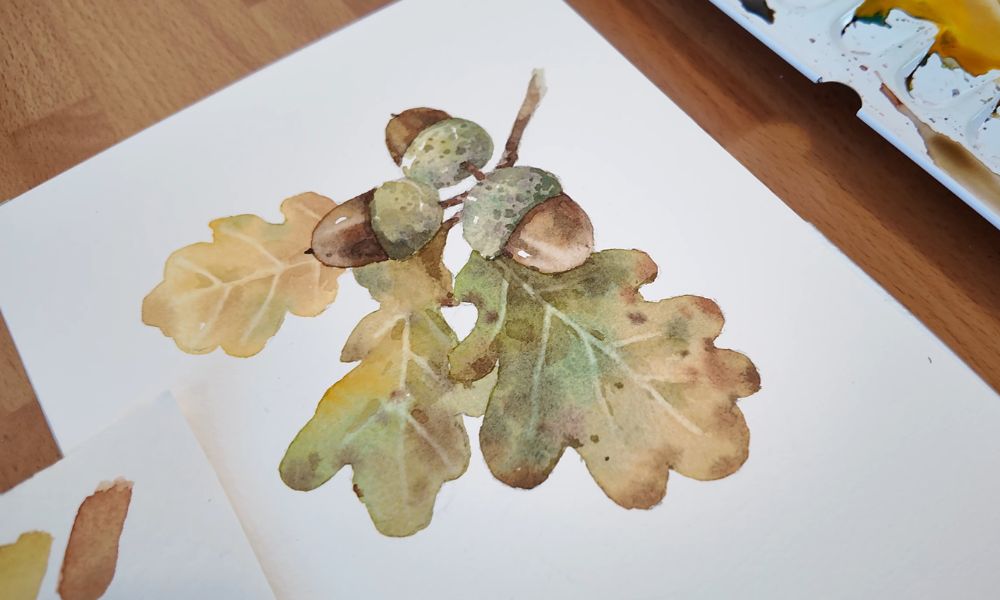
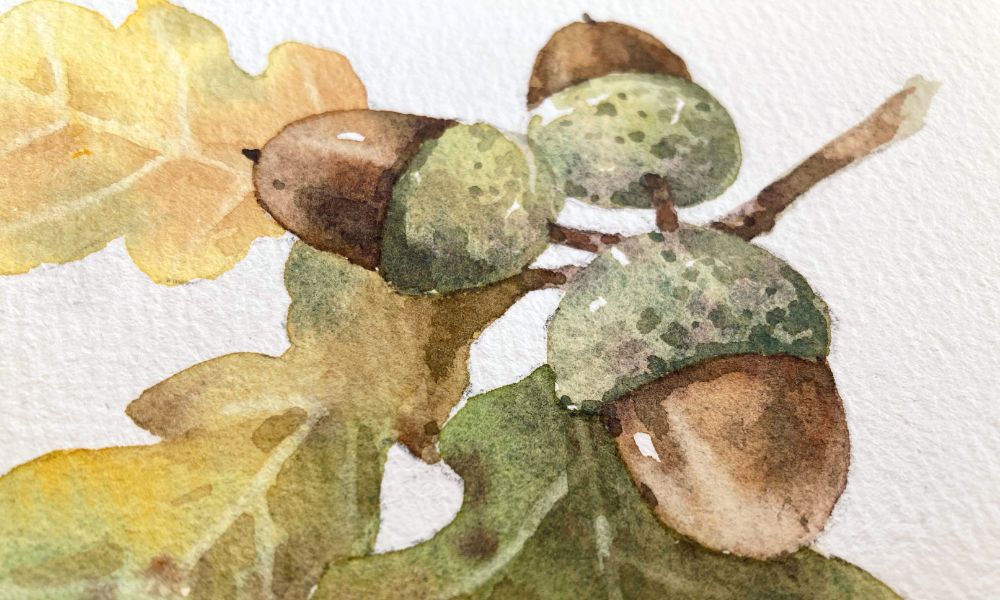
And there you have it—a charming cluster of oak leaves and acorns, beautifully capturing the warm, rustic heart of the autumn forest in watercolor!
I hope you enjoyed the colors, texture, and details in this tutorial! What other fall subjects would you like to paint? Let me know in the comments!
If you enjoyed this tutorial, don’t forget to save this image to your Pinterest board for later!
You can also watch the painting process in my YouTube Short below!
Related Blog Posts:
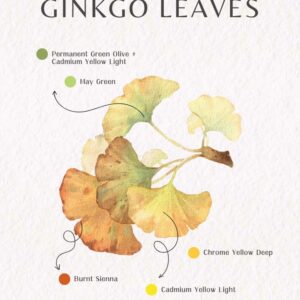
Learn how to paint watercolor Ginkgo Leaf |Fall Watercolor Ideas
Learn how to paint watercolor Maple Leaf |Fall Watercolor Ideas
Lean how to paint watercolor Pansies
Learn how to paint Catharanthus roseus with watercolor


Comme d’habitude, c’est magnifique.
Merci beaucoup!!