I just love the Ginkgo leaf in the fall—it looks so elegant! That cool fan shape and how it fades beautifully from green to bright gold make it perfect for watercolor.
In this easy, step-by-step lesson, we’ll learn the tricks to paint these delicate leaves. We’ll let those bright greens and yellows blend right into each other, capturing that quick change of the season. Let’s start painting!
Painting Tools
- Watercolor Paper: Arches Cold-Pressed Watercolor Paper
- Brushes: Escoda Perla #8 / Escoda Versatil #10
- Watercolors: For this beginner step-by-step watercolor tutorial series, I use Schmincke Horadam 24 Half-Pan Set. You can choose any brand and find similar colors.
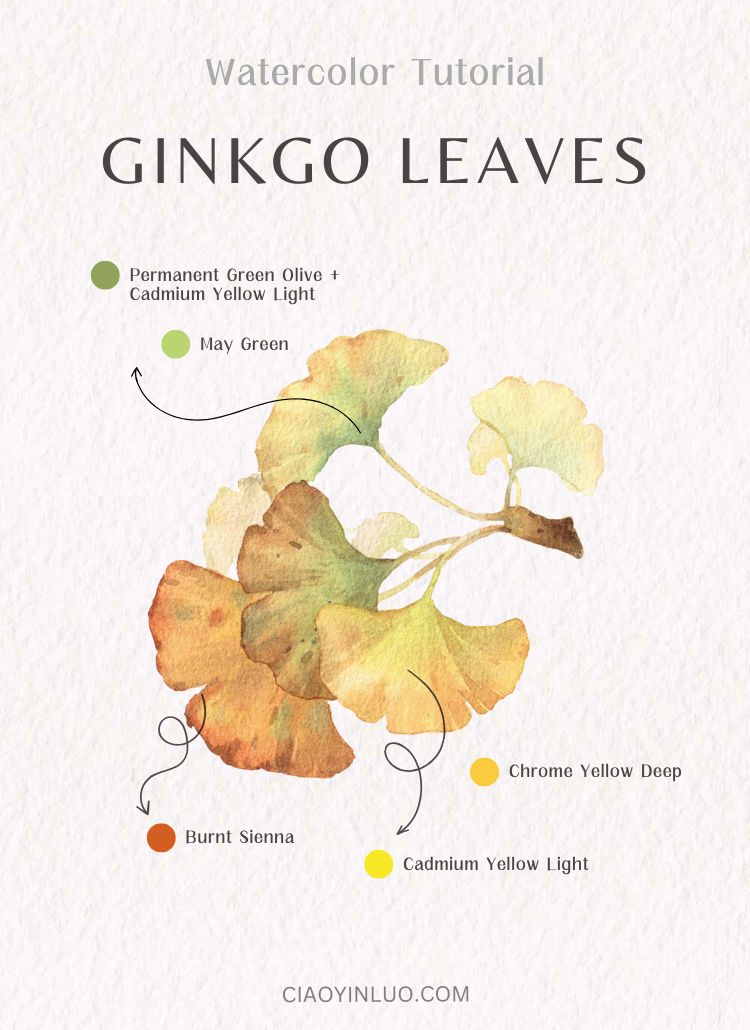
Colors:
Cadmium Yellow Light
Chrome Yellow Deep
May Green
Permanent Green Olive
Burnt Sienna
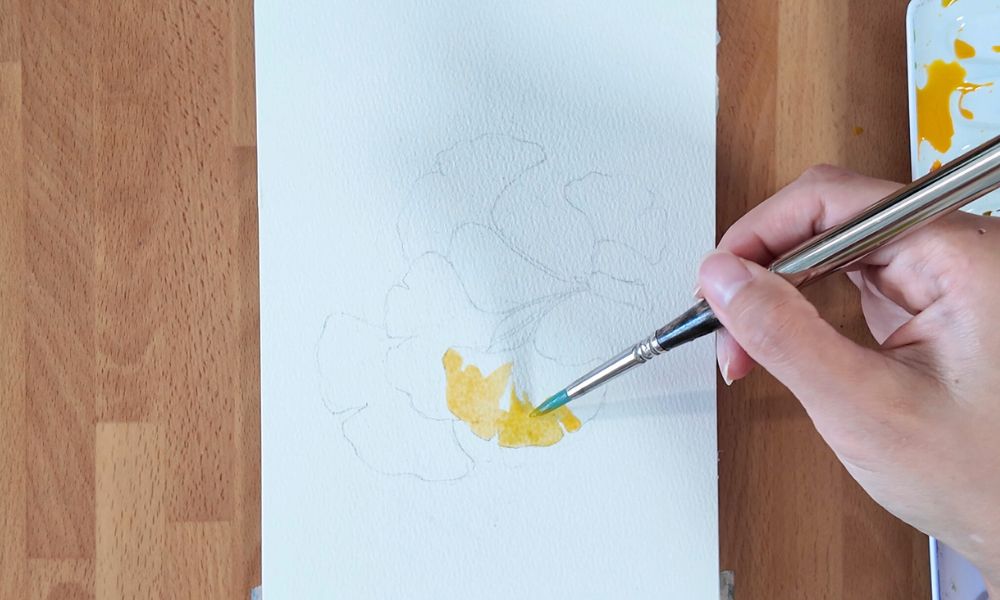
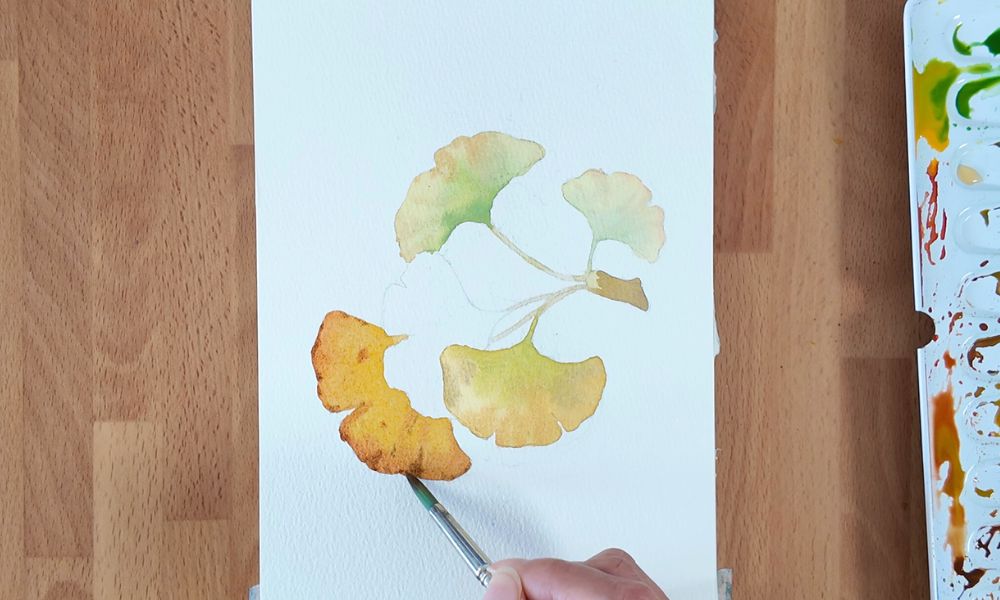
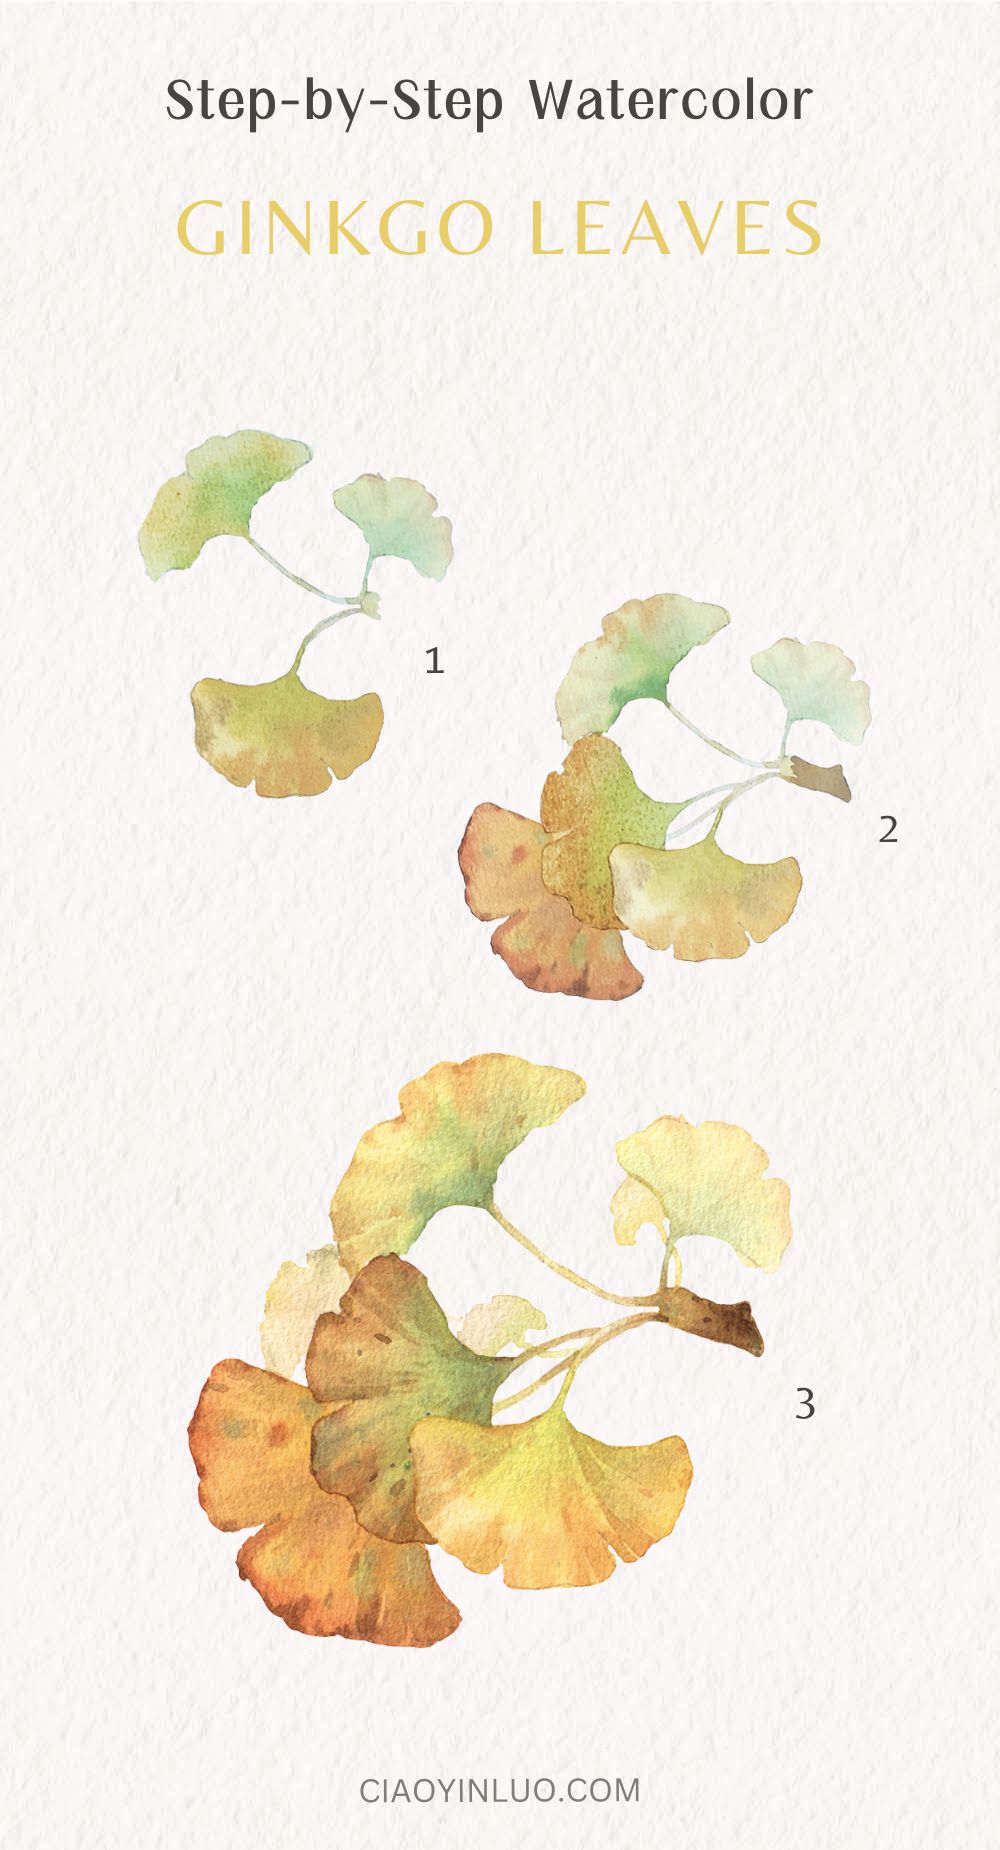
1. Leaf Base Layers
We will use yellow and green as the main colors for our ginkgo leaves, creating gradients and rich layers with various yellow-green tones.
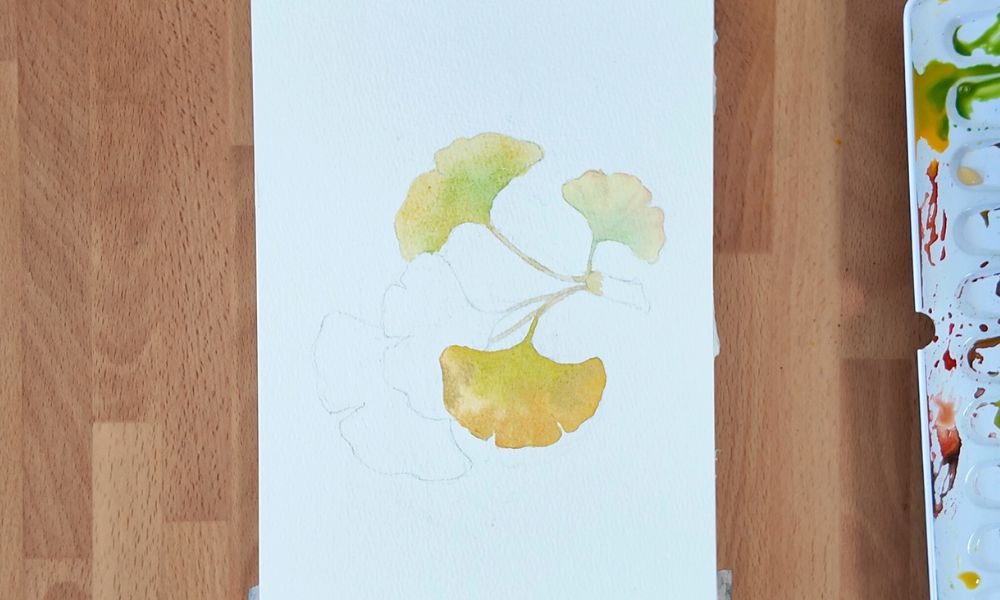
For the three leaves on the right, I’ll keep the tones slightly lighter. First, paint one half of a ginkgo leaf with Chrome Yellow Deep, then blend in a touch of May Green to complete the other half, extending to the stem area. You’ll observe a harmonious and subtle color transition.
Similarly, use Cadmium Yellow Light, Chrome Yellow Deep, and May Green to complete the other two leaves. You can even use a tiny bit of brown to hint at the leaf edges.
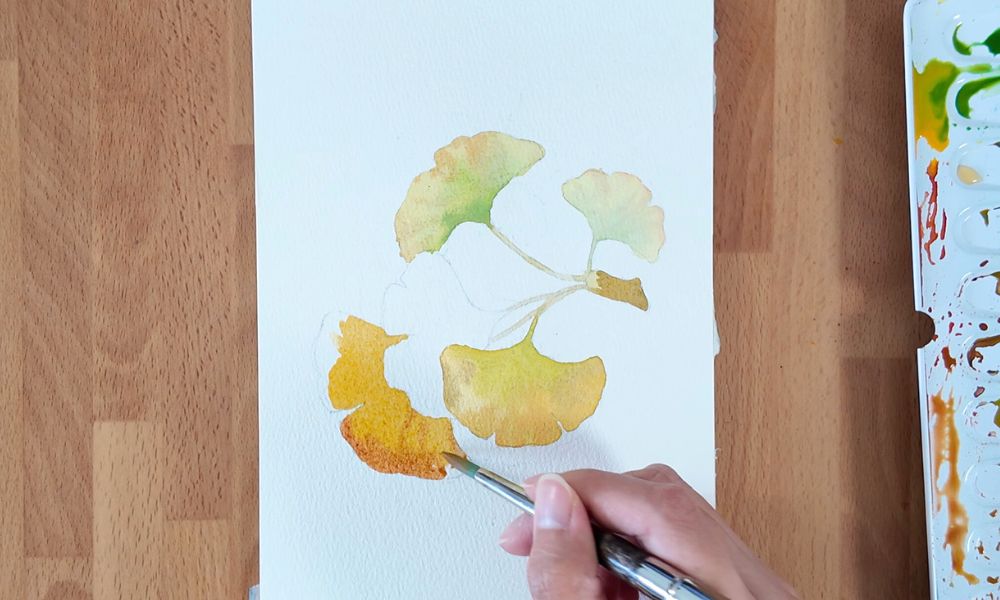
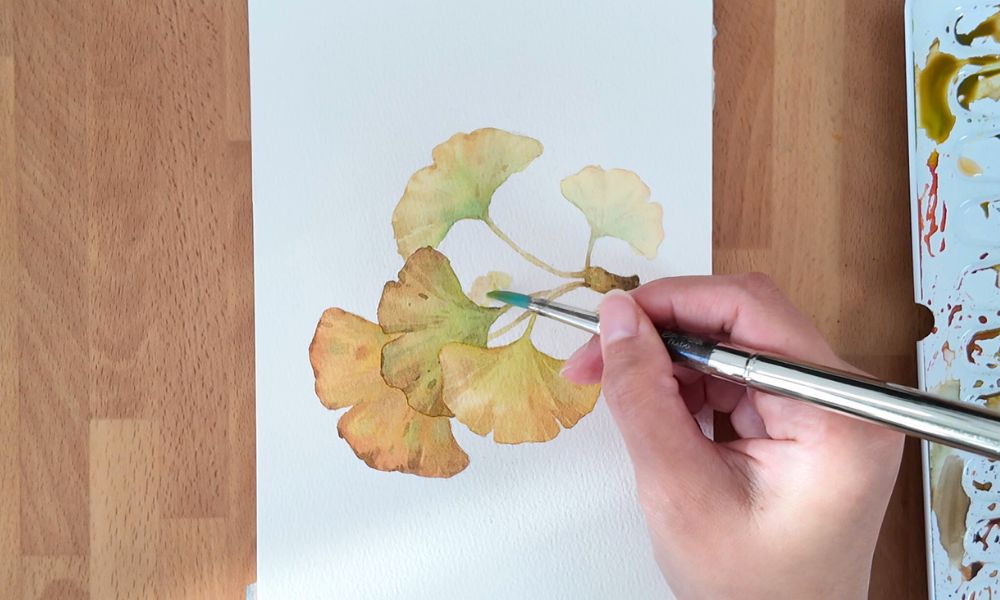
2. Remaining Leaves
Next, I’ll use a slightly more saturated Chrome Yellow Deep for the leftmost leaf, blending it into Burnt Sienna along the leaf edge while the paint is still wet.
Once this leaf is dry, we’ll use Chrome Yellow Deep, May Green, and Burnt Sienna for the final leaf. While the paint is still wet, you can also add small dots and some vein-like textures.

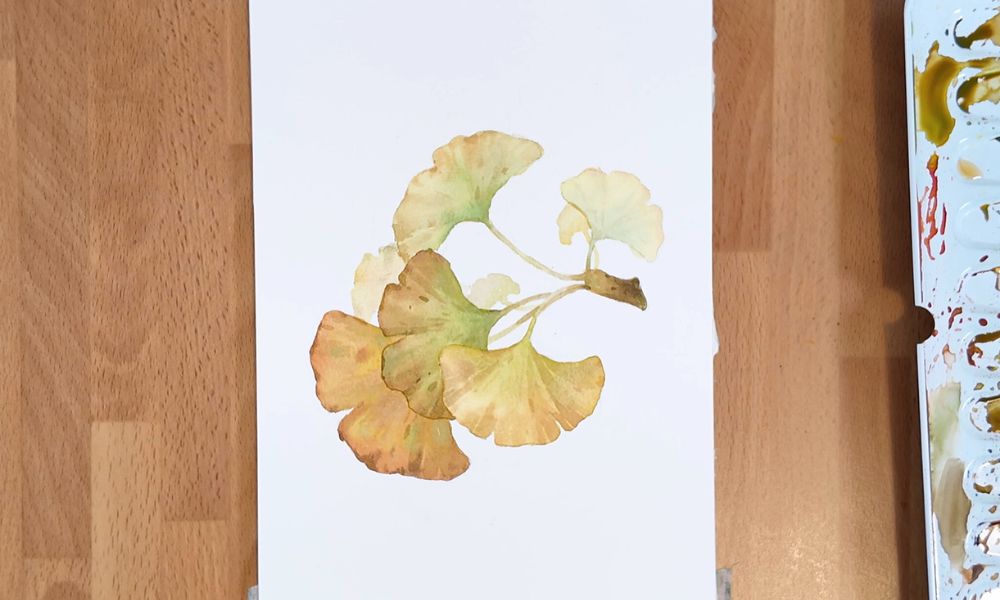
By using these same color tones at different concentrations, we can create depth and layers in the foliage; the leaves with more saturated colors will appear closer to us, while the paler ones will seem slightly further away.
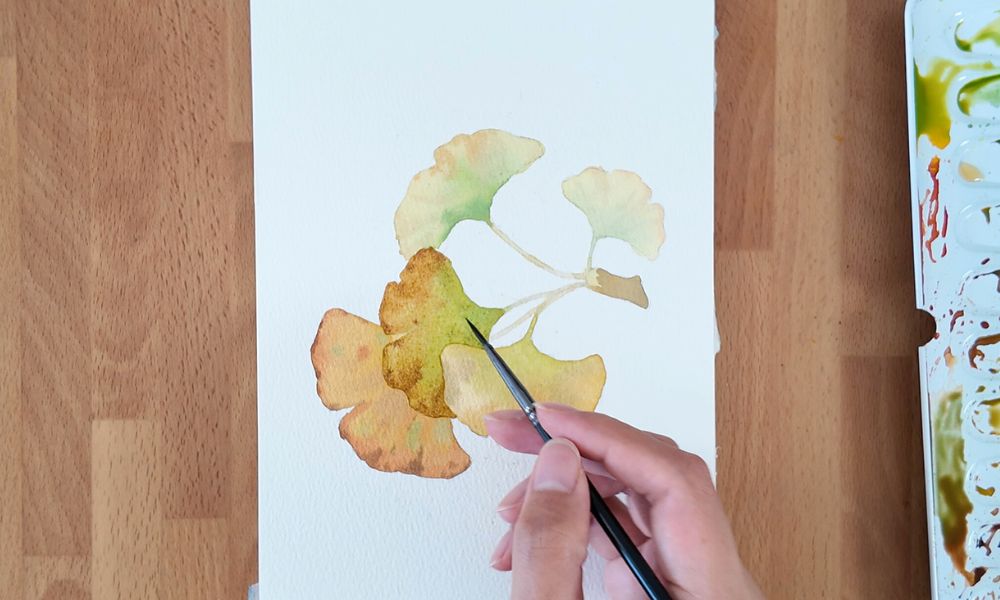
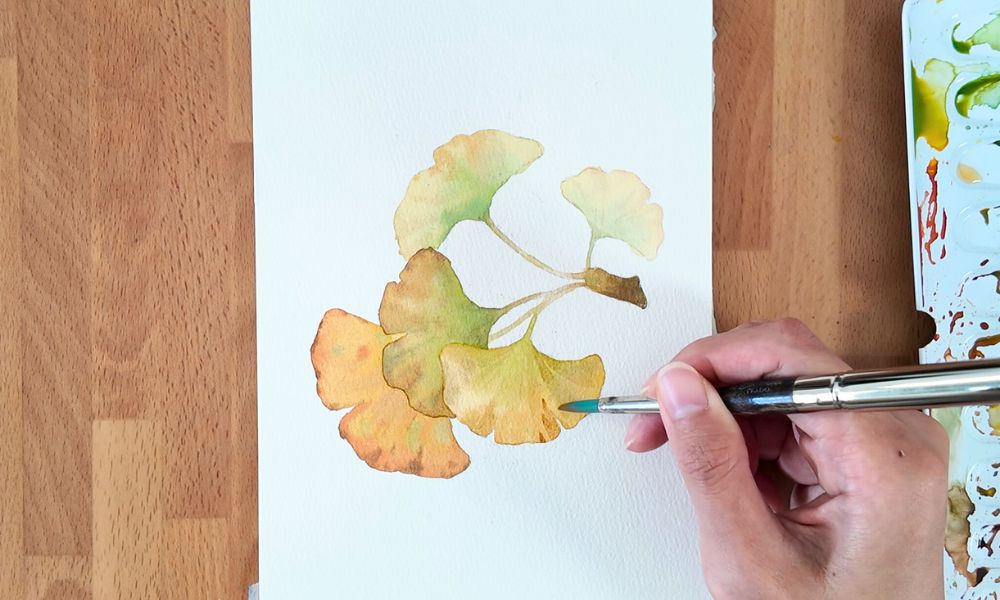
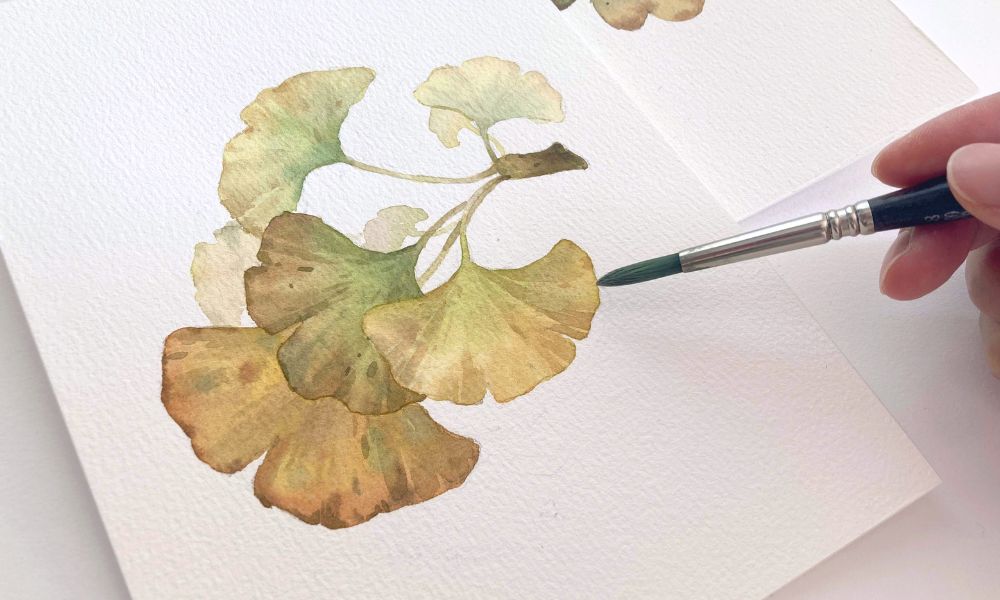
3. Leaf Texture
Once this leaf is dry, we’ll use Chrome Yellow Deep, May Green, and Burnt Sienna for the final leaf. While the paint is still wet, you can also add small dots and some vein-like textures. By using these same color tones at different concentrations, we can create depth and layers in the foliage; the leaves with more saturated colors will appear closer to us, while the paler ones will seem slightly further away.
When the leaves are almost dry, lift the paint with a watercolor brush to create vein lines.
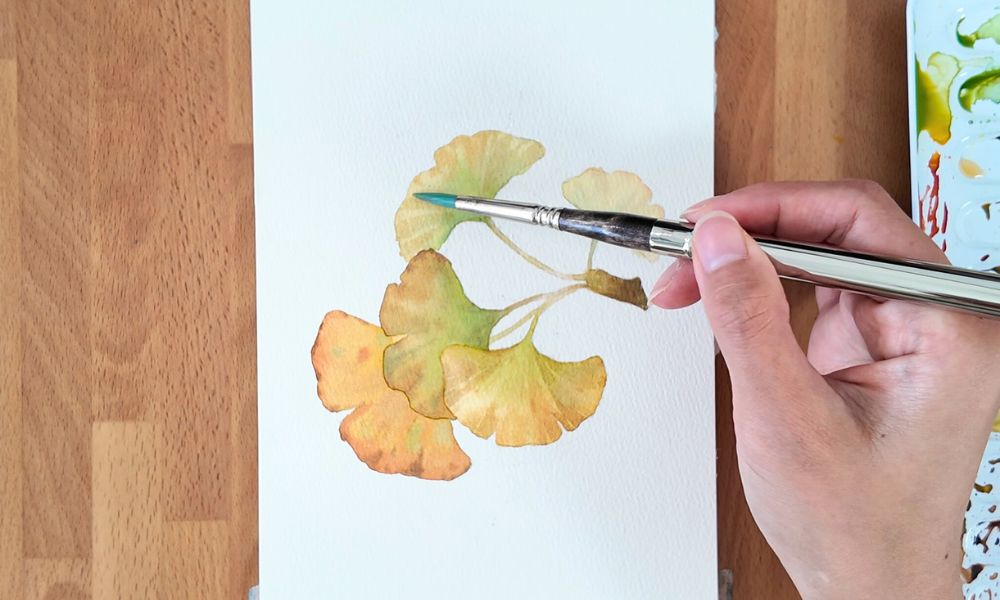
4. Final Details
Finally, I think it would be interesting to add a few more lightly colored leaves as complementary elements. There’s no need for a complex composition; just add small, simple leaf shapes and stems. This suggests even further background layers, adding depth to the overall piece.
And there you have it – a delicate branch of ginkgo leaves, capturing the elegant shift of the autumn season in watercolor!
This painting is a wonderful exercise in layering subtle washes and building depth with harmonious color transitions.
If you enjoyed this tutorial, don’t forget to save this image to your Pinterest board for later!
You can also watch the painting process in my YouTube Short below!
Related Blog Posts:
Learn how to paint watercolor Himalayan blue poppy
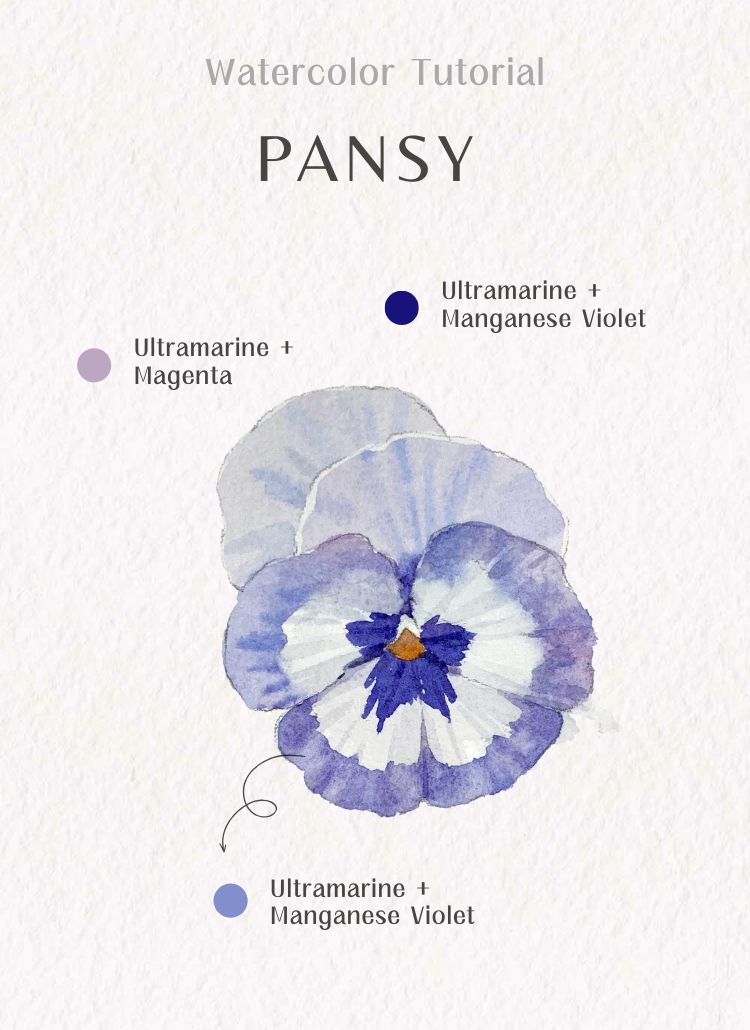
Lean how to paint watercolor Pansies
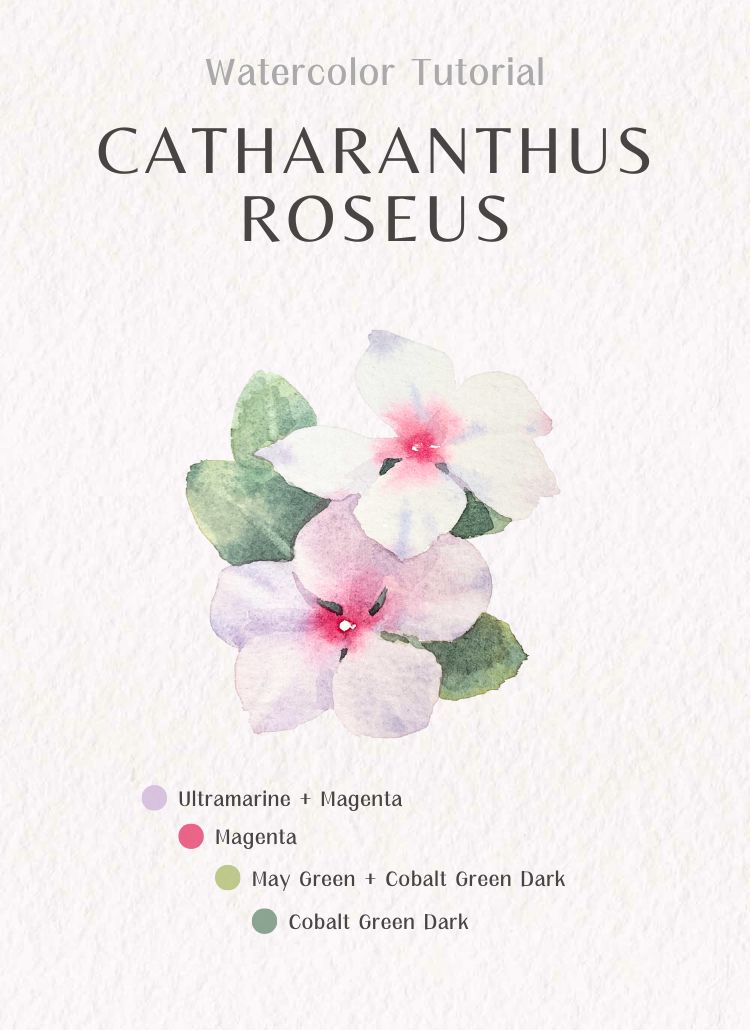
Learn how to paint Catharanthus roseus with watercolor