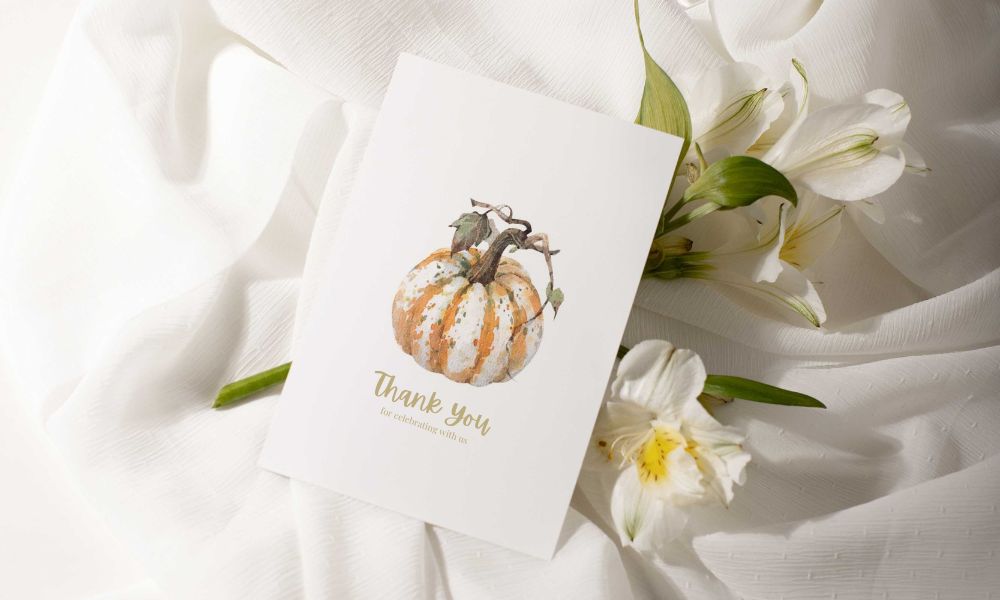
Ready to add some festive charm to your artwork? This delightful, speckled pumpkin variety makes for a captivating and fun watercolor subject, perfect for creating an eye-catching, handmade card.
In this tutorial, I’ll show you exactly how to achieve that wonderful, patchy texture using simple wet-on-wet and splatter techniques. You’ll also learn how to create soft, rounded shading on the pumpkin’s body and paint a realistic, twisty stem. It’s the perfect way to practice your watercolor blending!

Painting Tools
- Watercolor Paper: Arches Cold-Pressed Watercolor Paper
- Brushes: Escoda Perla #8 / Escoda Versatil #10
- Watercolors: For this beginner step-by-step watercolor tutorial series, I use Schmincke Horadam 24 Half-Pan Set. You can choose any brand and find similar colors.
Colors:
Chrome Yellow Deep
Chromium Orange Hue
Burnt Sienna
Sepia Brown
May Green
Permanent Green Olive
Ultramarine Finest
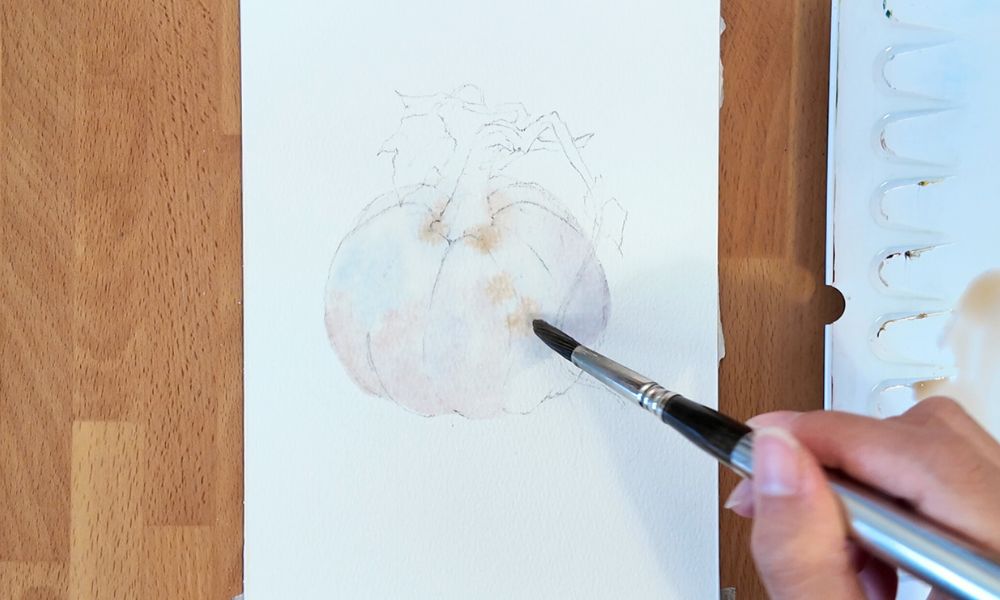
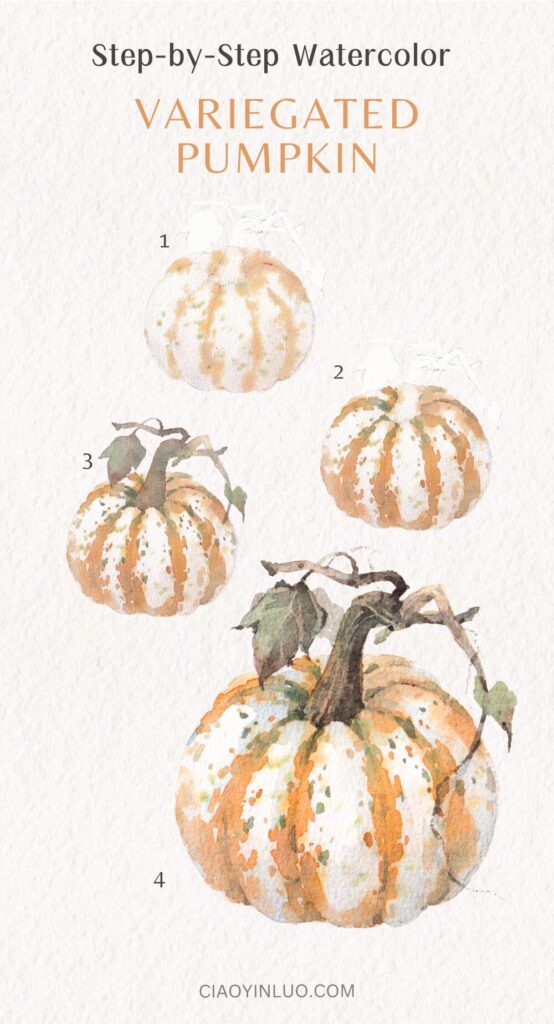
1. The Pumpkin Base Layer (The Whites)
Today, we’ll be painting a pumpkin with a white base speckled with yellow and green. Before we move on to those vibrant colors, let’s start with the white areas.
Using only light gray can look a bit flat, so I usually use a wash of diluted cool and warm tones to lay the groundwork for white objects. For this, we’ll use a mix of diluted Burnt Sienna and Ultramarine to fill the pumpkin’s shape.
2. The Splatter Effect (Natural Speckles)
While the first base layer is still slightly damp, let’s create some interesting splatter effects for those natural-looking speckles. I like to use scrap paper to mask the area outside the pumpkin to keep the paper clean. Then, load your brush with Chrome Yellow Deep and May Green for the splatters.
A crucial tip: The brush shouldn’t hold too much water, or the yellow and green dots will be too large on the paper.
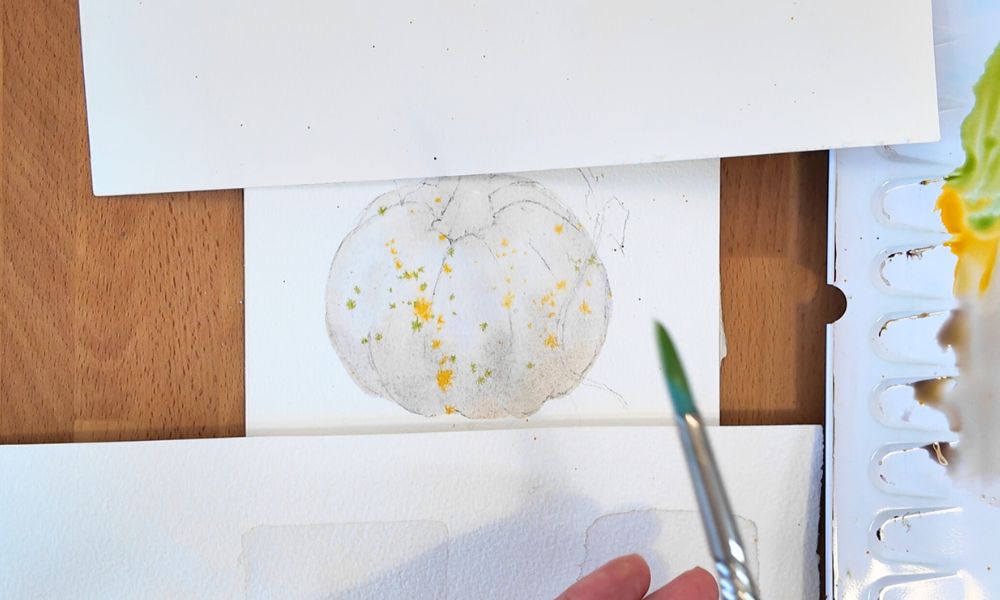
These dots don’t need to be excessive. After applying the splatters, we can also paint a few more stripes before allowing this layer to completely dry.
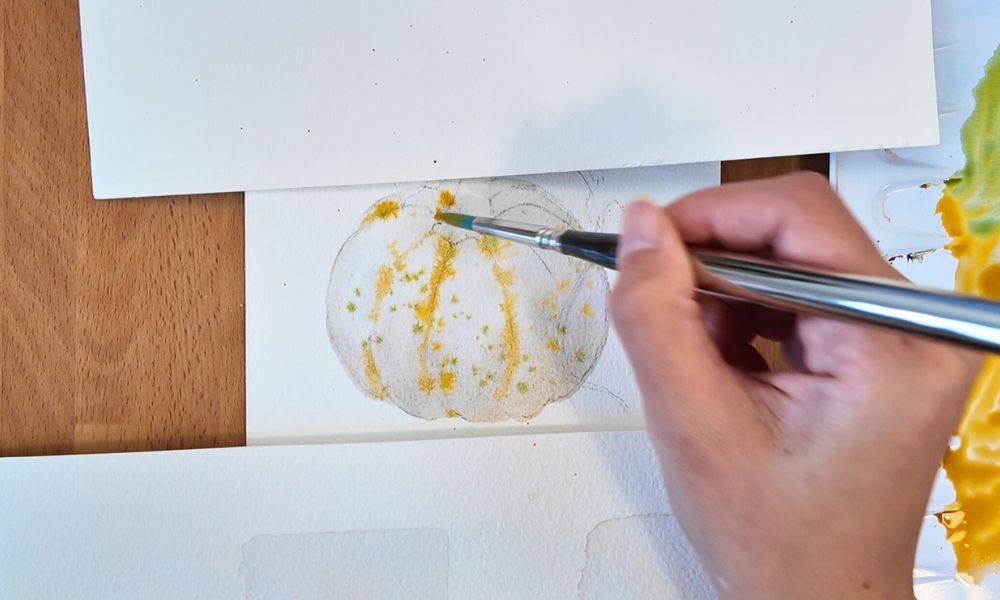
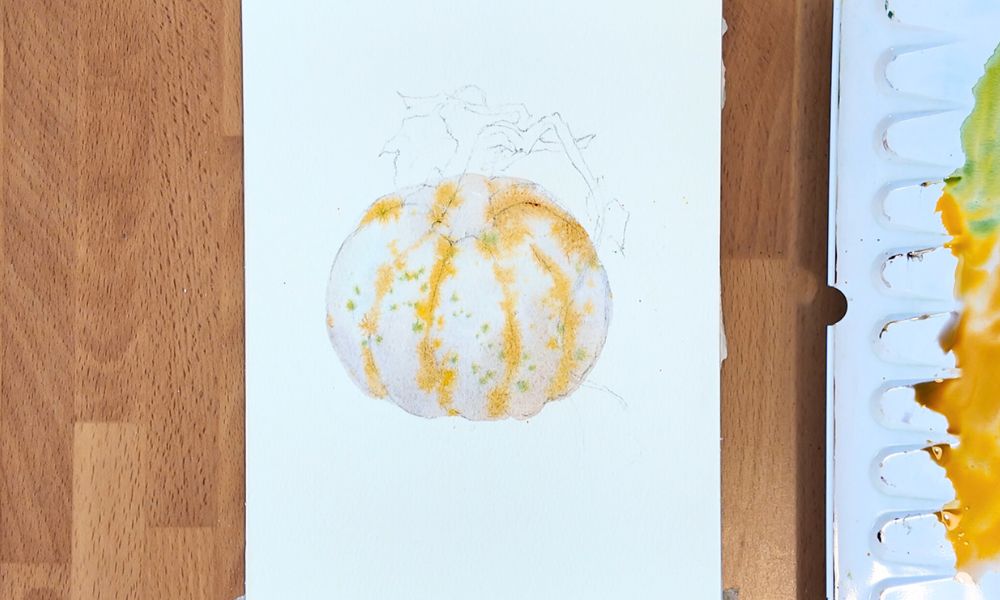
3. Defined Stripes and Texture
Now, using Chrome Yellow Deep and Chromium Orange Hue, start painting the stripes that sit in the pumpkin’s recesses. We need to create some short brushstrokes or dots to make the edges look irregular.
Remember to follow the curve and form of the pumpkin. Add a touch of green near the stem and mix in a little Burnt Sienna as you move closer to the bottom edge.
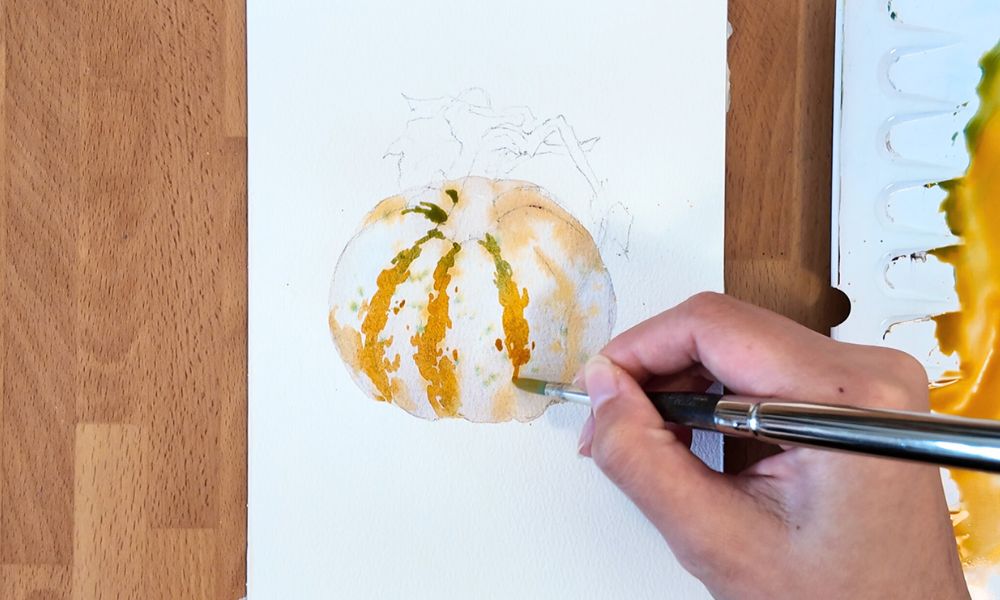
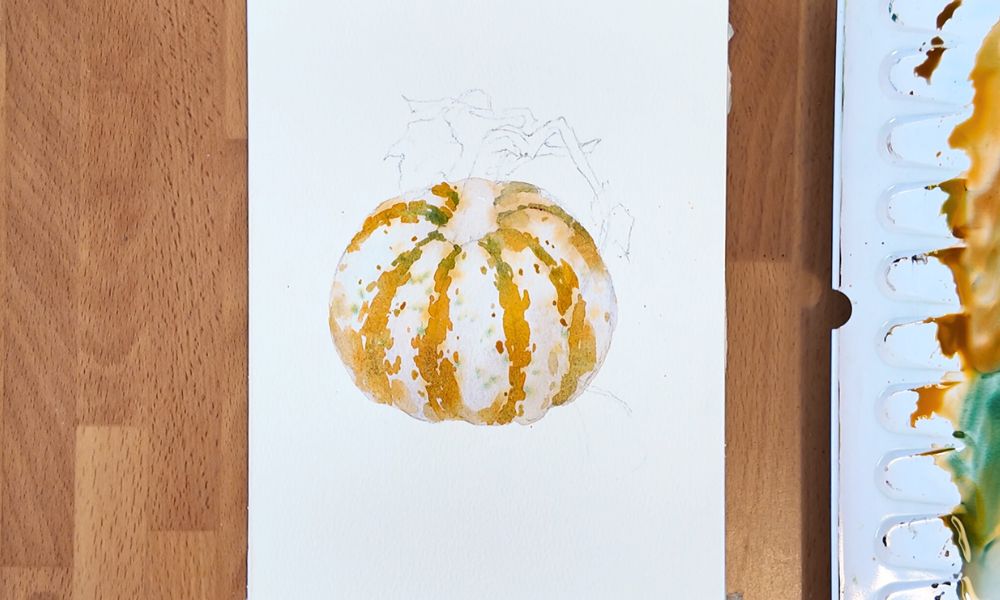
With this step, our pumpkin already has some beautiful depth and layering!
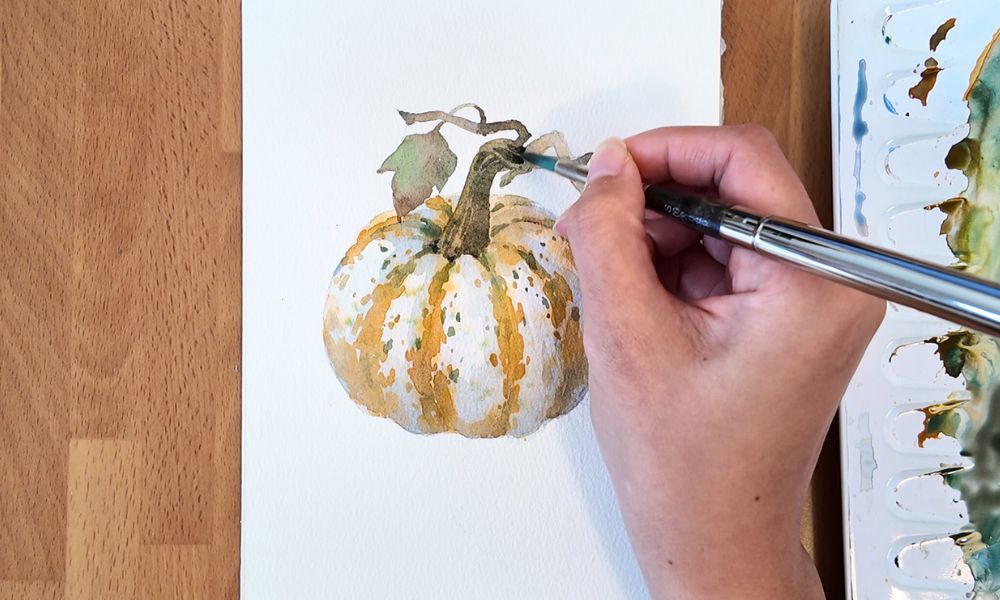
4. The Stem and Shading
Next, we move on to the stem and vine, which are the darkest areas of the pumpkin. Start the first layer using browns like Burnt Sienna, Sepia Brown, and greens such as May Green, Permanent Green Olive.
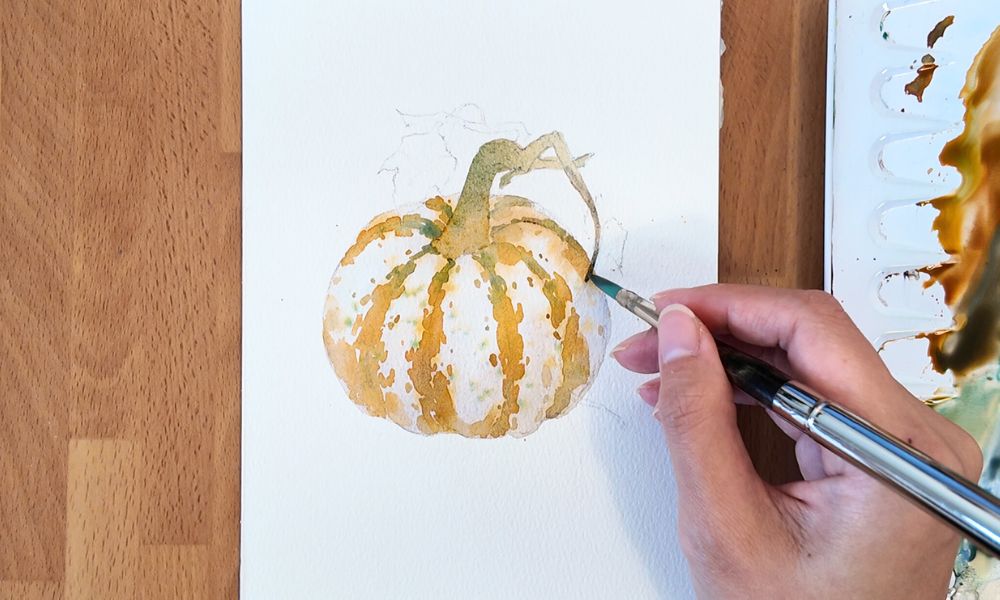
While waiting for the stem and leaves to dry, we can add dimension to the pumpkin by applying shadows to each of its segments.
Comparing the two images above and below, you should notice some light blue/gray shadows at the bottom of the pumpkin and along the right side of each section. I lightly applied a diluted wash of Ultramarine + Burnt Sienna.
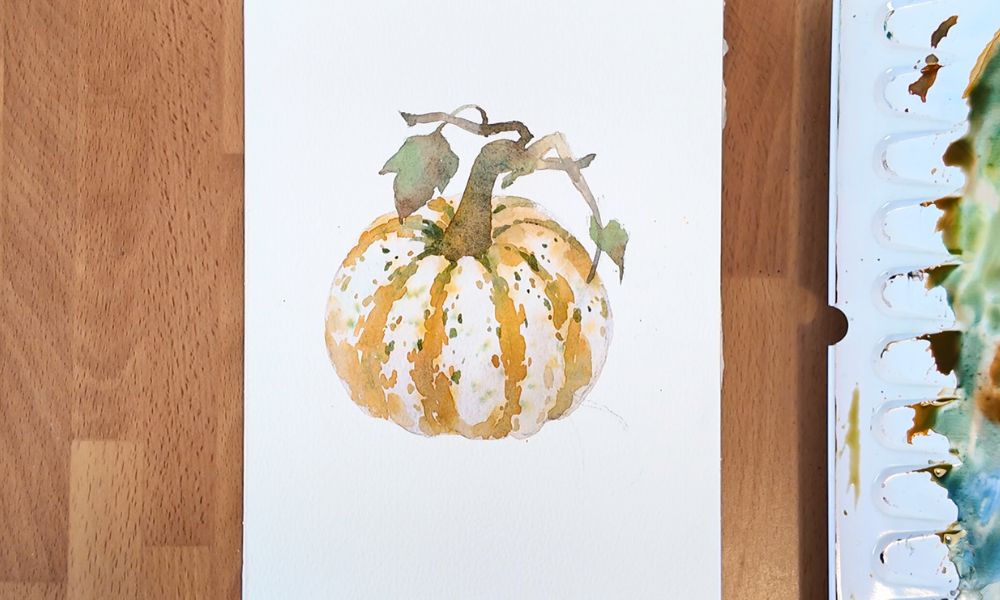
5. Final Details
The pumpkin’s stem has a very rough and rustic appearance, so we can add some bolder, thicker lines for texture.
Lastly, use a dry brush technique to add fine details and to paint the subtle, curling tendrils.
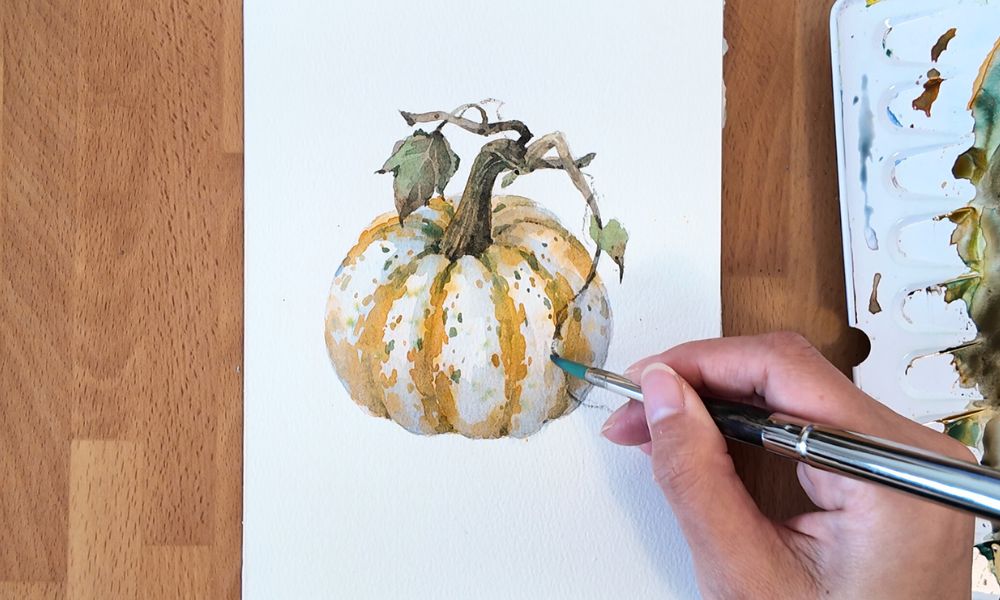
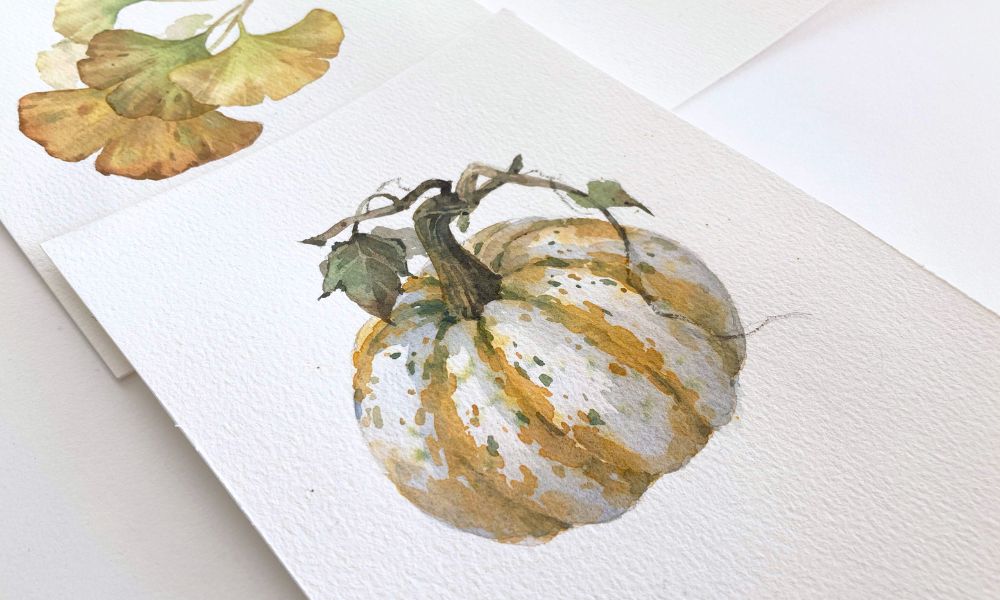
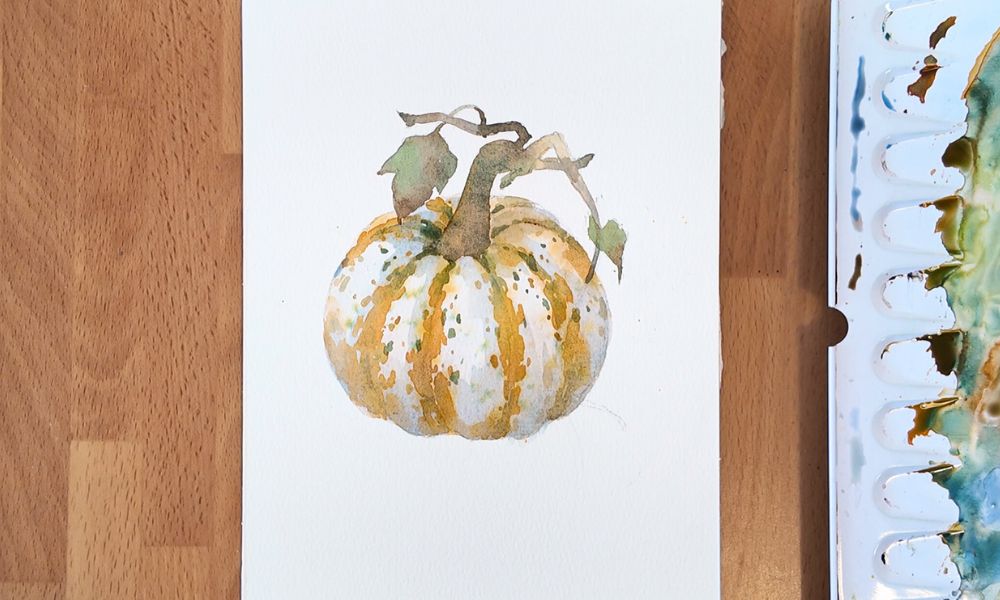
And there you have it—a charming, speckled watercolor pumpkin! This painting is a fantastic way to practice creating texture, from the rough cap of the stem to the delicate splatters on the body. Don’t be afraid to experiment with your color mixtures and embrace the natural, slightly imperfect look. We hope you enjoyed painting along! 🎃
If you enjoyed this tutorial, don’t forget to save this image to your Pinterest board for later!
You can also watch the painting process in my YouTube Short below!
Related Blog Posts:
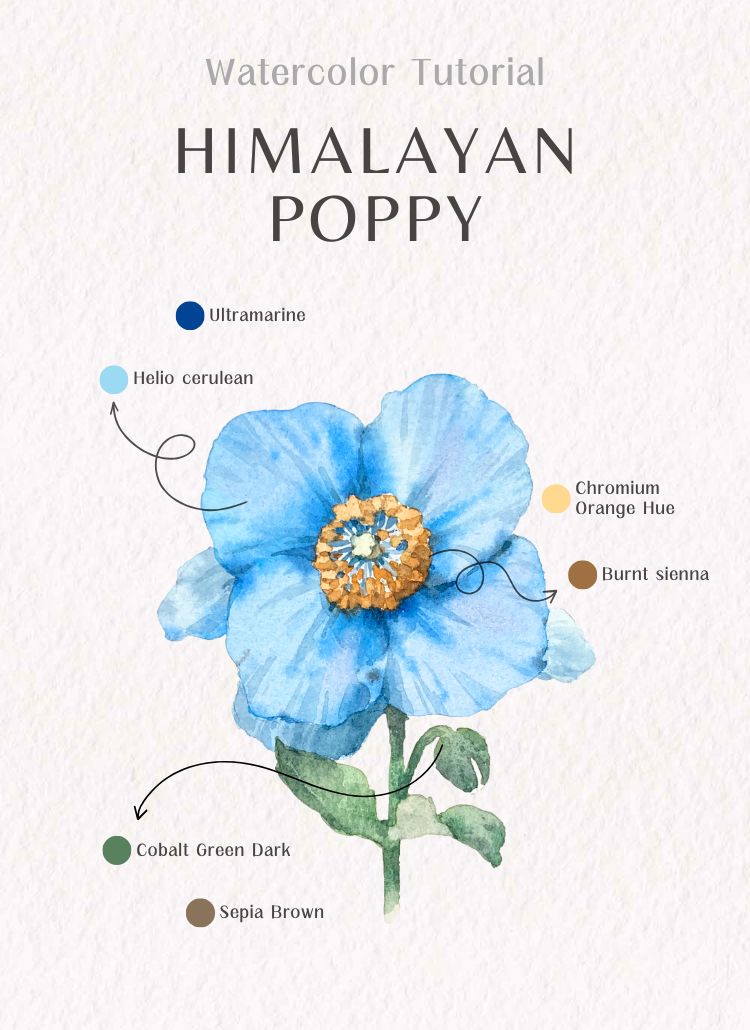
Learn how to paint watercolor Himalayan blue poppy
Lean how to paint watercolor Pansies
Learn how to paint Catharanthus roseus with watercolor