In this post, I will share with you the step-by-step process of painting this watercolor piece featuring a snake and flowers.
You are also welcome to watch the YouTube video for a more direct understanding of how I mix colors and layer details.
Table of Contents
Painting Tools
- Watercolor Paper: Arches Cold-Pressed Watercolor Paper
- Brushes: Escoda Perla #8 / Escoda Versatil #10
- Watercolors: Schmincke Horadam 24 Half-Pan Set and White Night
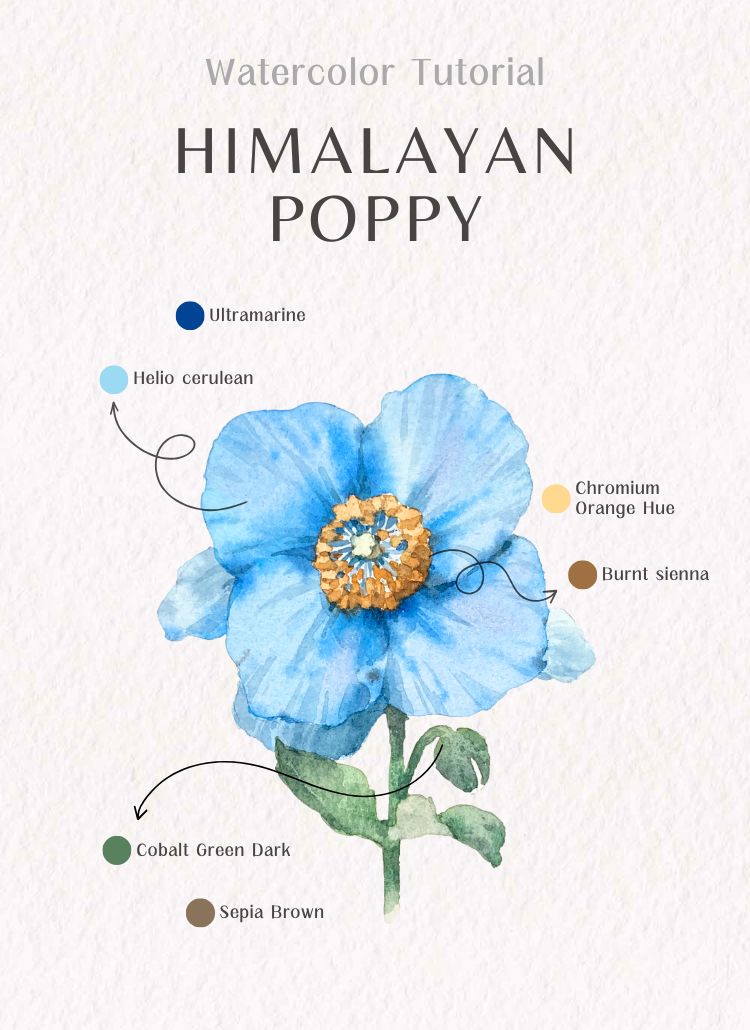
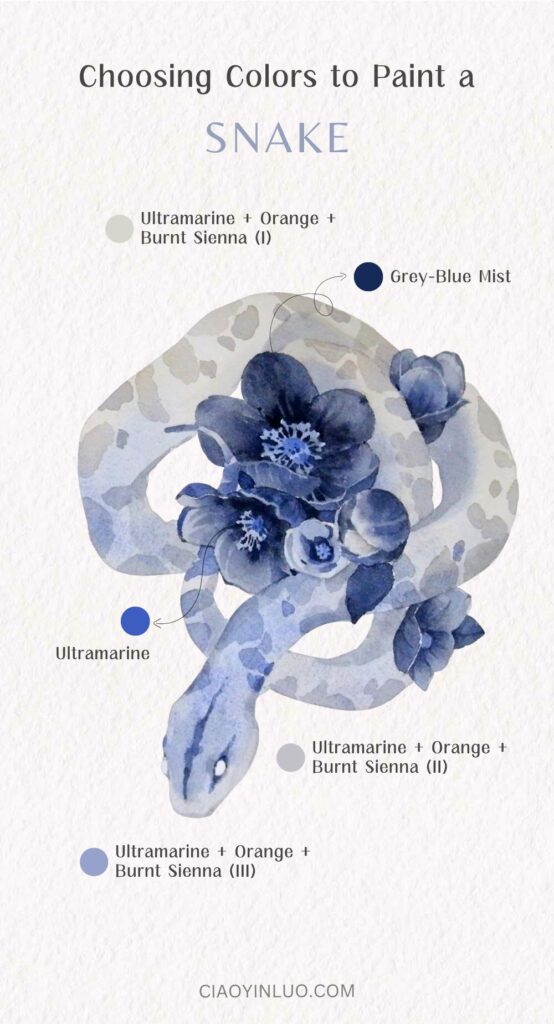
Colors:
Grey-Blue Mist (White Night 562 )
Orange
Burnt Sienna
Ultramarine
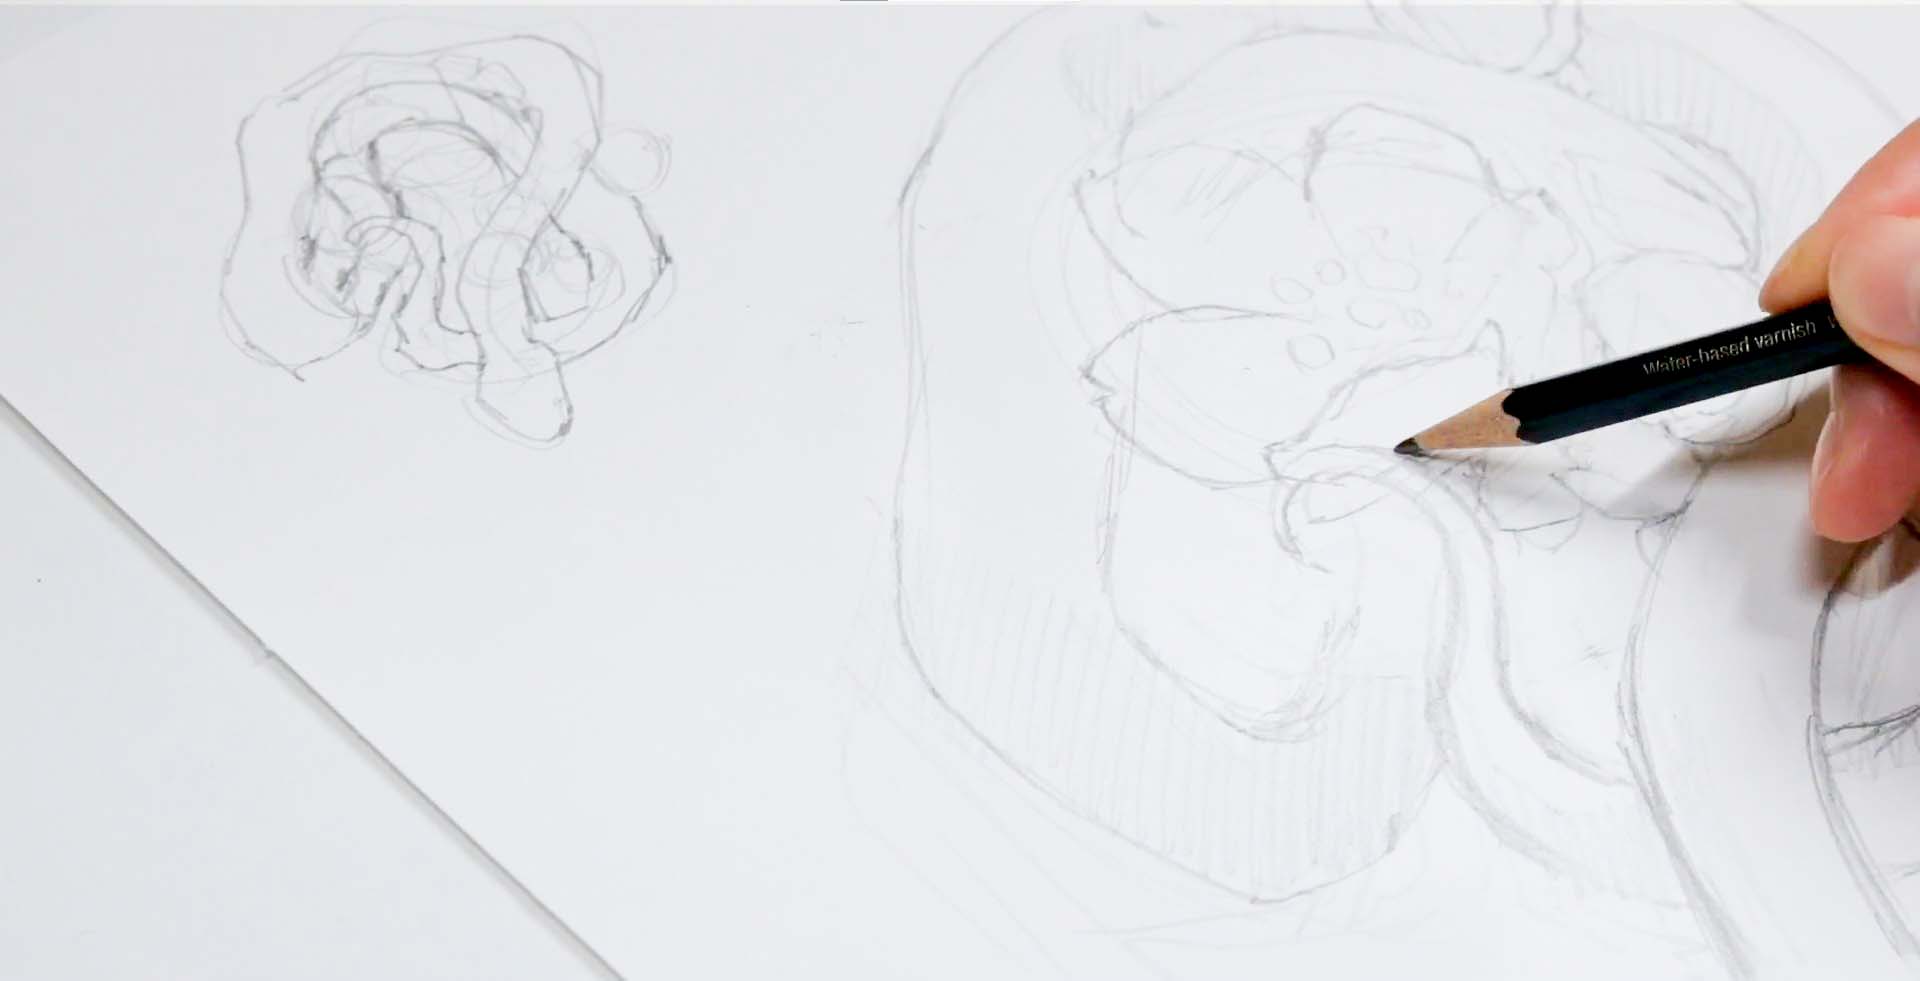
1. Sketch
During the sketching stage, the only element I was certain about was the snake.
I knew it would be coiled around something, but I wasn’t sure what, so I focused on defining its overall shape, experimenting with different angles and forms.
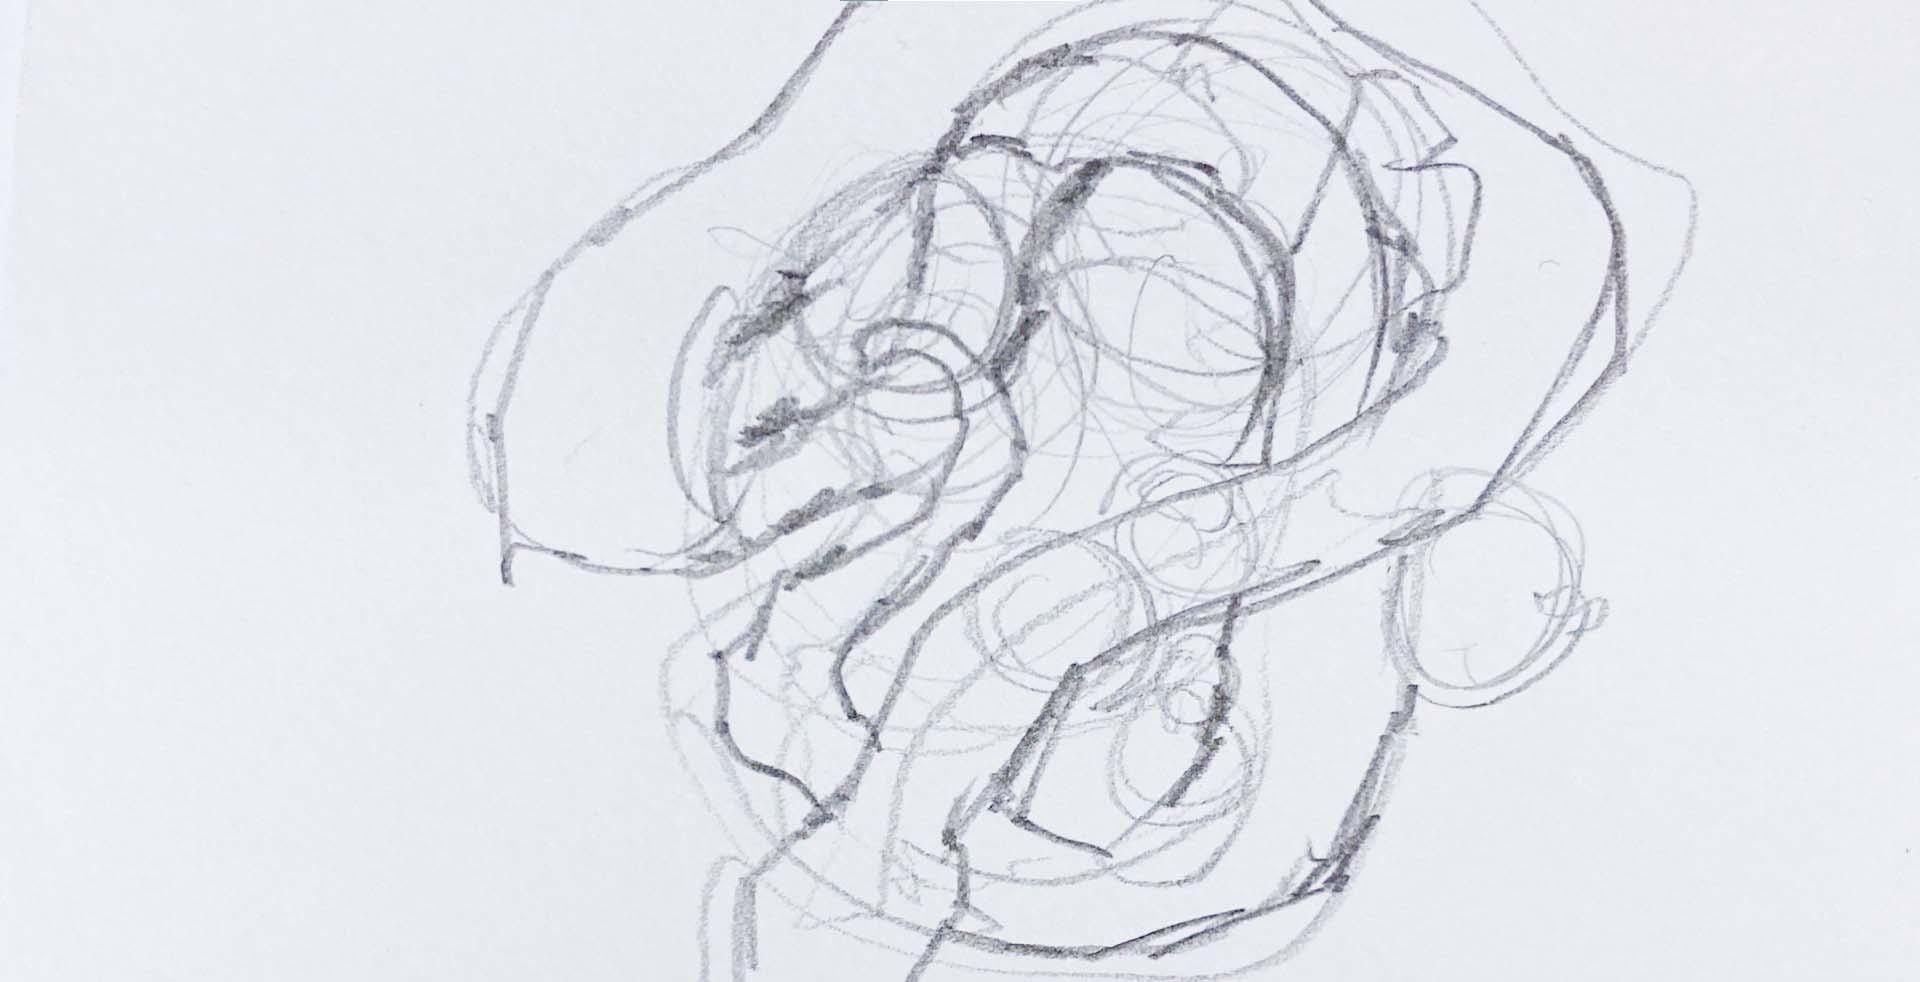
At first, I added a moth, but I wasn’t satisfied with the composition. In the end, I decided to include hellebore flowers instead.
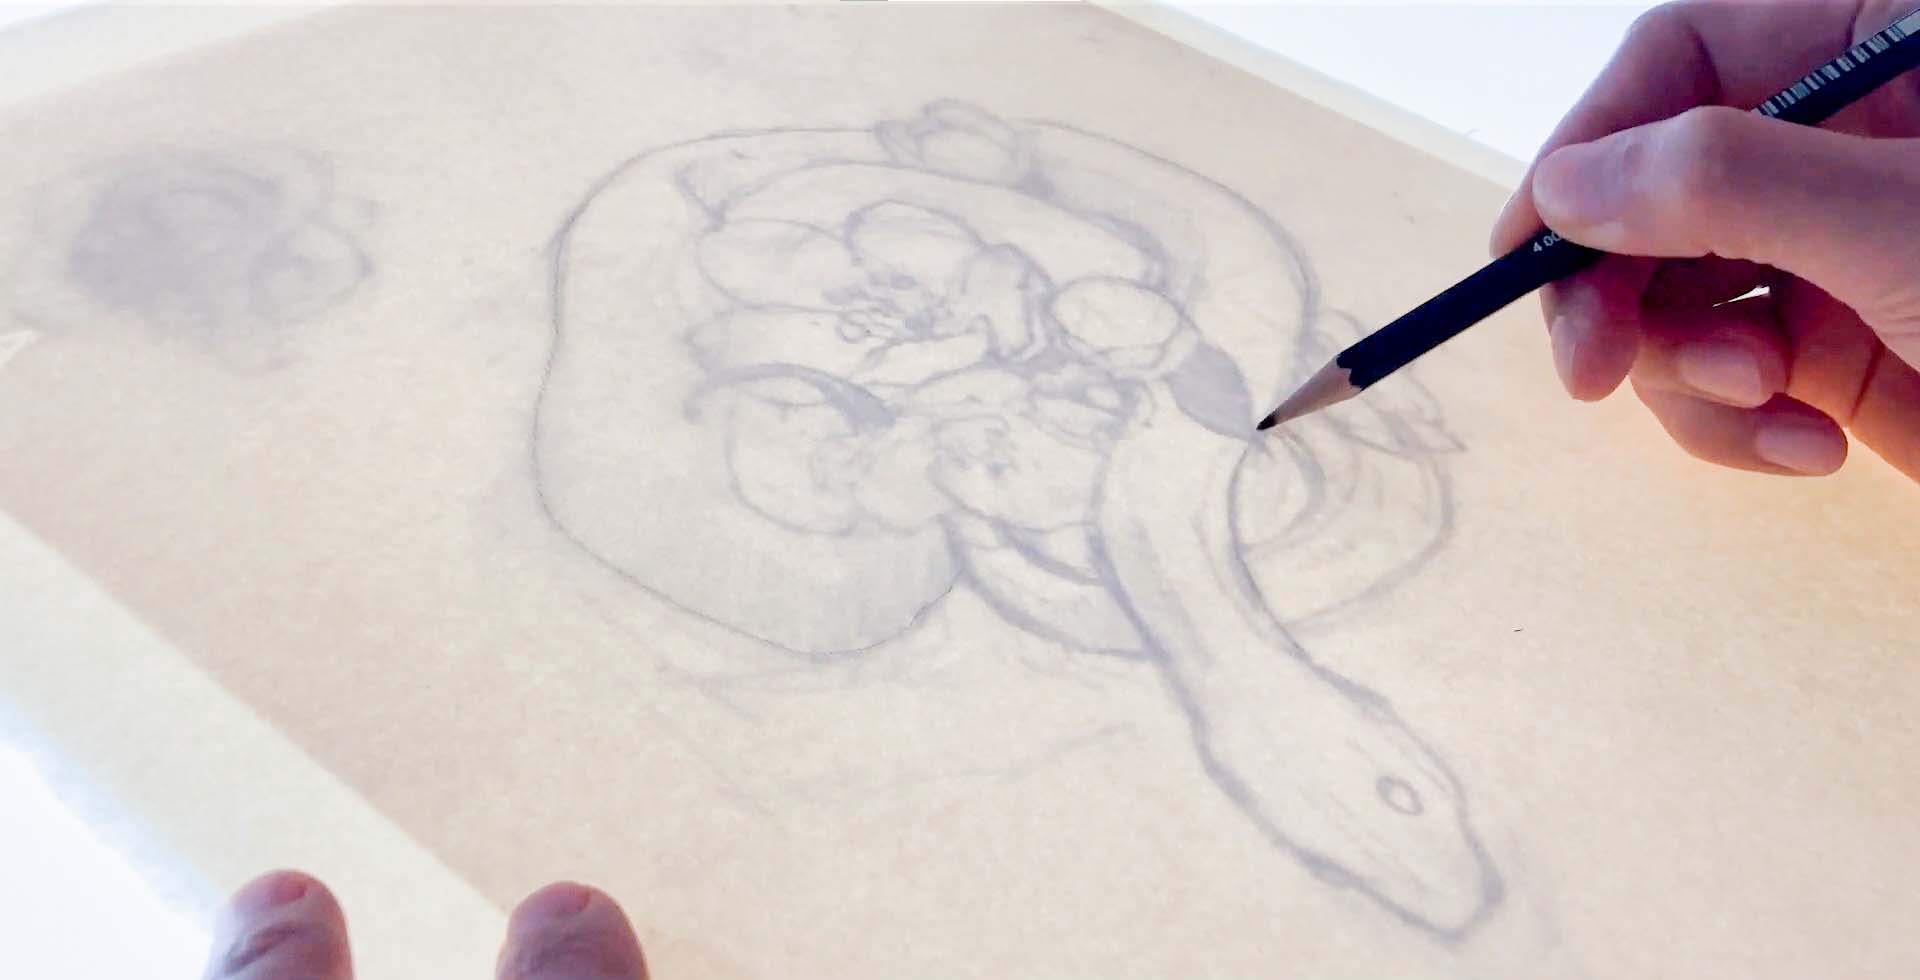
2. Transferring the Sketch to Watercolor Paper
Once the sketch was finalized, I used a light table to transfer it onto watercolor paper, ensuring a clean and precise outline. I worked on 300g cold-pressed Arches watercolor paper for this piece.
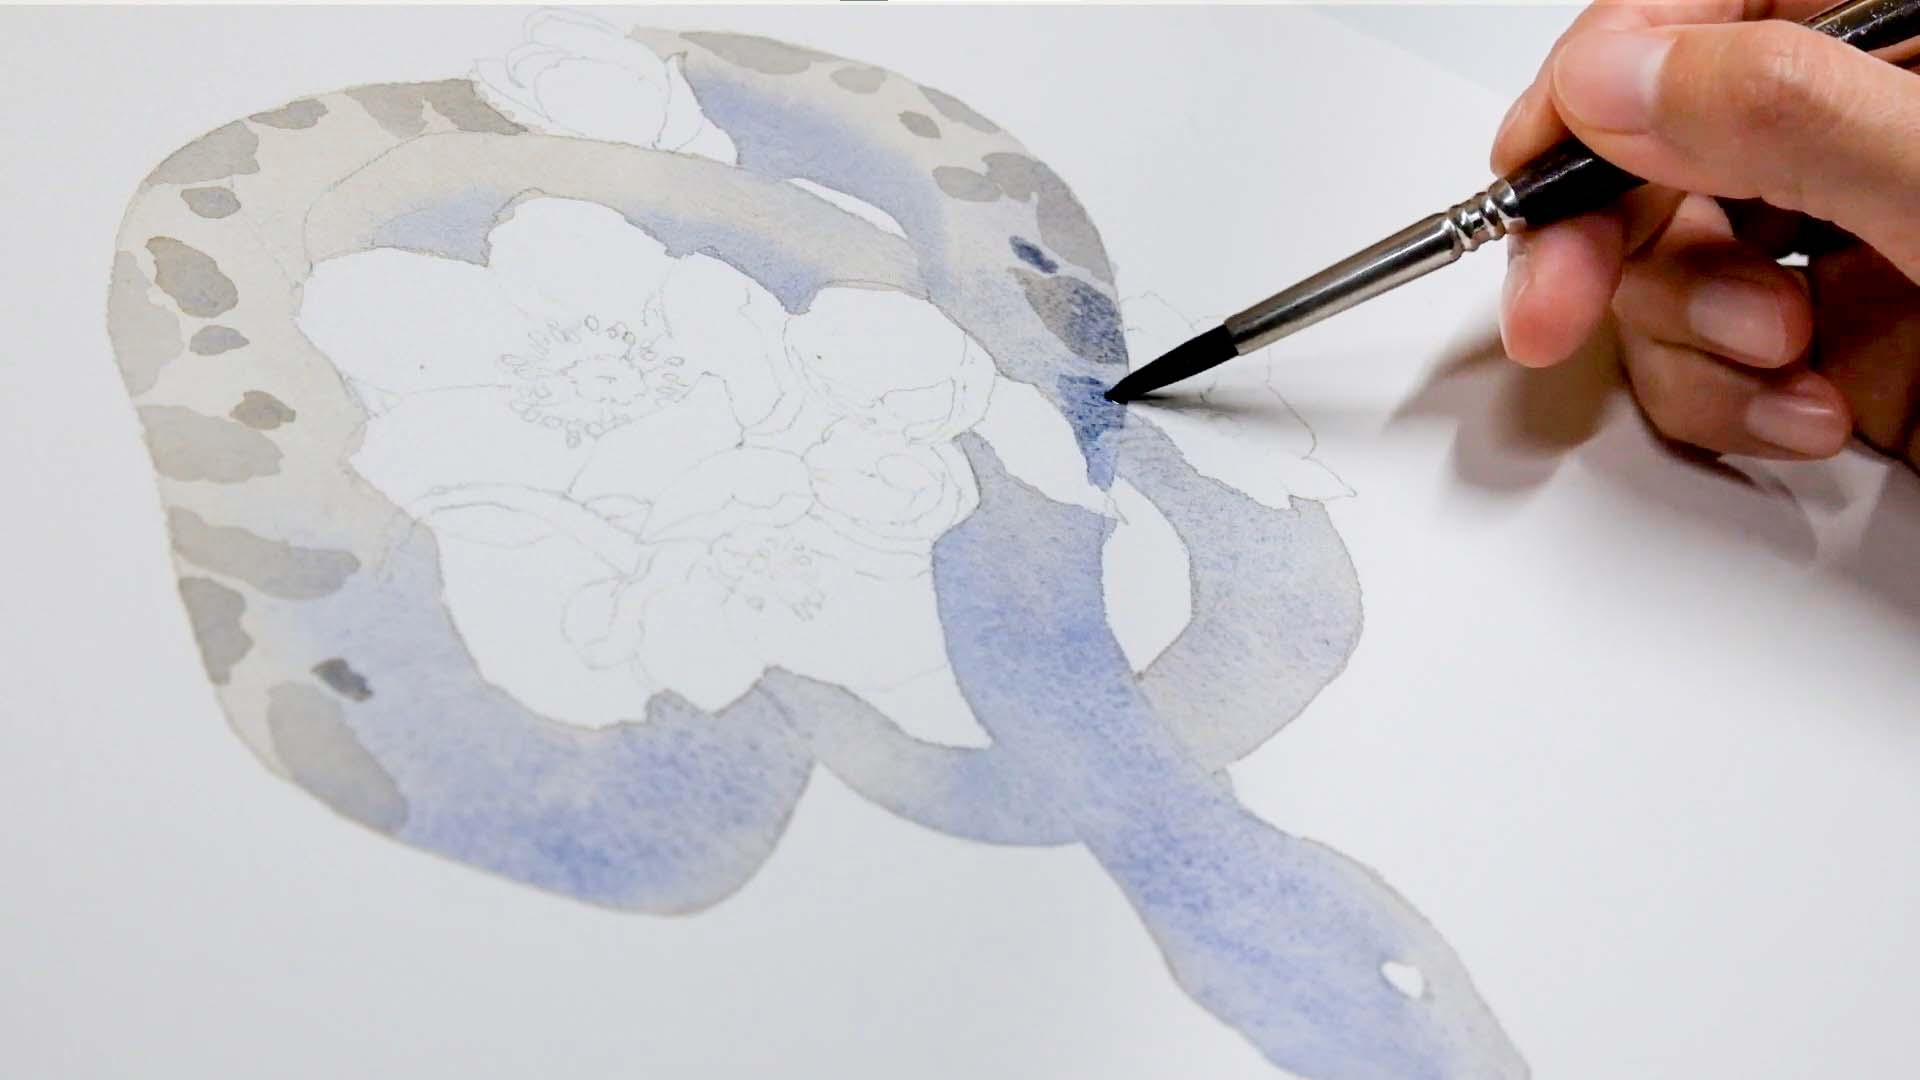
3. First wash
I created a warm-to-cool gradient, starting with a soft warm tone at the top by mixing Orange + Burnt Sienna + Ultramarine.
As I painted downward, I gradually added more Ultramarine for a cooler color.
Once the base layer was dry, I used slightly more concentrated pigment to add patterns to the snake’s body.
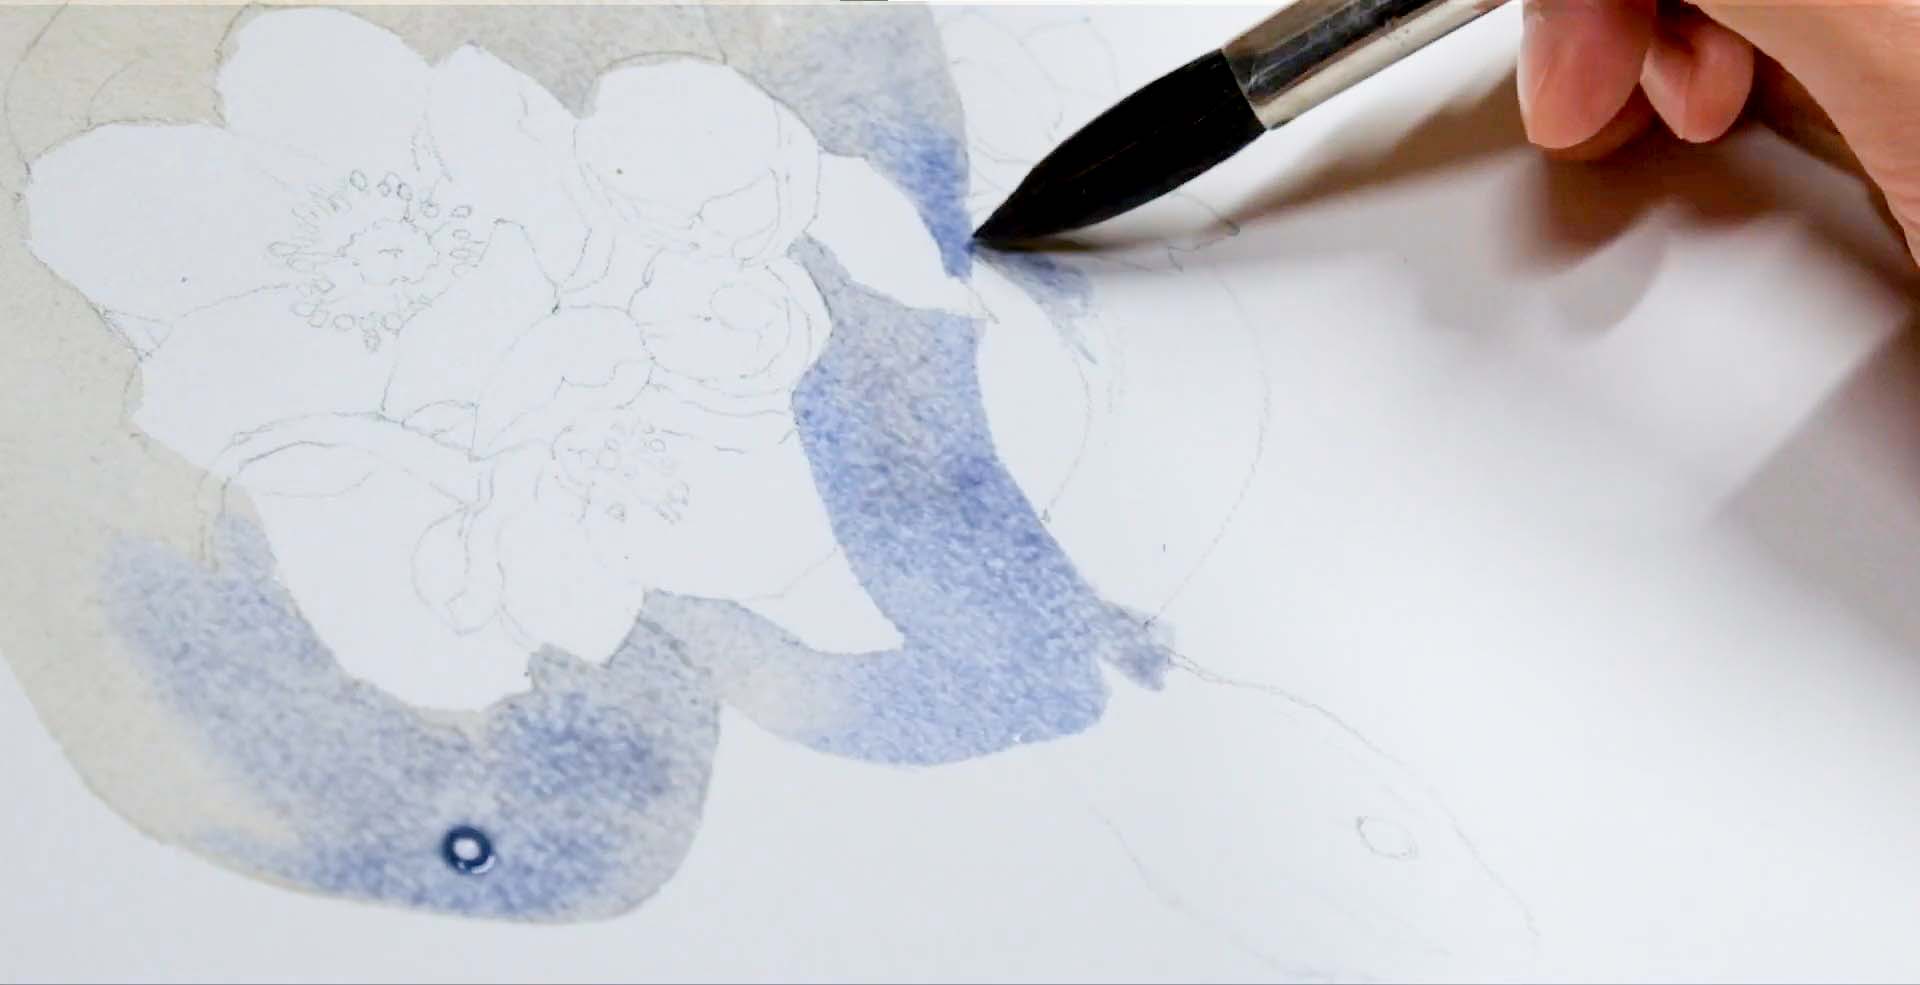
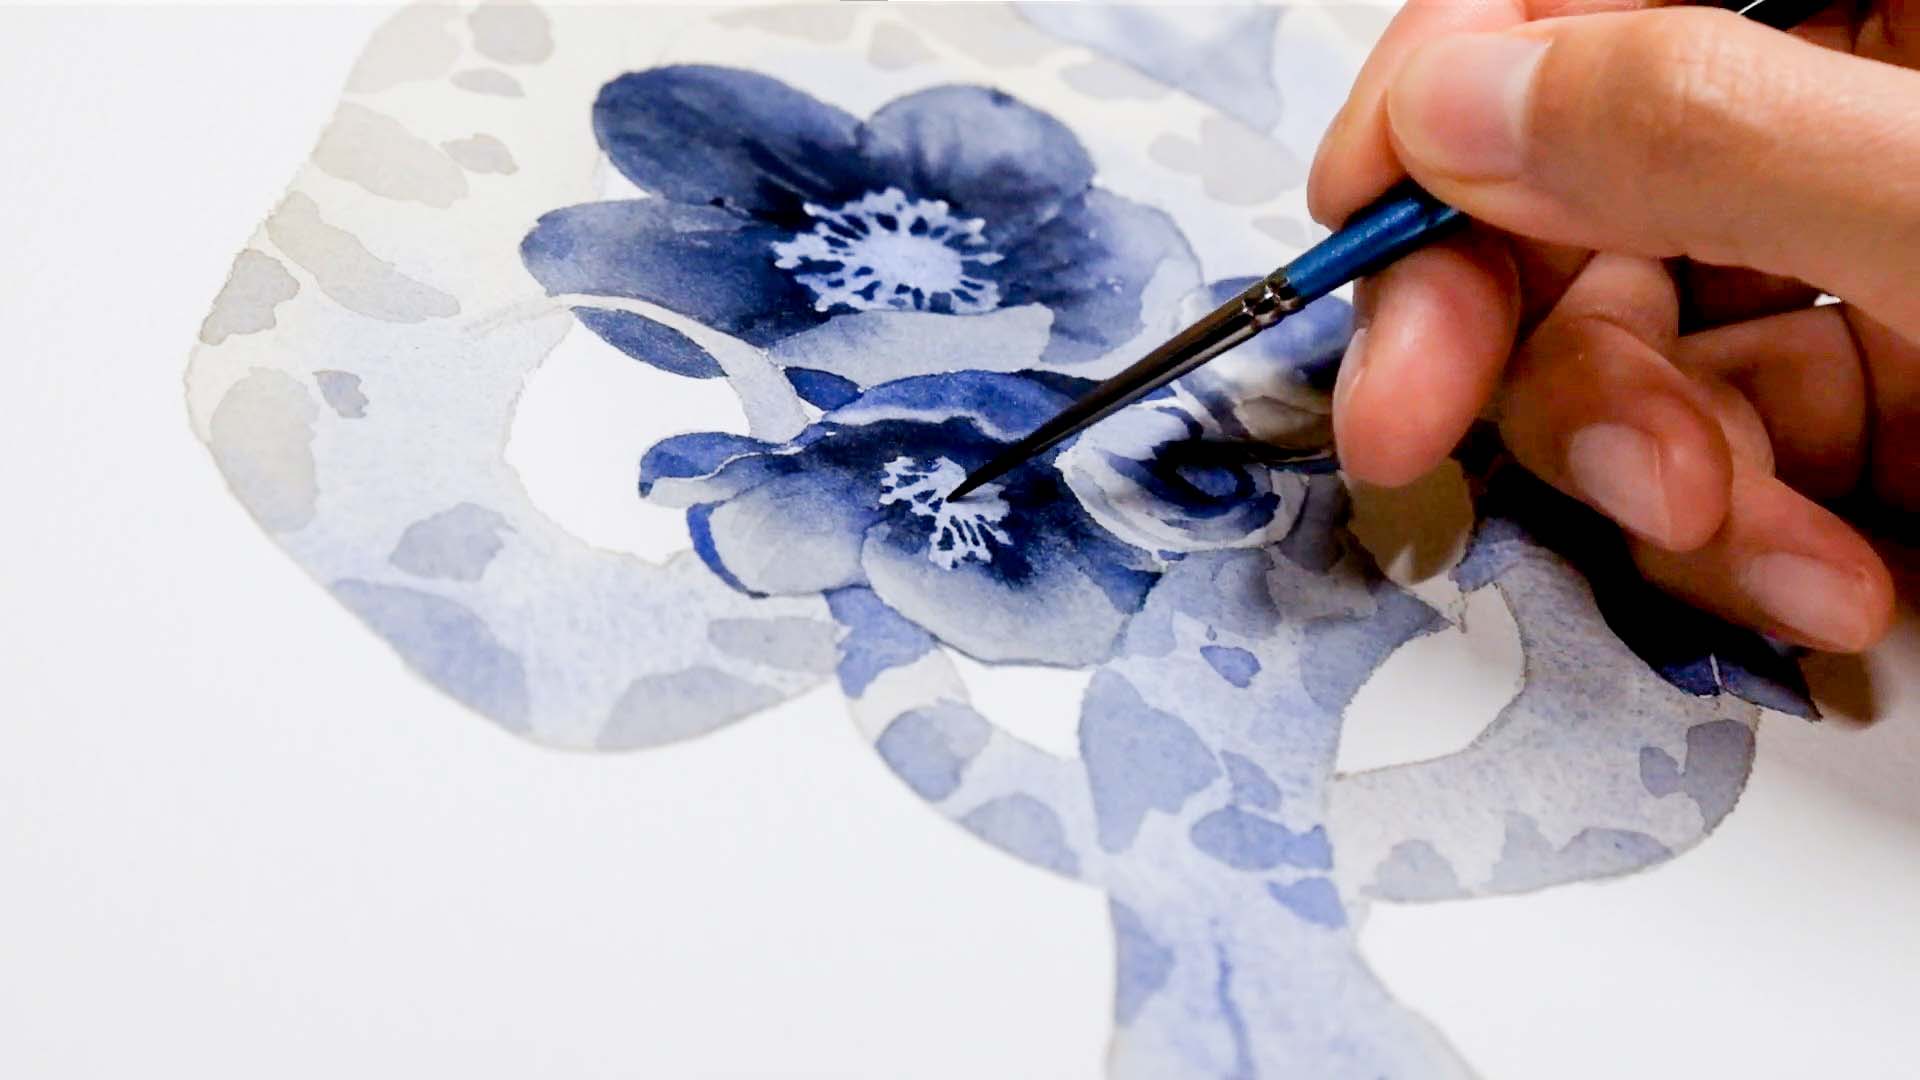
4. Flowers
Before adding more details to the snake, I worked on the hellebore flowers, using soft grays, Ultramarine, and deep blue-gray tones.
This was my first time painting flowers in such dark shades, and I found the experience refreshing. I loved the strong contrast it created, making the composition visually striking.

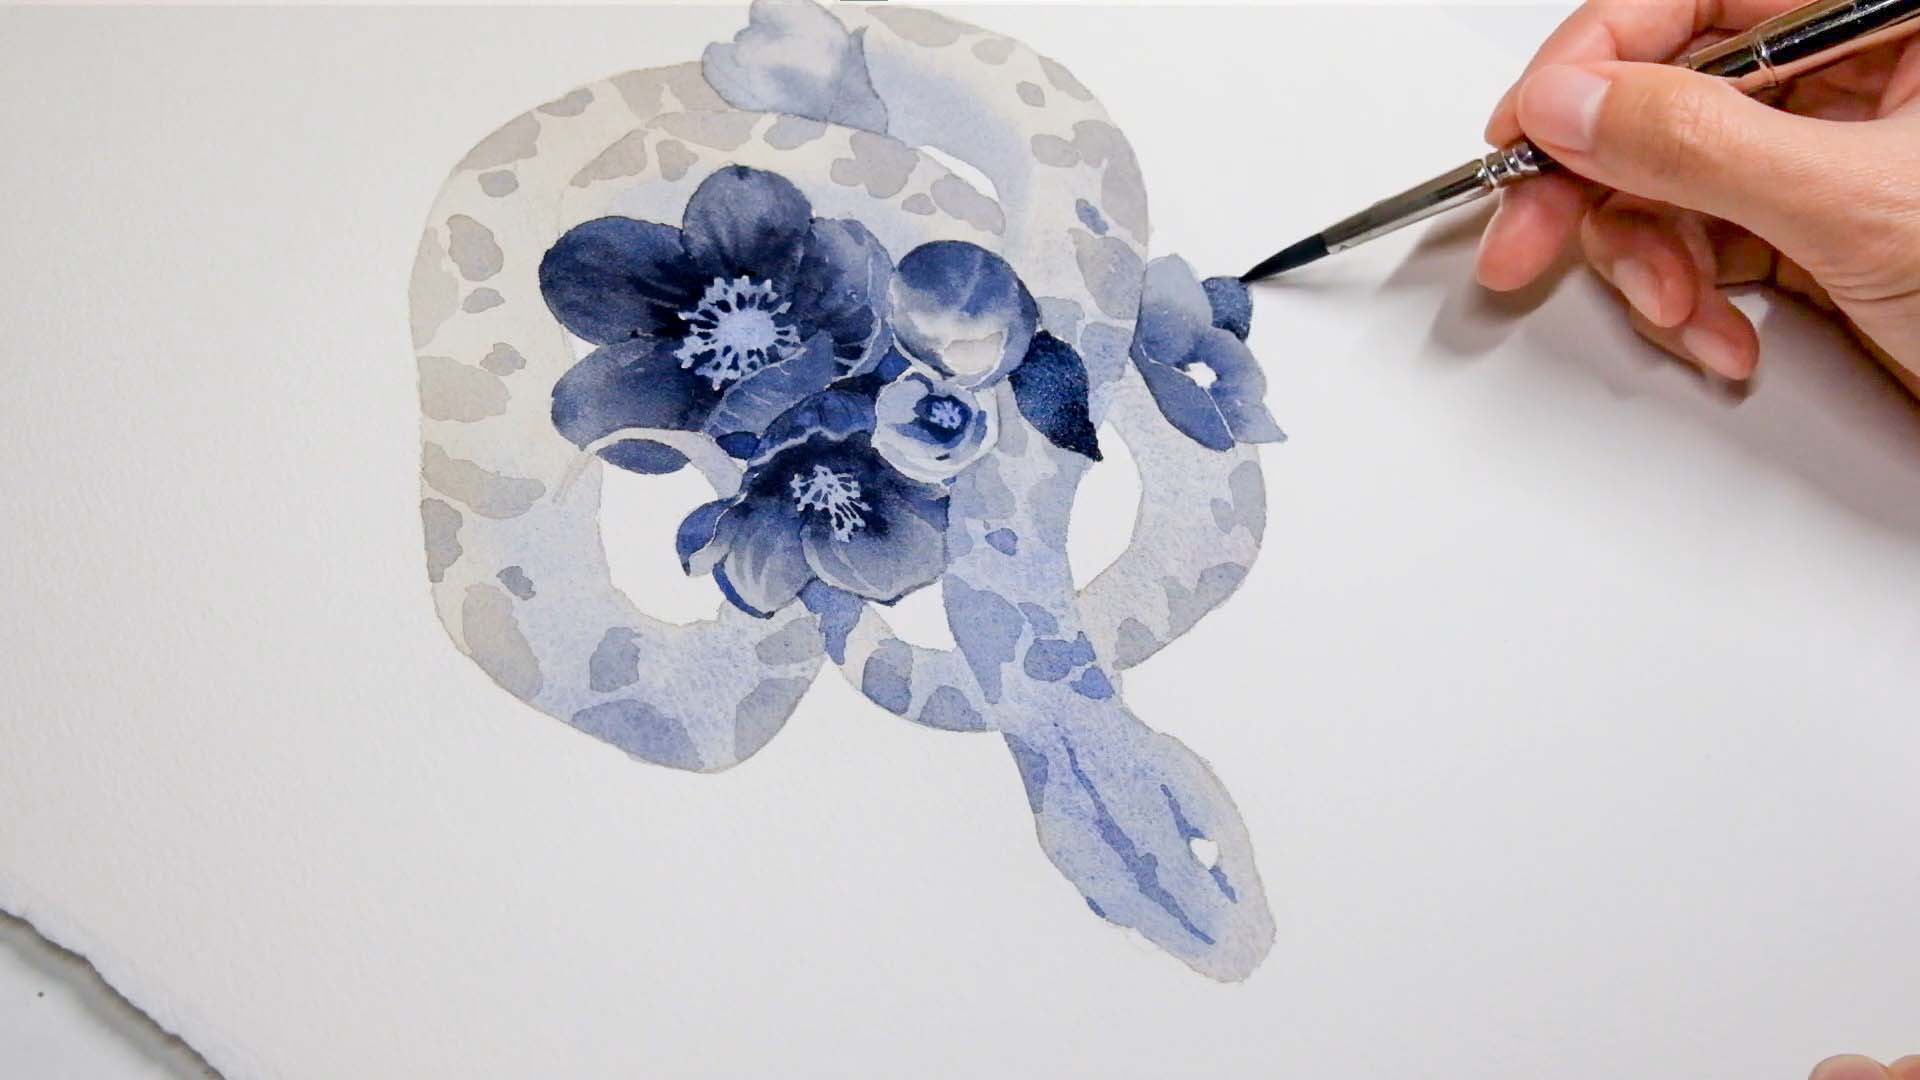
I then added thickness and fine veins to the petals.
At this point, the flowers looked dimensional, but the snake still appeared flat, so more work was needed to bring it to life.
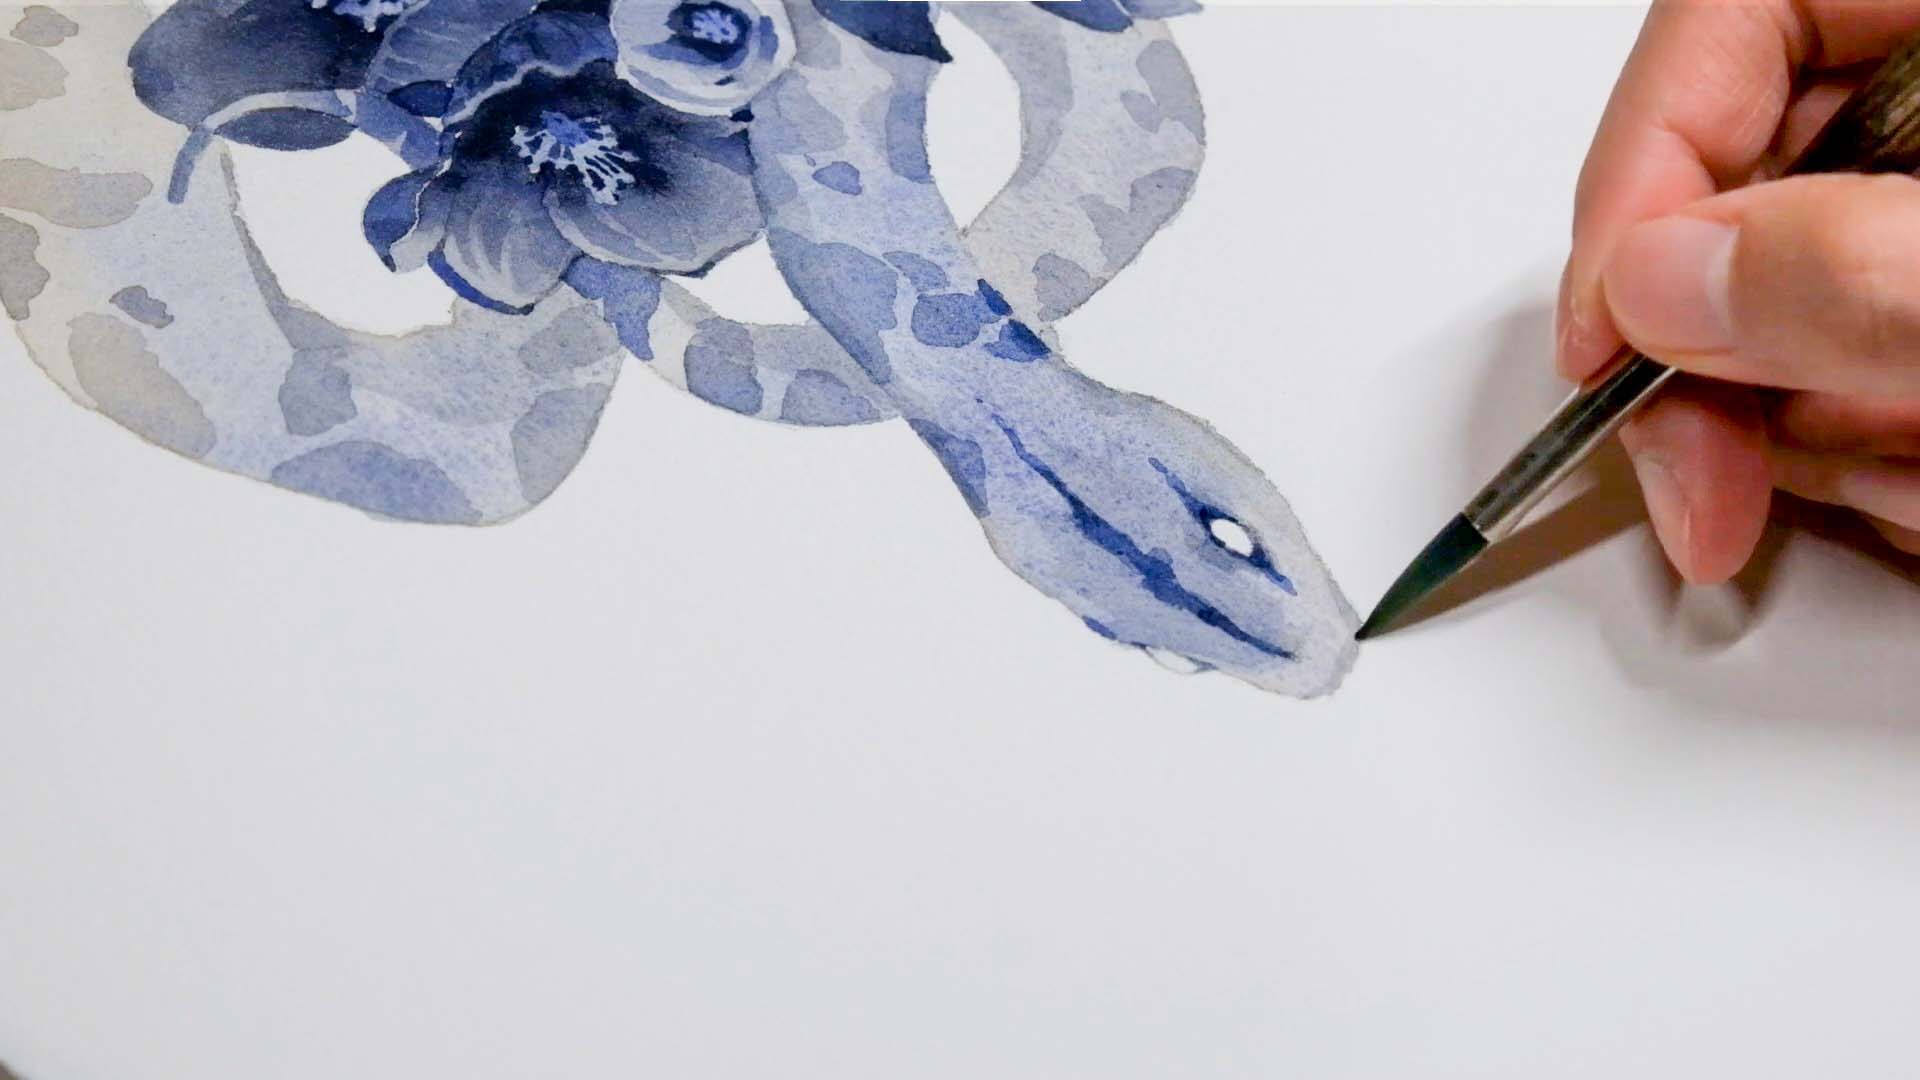
5. Details
Finally, I gradually built up the details, adding shadows to the snake’s head and body and refining the layers around its eyes for more depth.
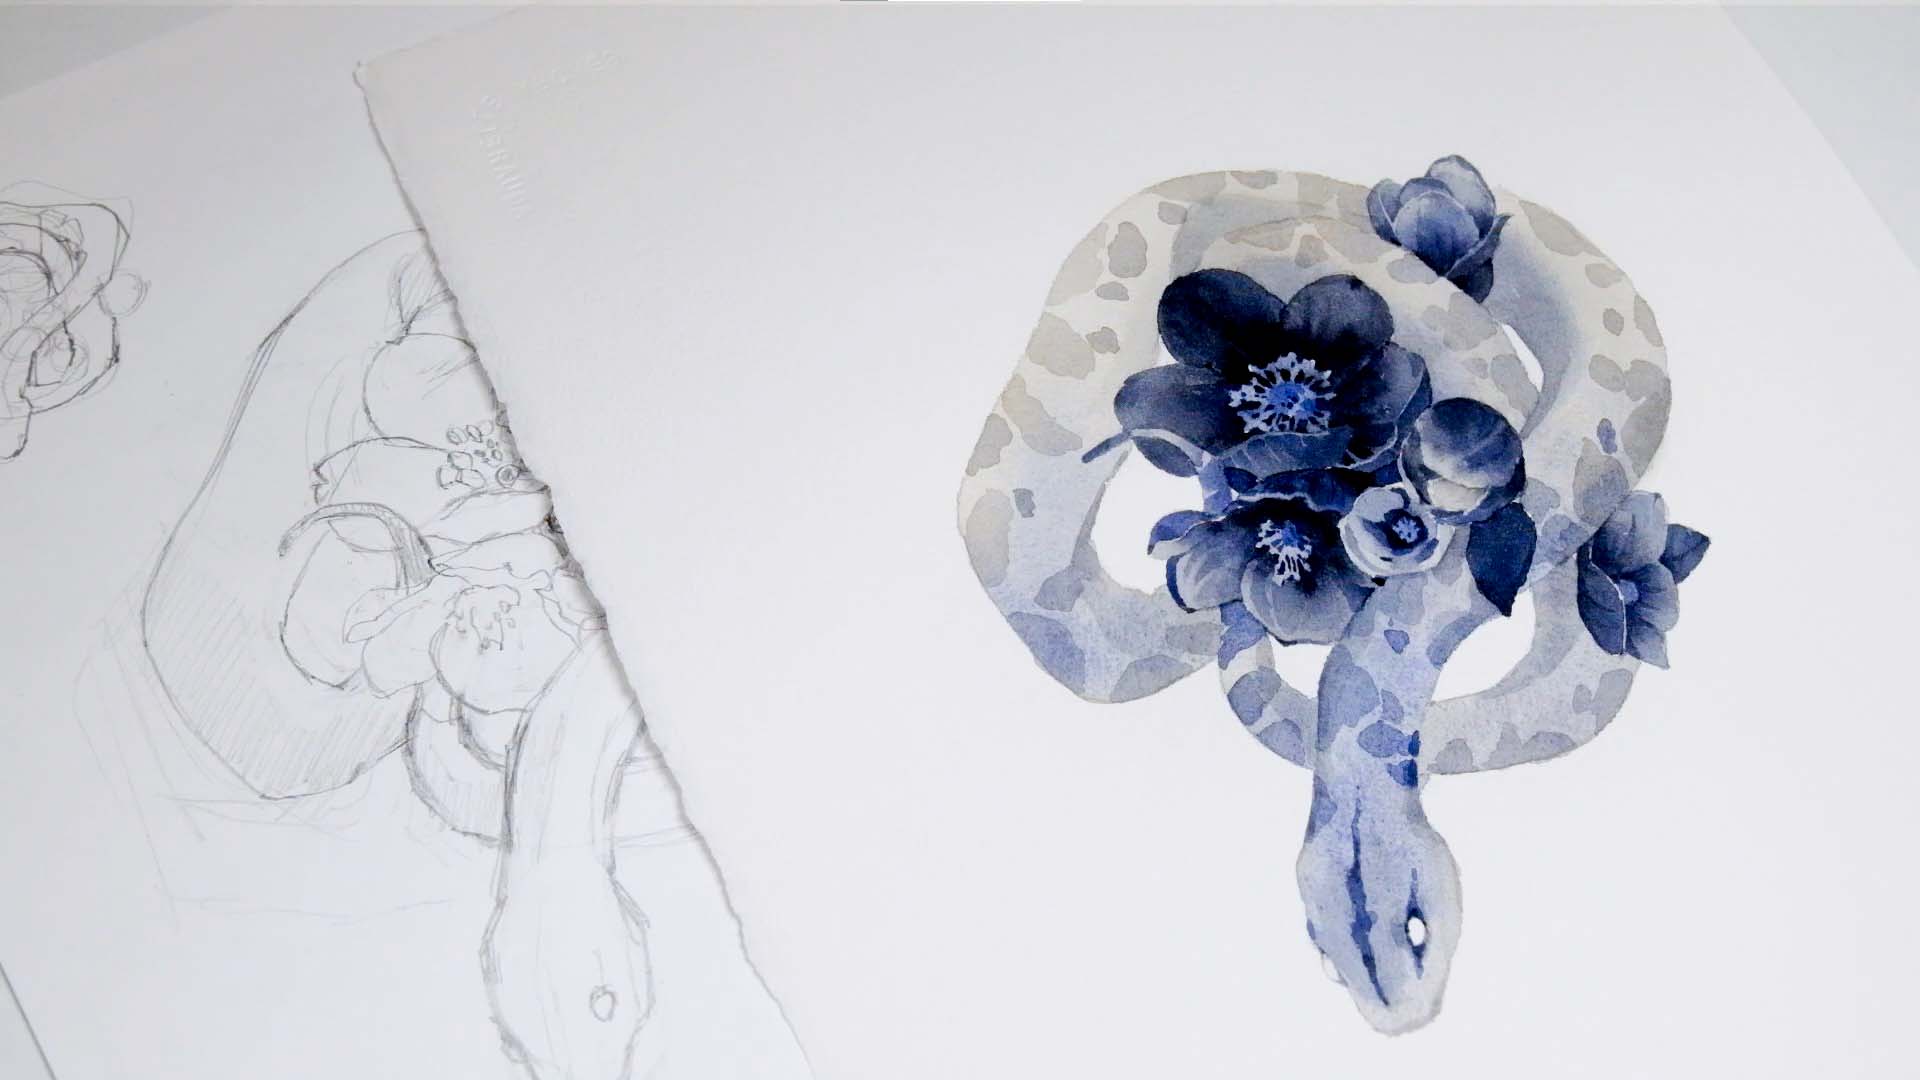
Sketch vs. Finished Watercolor Painting
Comparing the initial sketch with the final watercolor piece, the transformation highlights the power of layering, contrast, and careful detailing.
Thank you for following along with the process from sketch to watercolor!
I hope this Snake Painting with Watercolors: Step-by-Step tutorial inspired you to create your own artwork.
Don’t forget to follow my YouTube channel for more painting tutorials and save this Pin for future reference. Happy painting! 🎨
Related Blog Posts:
【Watercolor Illustration】Mushrooms and Little Mice
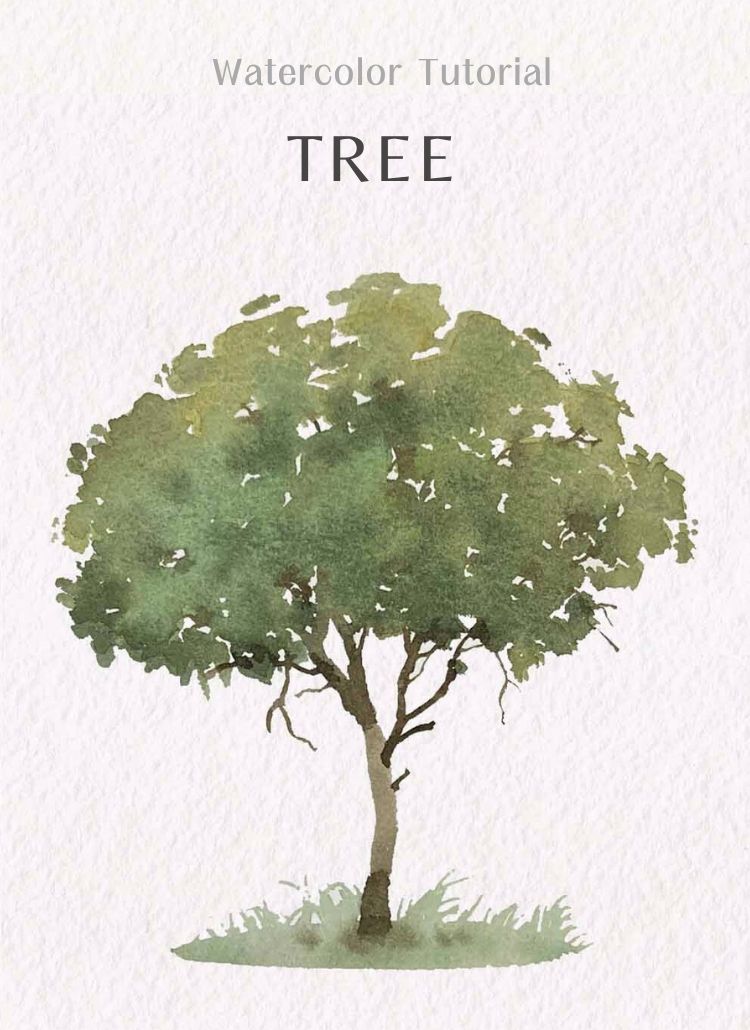
How to paint Tree: Step-by-Step Easy watercolor Tutorial
How to paint Forget-me-not flower: Step-by-Step Easy watercolor Tutorial